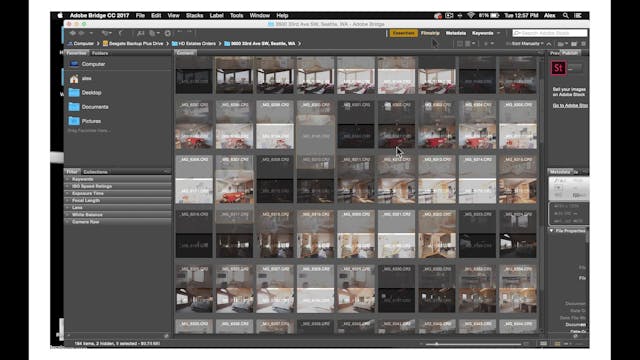
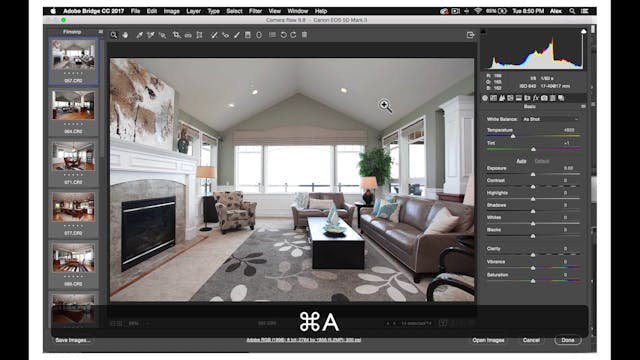
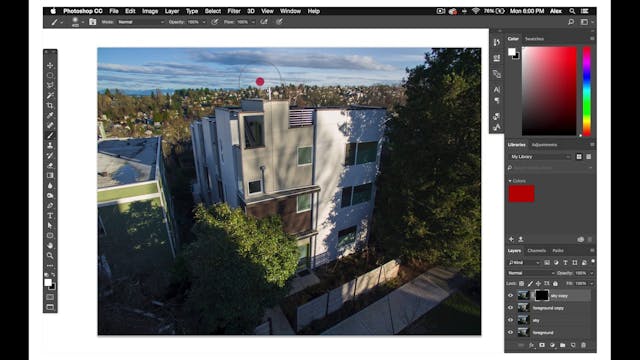
The HD Photography style editing process is a more complex version of the HD Naturals and Standard photo process. For HD photos we will follow the same steps except you also remove color casting on the walls and other services, composite the windows, and in some cases the ceiling, and then remove hard flash shadows in mass bright areas from the flash. Like Naturals, you'll begin by importing your fuse in flash files into Photoshop. Label the layers, make sure the layers are aligned and Autoline if necessary, and then duplicate before doing any edits.
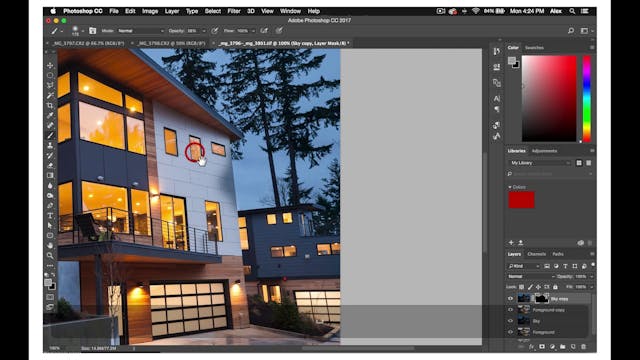
Now, set the opacity on your flash layer to between 50 and 75% depending on the quality of the flash. Do not merge the layers yet, though. Next, like an HD Naturals, you'll select all the windows on the fuse layer. You deposit them by copying and pasting them onto a new layer. Label of the new layer windows and set as the top layer.
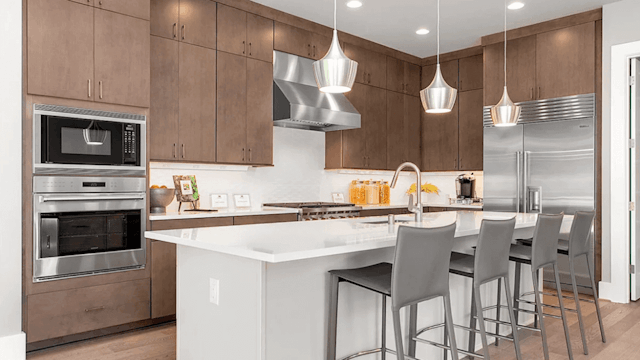
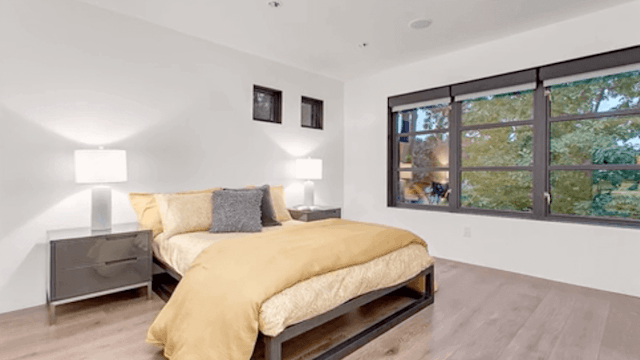
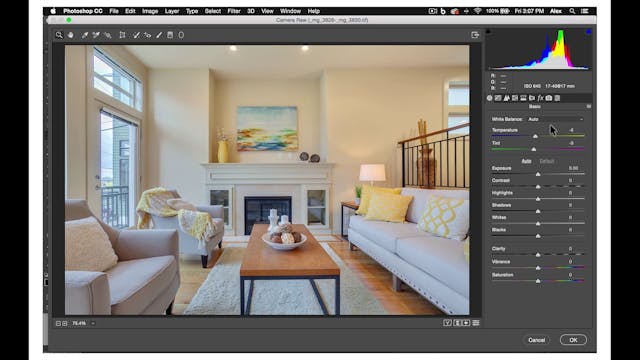
Finally, edit the Vibrance, Exposure, Temperature, and Contrast in camera Raw so the window views look beautiful and clear. After selecting windows you will select the ceiling, but only if the ceiling is white, and the walls are not. If the ceilings the same color as the walls then don't select it. You can brighten it later using by Viveza. In this photo, you can see that the ceiling is white so you would select it. Once you have it selected and copy and paste it onto a new layer rename the layers “Ceiling” before making any edits and then move the layer above your fuse in Flash layers. You then should brighten the ceiling using levels and remove color casting by using the Hue saturation adjustment tool and bumping down the saturation bar.
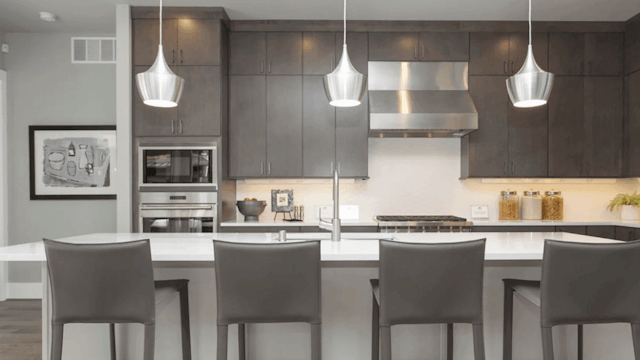
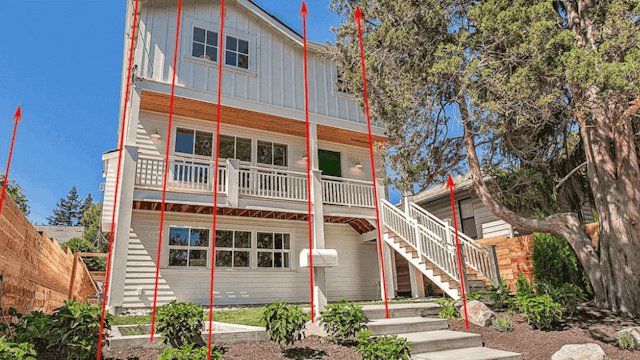
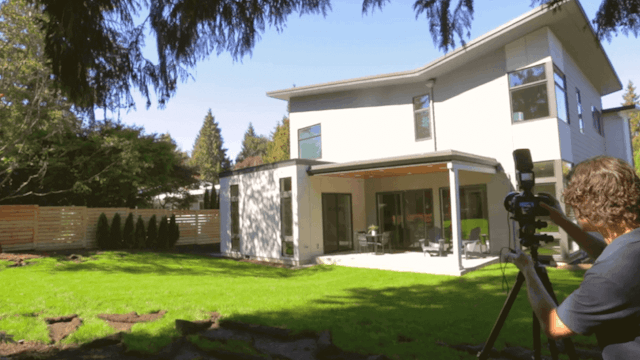
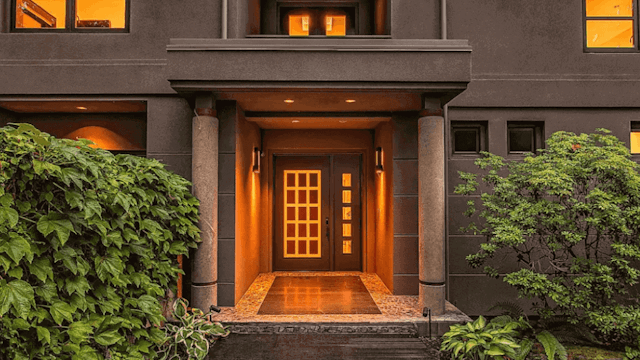
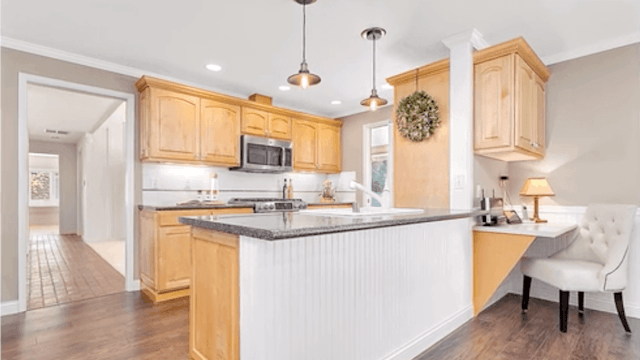
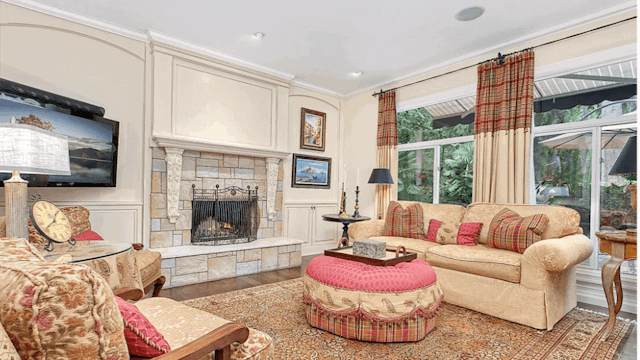
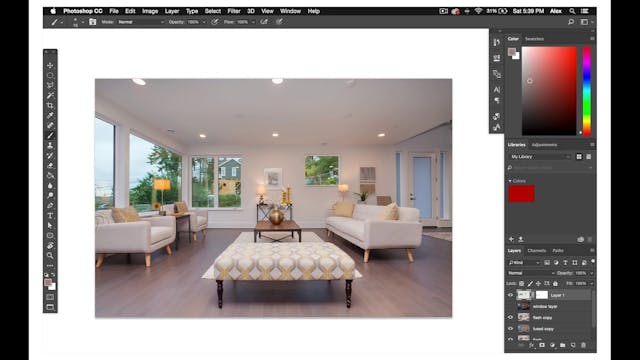
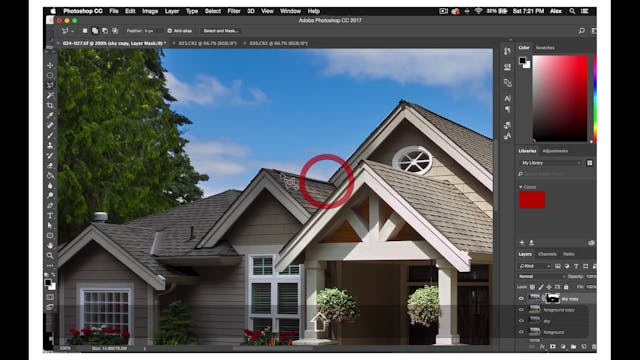
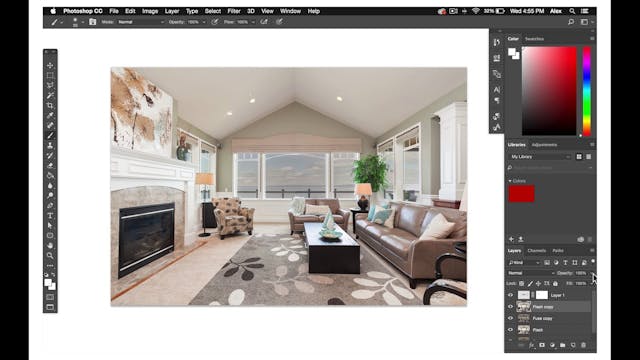
Now that your windows and ceiling are composited you'll need to remove color casting on all of the walls and other main surfaces you will do this with the color replacement brush first identify areas of the photograph that have color casting on them don't worry about coloring sections of the photo that take up less than 10% of the photos you only want to worry about the larger section that have color cast on them these areas will most often include walls carpets sections of foreground furniture and sections of wood flooring or cabinets once you've identified the colorcast areas use your eyedropper tool to find the true color of a particular surface such as this wall usually that will be in evenly lit areas were interior lights and exterior window light aren't casting different colors on the walls you can see here that in this section the wall is a cooler color because of the exterior light coming in through the windows and hear the wall is a warmer color because of the fluorescent interior lights on the sailing the goal of the color replacement brush is till eliminate this variety of warm cool color so set your color replacement brushes limits to discontinuous and the tolerance to 10% then after you found the true colors of the surface start to paint over the sections of the surface on the flash player where there is significant color testing you may also need to paint some sections of the wood floor cabinets or Furniture in the room but make sure to prioritize your time and do not color every surface if you do your photo will look fake now that you've removed all of your color testing merge your flash Infuse layers and make final edits utilizing by Baeza life with HD Naturals and standards merger visible layers in opening camera raw to ensure that the color temperature of the photo is wrecked that all the vertical and horizontal lines the photos are parallel to the edge of the photo finally check the final layers histogram in levels and adjust if necessary after you've done these edits your HD photograph is finished and you can move on to the next one are some examples of well-edited HD photographs.
Want to enhance real estate photos? Phixer is here to help you achieve professional level real estate photo editing. Contact us to know more!
Now, set the opacity on your flash layer to between 50 and 75% depending on the quality of the flash. Do not merge the layers yet, though. Next, like an HD Naturals, you'll select all the windows on the fuse layer. You deposit them by copying and pasting them onto a new layer. Label of the new layer windows and set as the top layer.
Finally, edit the Vibrance, Exposure, Temperature, and Contrast in camera Raw so the window views look beautiful and clear. After selecting windows you will select the ceiling, but only if the ceiling is white, and the walls are not. If the ceilings the same color as the walls then don't select it. You can brighten it later using by Viveza. In this photo, you can see that the ceiling is white so you would select it. Once you have it selected and copy and paste it onto a new layer rename the layers “Ceiling” before making any edits and then move the layer above your fuse in Flash layers. You then should brighten the ceiling using levels and remove color casting by using the Hue saturation adjustment tool and bumping down the saturation bar.
Now that your windows and ceiling are composited you'll need to remove color casting on all of the walls and other main surfaces you will do this with the color replacement brush first identify areas of the photograph that have color casting on them don't worry about coloring sections of the photo that take up less than 10% of the photos you only want to worry about the larger section that have color cast on them these areas will most often include walls carpets sections of foreground furniture and sections of wood flooring or cabinets once you've identified the colorcast areas use your eyedropper tool to find the true color of a particular surface such as this wall usually that will be in evenly lit areas were interior lights and exterior window light aren't casting different colors on the walls you can see here that in this section the wall is a cooler color because of the exterior light coming in through the windows and hear the wall is a warmer color because of the fluorescent interior lights on the sailing the goal of the color replacement brush is till eliminate this variety of warm cool color so set your color replacement brushes limits to discontinuous and the tolerance to 10% then after you found the true colors of the surface start to paint over the sections of the surface on the flash player where there is significant color testing you may also need to paint some sections of the wood floor cabinets or Furniture in the room but make sure to prioritize your time and do not color every surface if you do your photo will look fake now that you've removed all of your color testing merge your flash Infuse layers and make final edits utilizing by Baeza life with HD Naturals and standards merger visible layers in opening camera raw to ensure that the color temperature of the photo is wrecked that all the vertical and horizontal lines the photos are parallel to the edge of the photo finally check the final layers histogram in levels and adjust if necessary after you've done these edits your HD photograph is finished and you can move on to the next one are some examples of well-edited HD photographs.
Want to enhance real estate photos? Phixer is here to help you achieve professional level real estate photo editing. Contact us to know more!