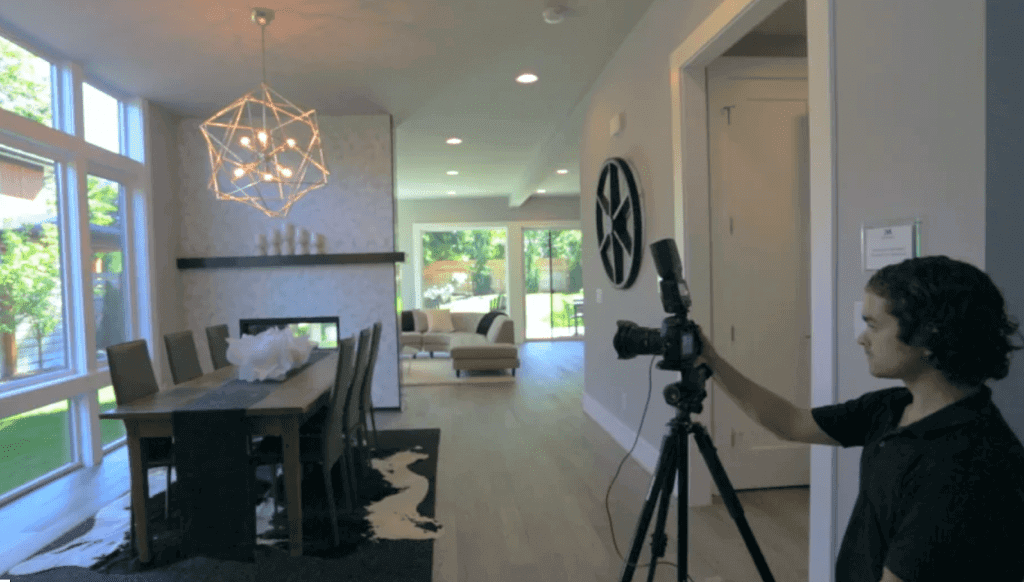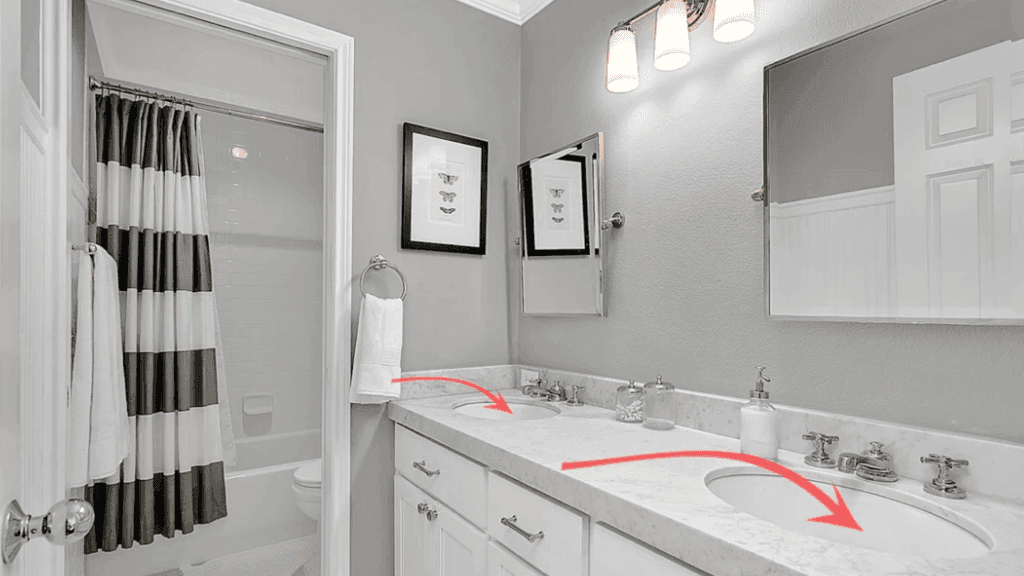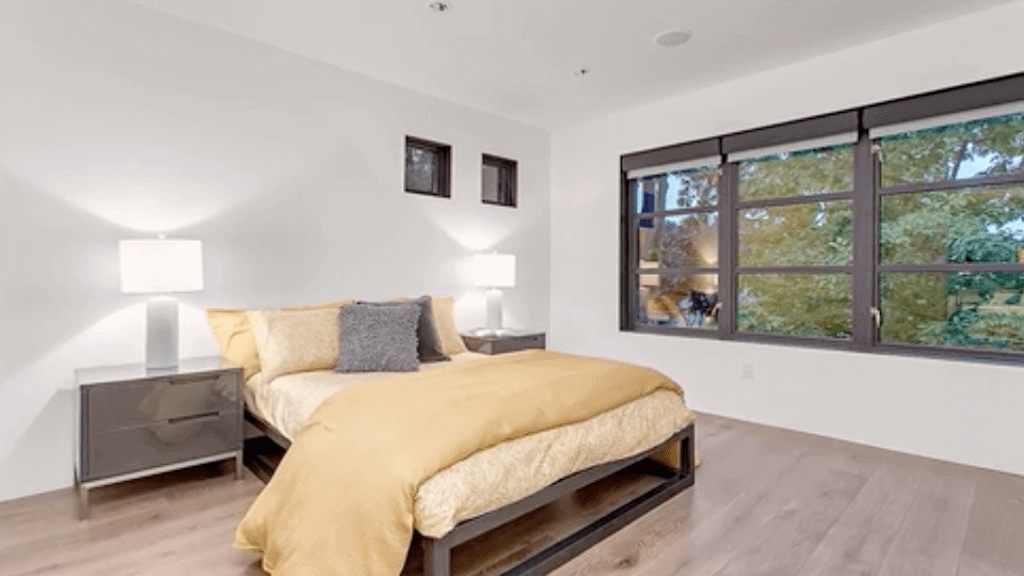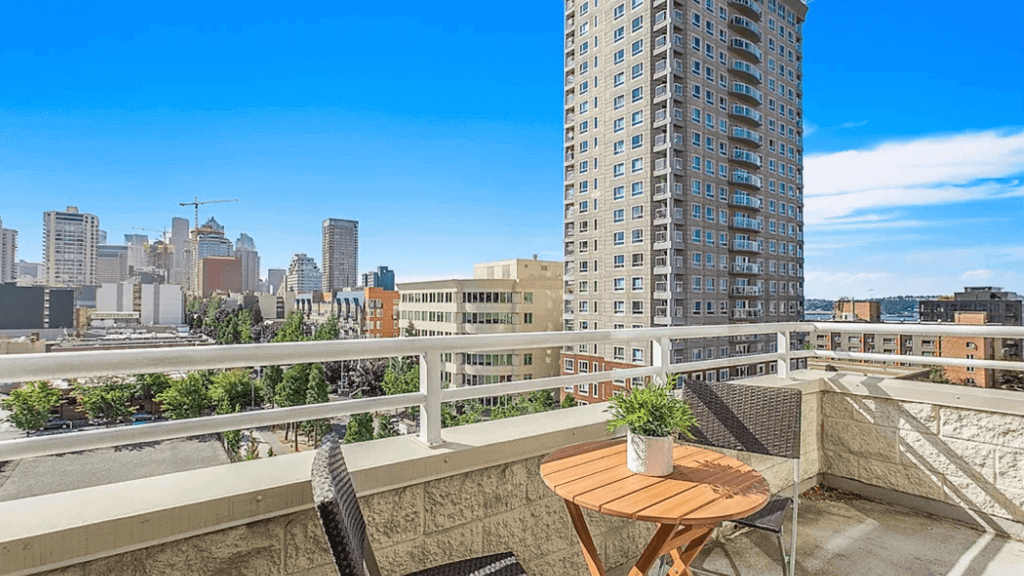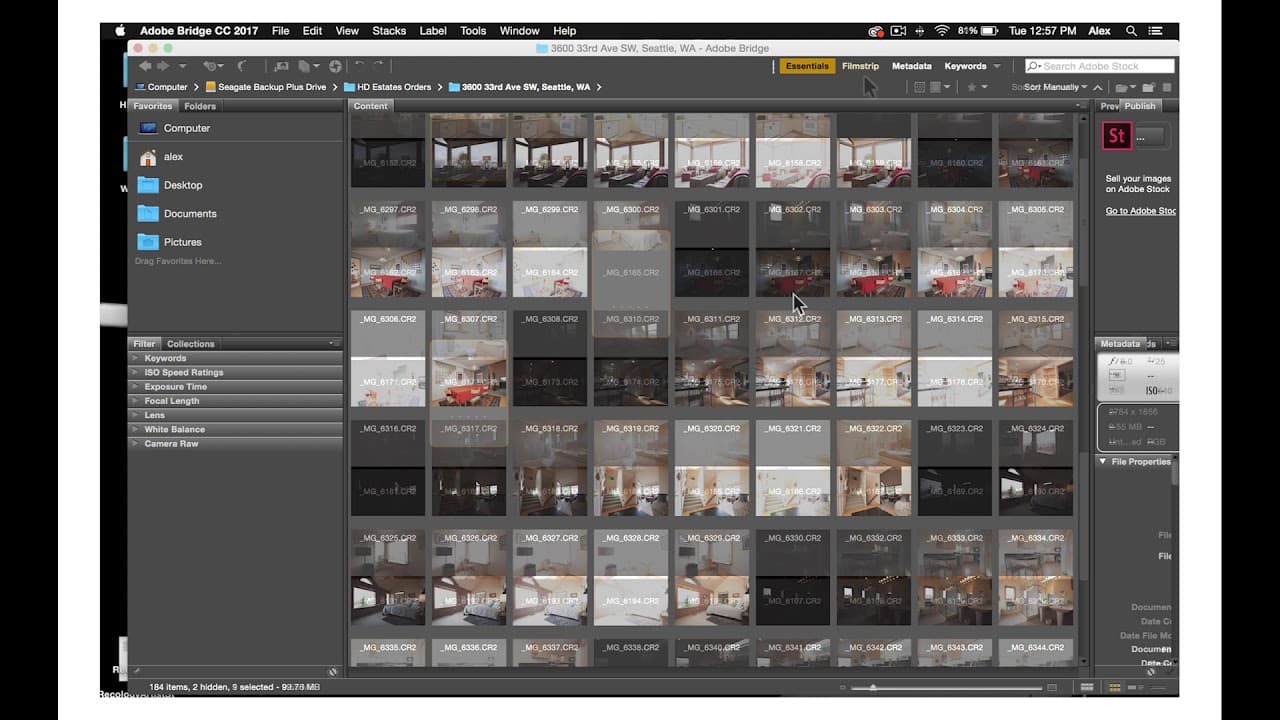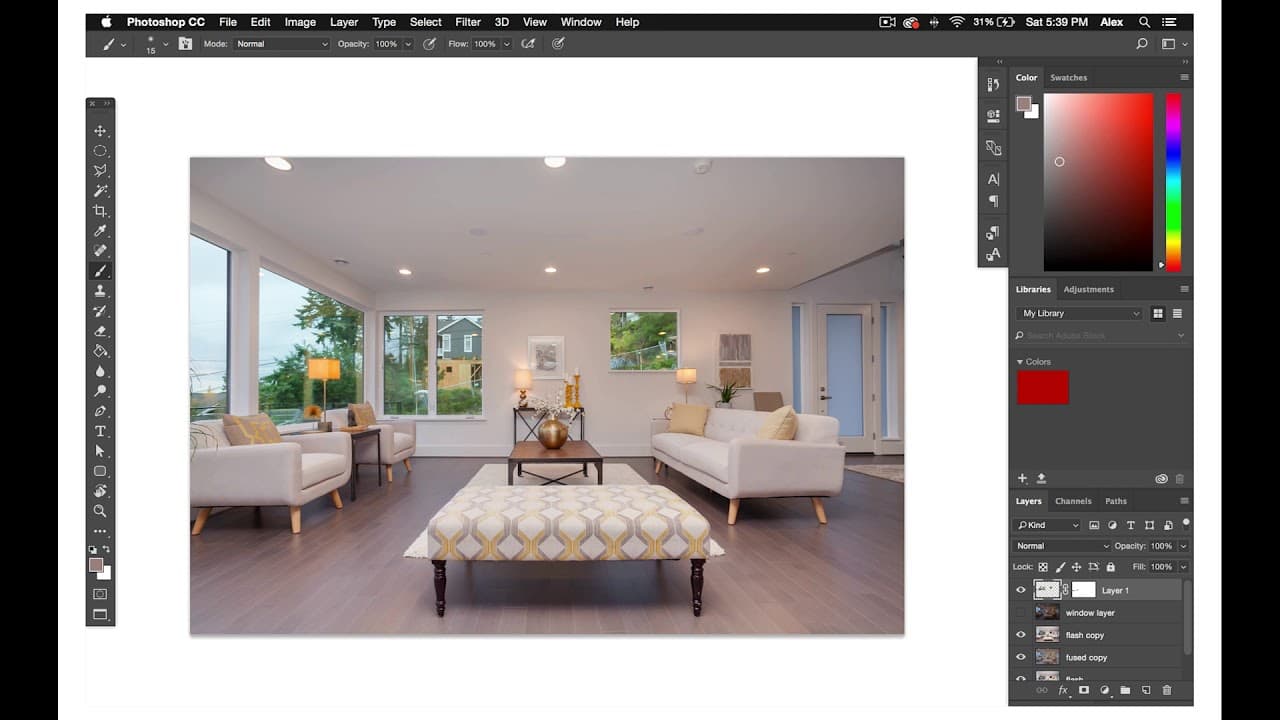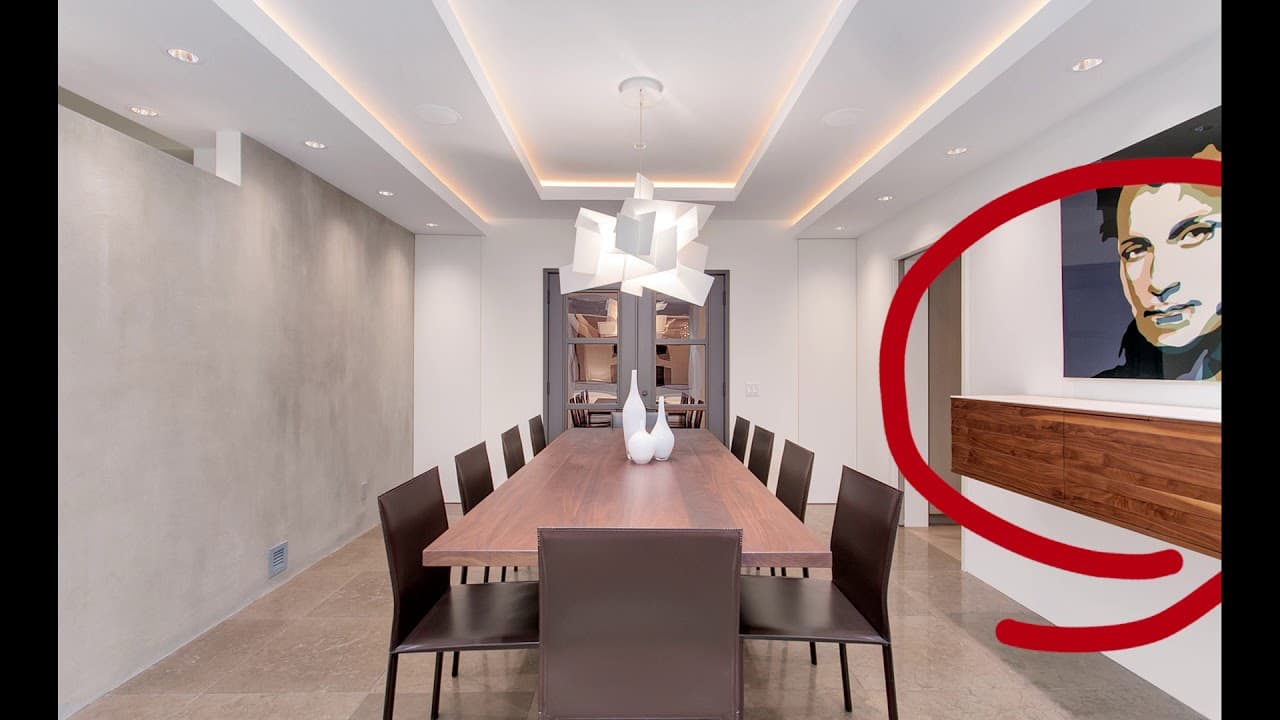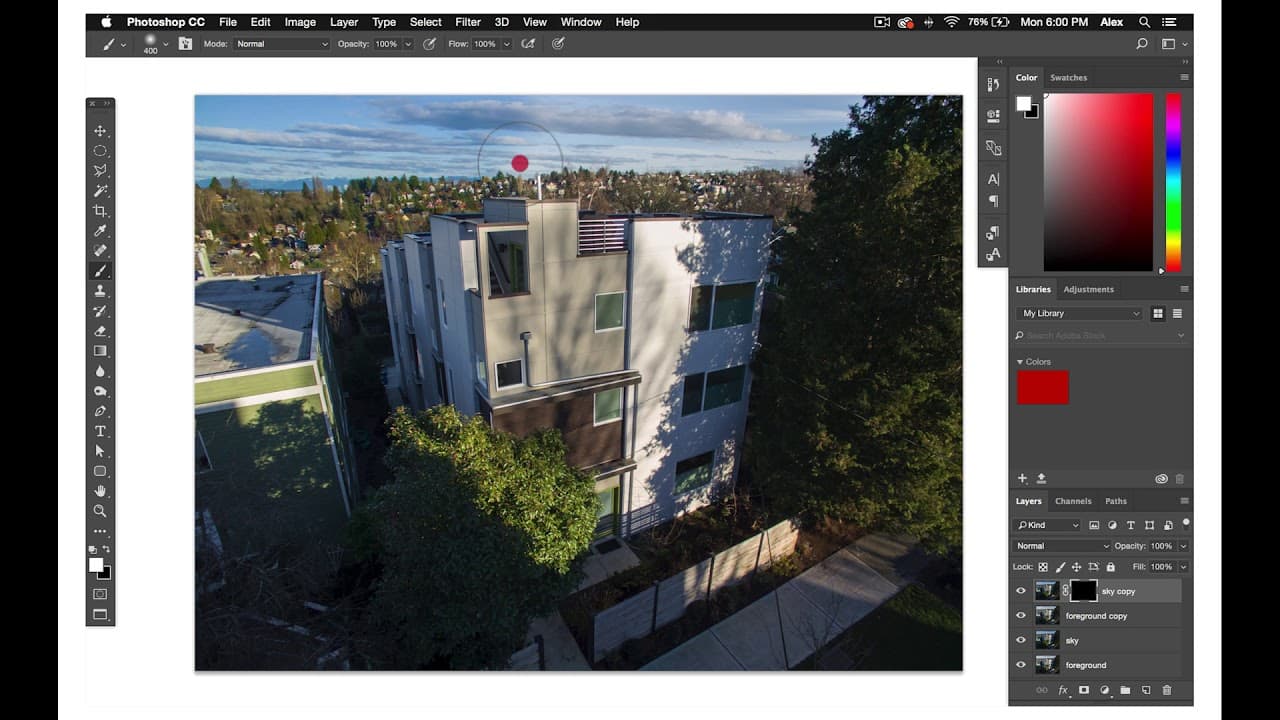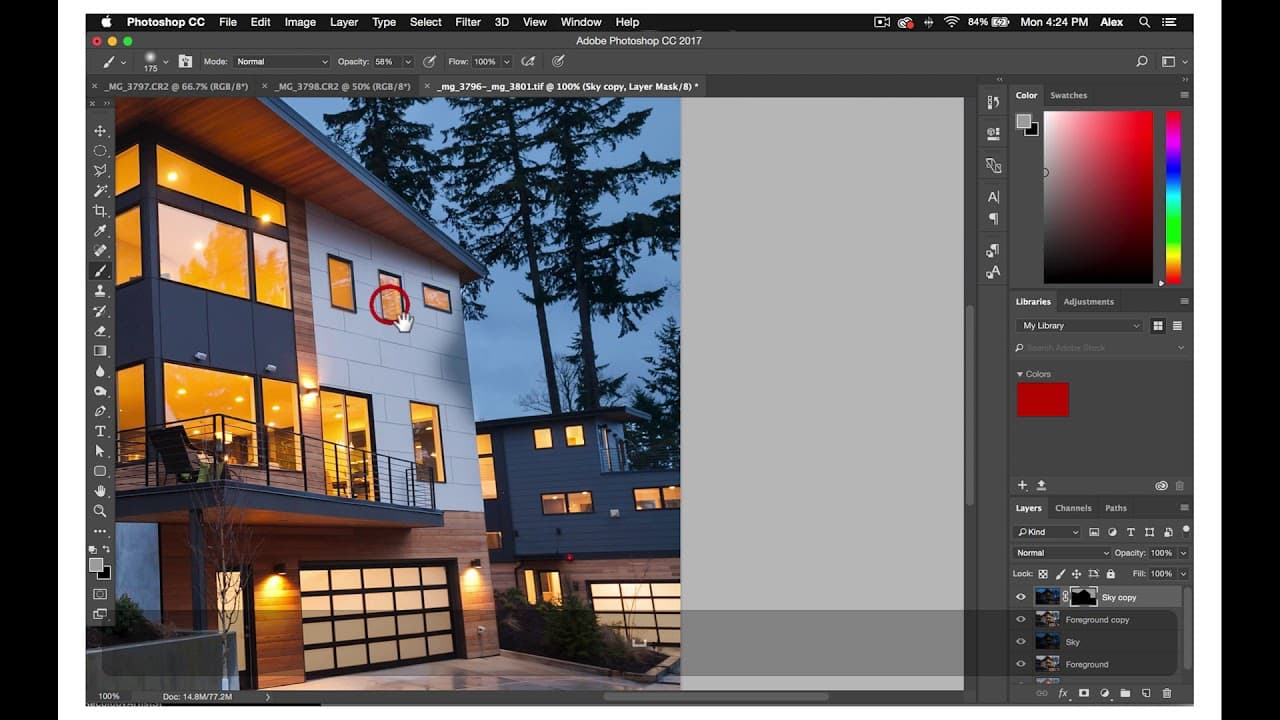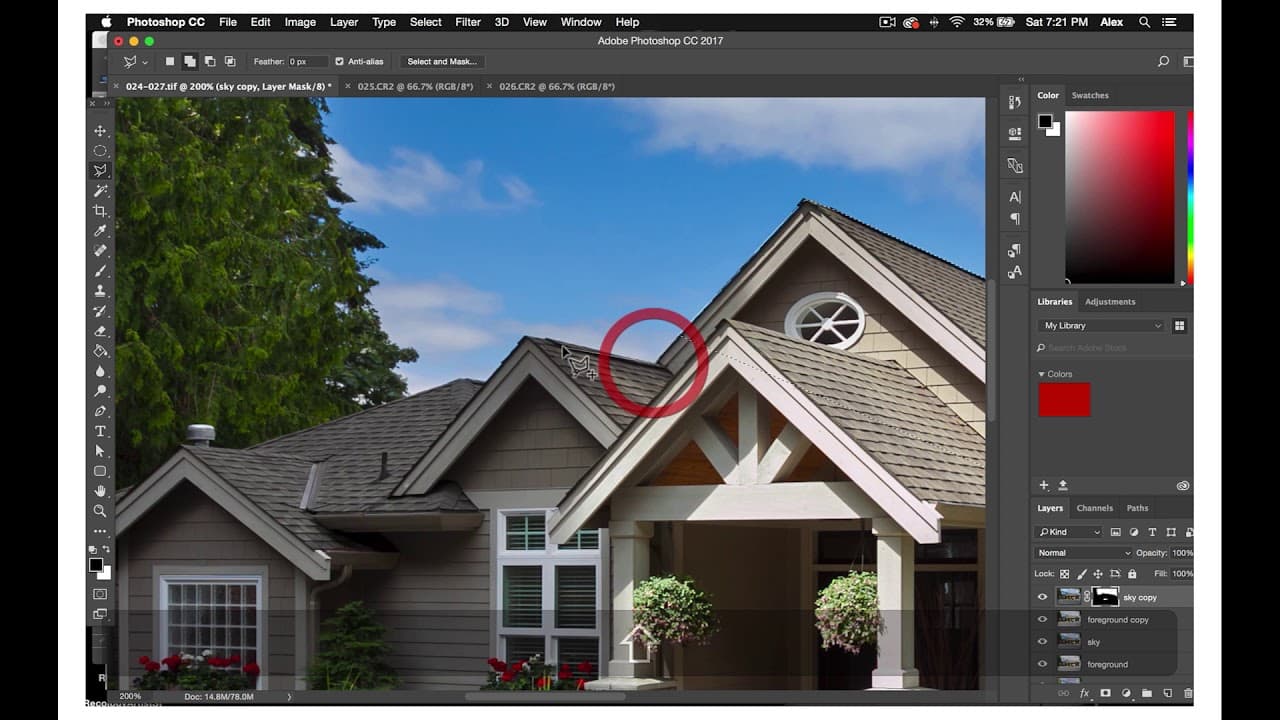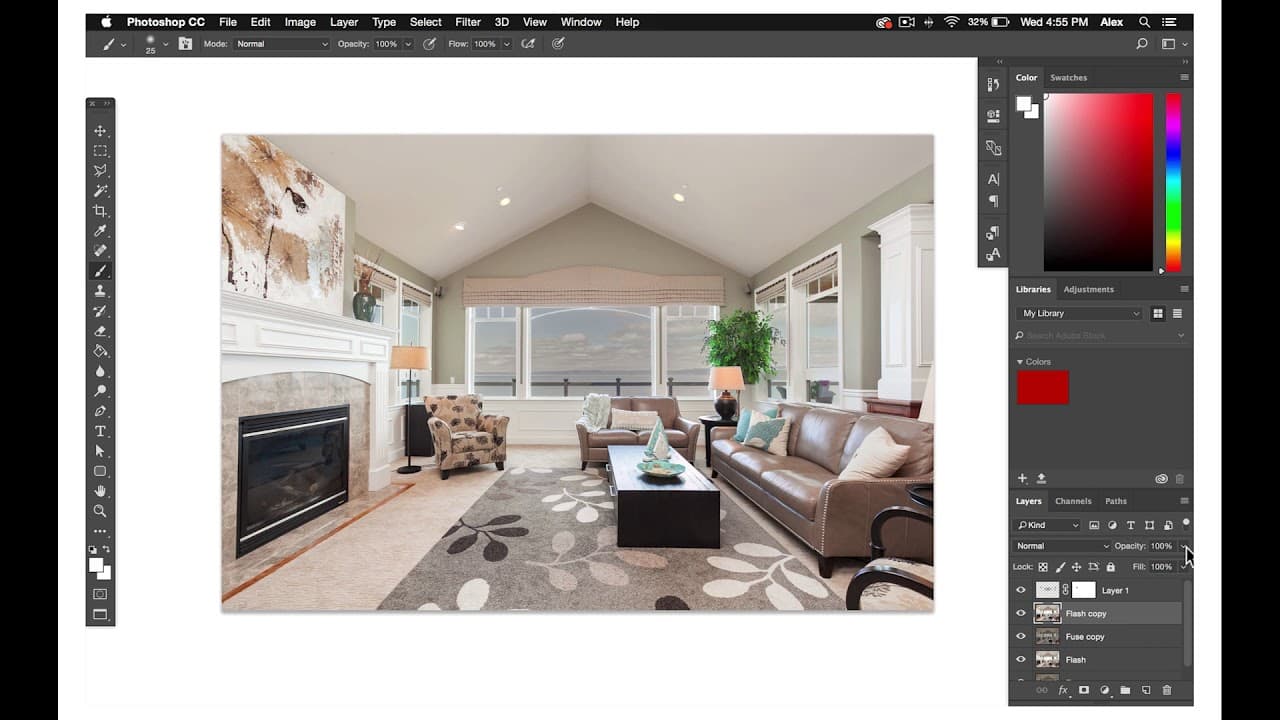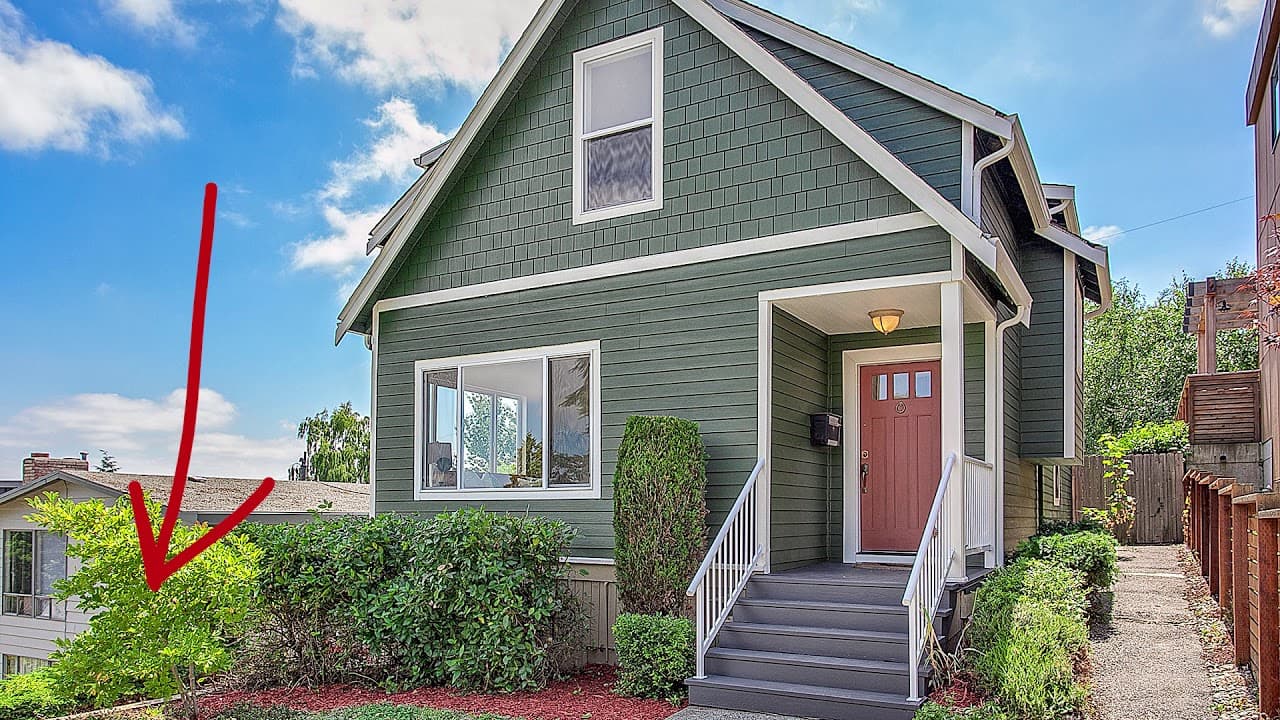

For all of your orders, you will go through a pre-production editing process that will help you stay organized as you work on your orders. First, you will create four folders within your main order folder, title these folders Color Corrected, Raw, Fuse, and Flash. Put all of the raw files in the Raw folder. Then create two folders within the raw folder titled Ambient and Flash. Put all of the ambient shots the bracketed exposure photos into the Ambient folder. Then, put all the flash shots which of the shots at the end of each set of ambiance in the Flash folder. Open all the ambient raw files using Adobe Bridge. Select all the files and open the images using camera raw for all photos, check the Lens Profile Correction box, and then remove Chromatic Aberration Box in the Lens Profile Correction panel.
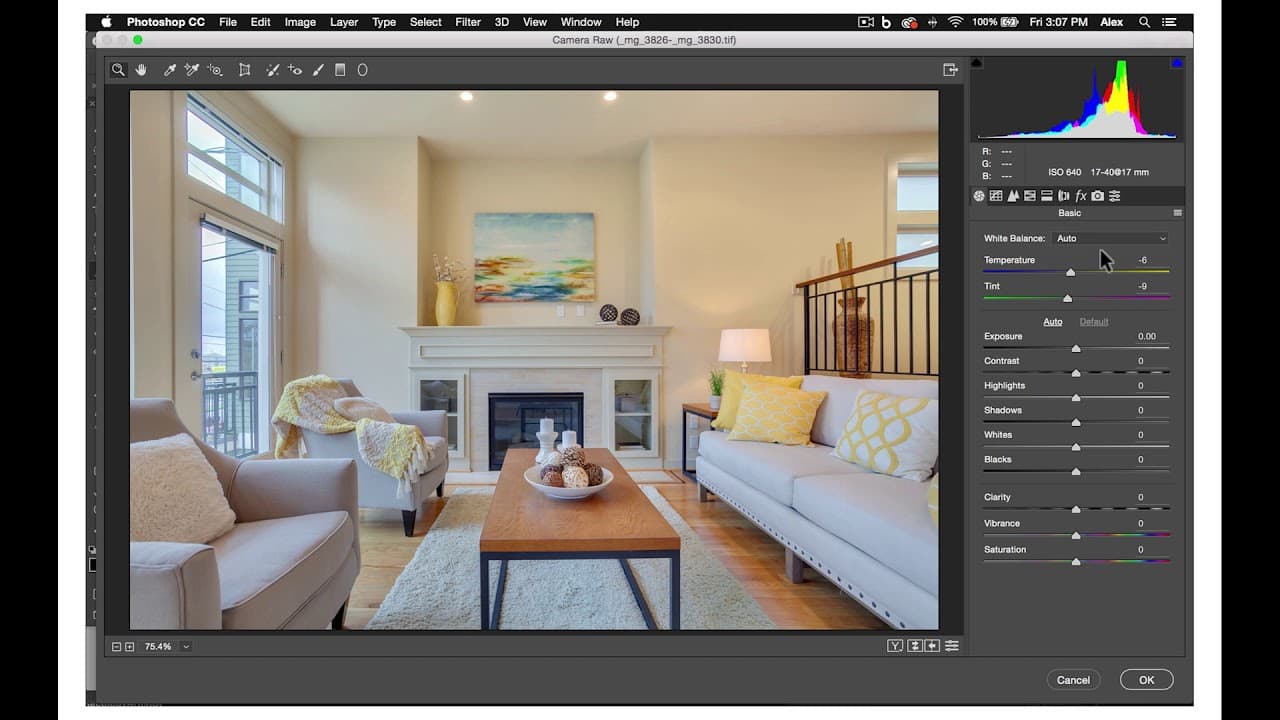
For interior shots set white balance to Auto. In the Detail panel, set the Noise Reduction to around 40 or 50. For exterior shots, keep the White Balance at as shot. Again, adjust the Temperature in 10 as needed, sometimes the photo may be too warm or too cool requiring a manual temperature adjustment. Set the Highlights to around -75 depending on the photo, then adjust Shadows depending on the photo as well, probably somewhere around +35. Lastly, increase Vibrance as needed probably around + 50. Export all the raw ambient files as .tifs or .jpgs into the Color Corrected folder.
You'll do some basic color correcting on your flash files. In camera raw Basic’s panel, select all flash photos and set white balance to Auto. And then check the Lens Profile Correction as well as remove Chromatic Aberrations boxes.
For individual flash photos, adjust Exposure when needed. Usually, you will increase the exposure to make the photograph brighter. Then set Highlights to around -75 to bring back information in the brightest areas of the photos. Afterwards, adjust Shadows, shadow adjustment will depend on each photo and how dark it's shadows are. Afterwards, adjust Contrast, Vibrance, and Clarity according to what looks best for each photo. Use your decision-making skills and edit flash exposures according to what looks best. When you're finished editing your raw flash files export its .tif to the Flash folder within your main order folder.
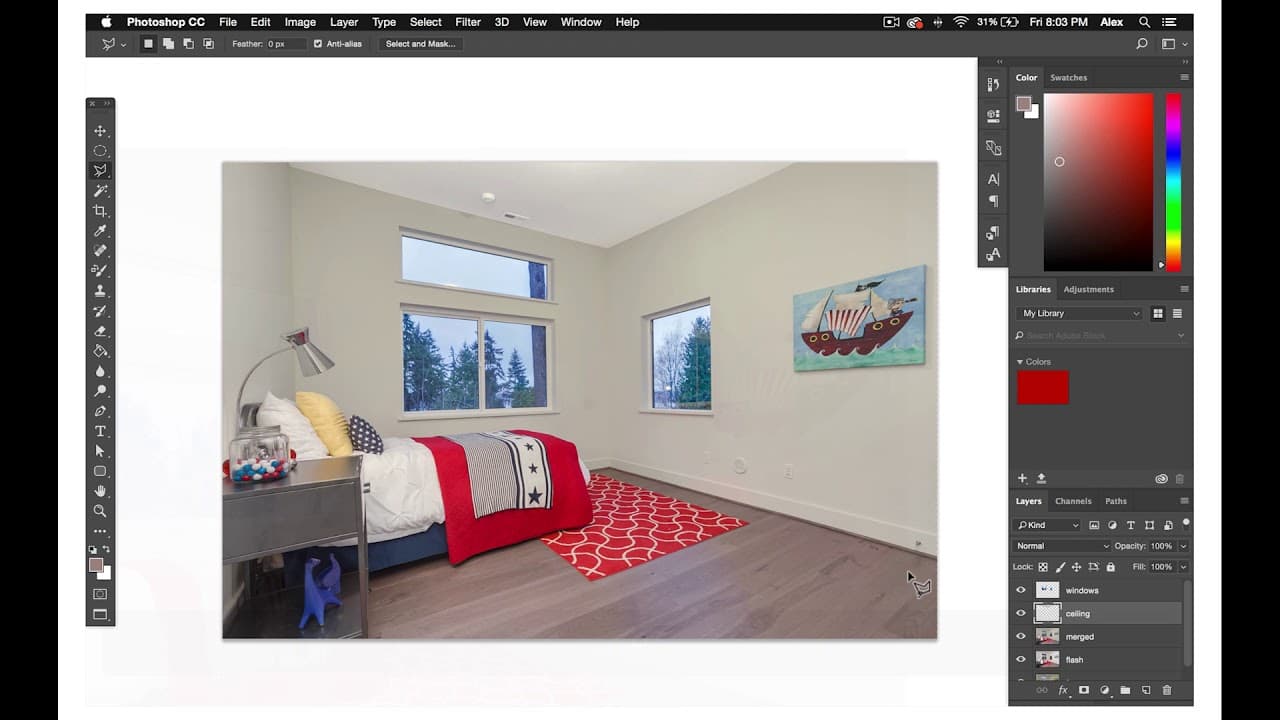
Now, that you have all of your ambient exposures, color corrected in your Color Corrected folder import these files in the Lightroom. Click on the folders panel on the left side and then select the Color Corrected folder then click the Import button. In the Library tab, stack the ambient images from each exposure. Do this by selecting the group, right-clicking, and then pressing stack. After stacking ambient images from each photo, select all the Stacked images. Go to File, and then Plug-in Extras and then Blend Exposures using LR/Enfuse. Set your output Destination folder to the Fuse folder you created in your main order folder. Finally, click Enfuse Images, after these are done merging and exporting, you will have a well-balanced set of HDR images. Now, that you have all of your photos color corrected infused. We will start the process of editing them in Photoshop. However, there are four different products that we offer, at each product has a slightly different editing process. In each of the next four tutorials, will go step-by-step through the workflow of each product.
Need some help with your real estate photos? We in Phixer can help you achieve a professional level real estate images. Contact us now!
For interior shots set white balance to Auto. In the Detail panel, set the Noise Reduction to around 40 or 50. For exterior shots, keep the White Balance at as shot. Again, adjust the Temperature in 10 as needed, sometimes the photo may be too warm or too cool requiring a manual temperature adjustment. Set the Highlights to around -75 depending on the photo, then adjust Shadows depending on the photo as well, probably somewhere around +35. Lastly, increase Vibrance as needed probably around + 50. Export all the raw ambient files as .tifs or .jpgs into the Color Corrected folder.
You'll do some basic color correcting on your flash files. In camera raw Basic’s panel, select all flash photos and set white balance to Auto. And then check the Lens Profile Correction as well as remove Chromatic Aberrations boxes.
For individual flash photos, adjust Exposure when needed. Usually, you will increase the exposure to make the photograph brighter. Then set Highlights to around -75 to bring back information in the brightest areas of the photos. Afterwards, adjust Shadows, shadow adjustment will depend on each photo and how dark it's shadows are. Afterwards, adjust Contrast, Vibrance, and Clarity according to what looks best for each photo. Use your decision-making skills and edit flash exposures according to what looks best. When you're finished editing your raw flash files export its .tif to the Flash folder within your main order folder.
Now, that you have all of your ambient exposures, color corrected in your Color Corrected folder import these files in the Lightroom. Click on the folders panel on the left side and then select the Color Corrected folder then click the Import button. In the Library tab, stack the ambient images from each exposure. Do this by selecting the group, right-clicking, and then pressing stack. After stacking ambient images from each photo, select all the Stacked images. Go to File, and then Plug-in Extras and then Blend Exposures using LR/Enfuse. Set your output Destination folder to the Fuse folder you created in your main order folder. Finally, click Enfuse Images, after these are done merging and exporting, you will have a well-balanced set of HDR images. Now, that you have all of your photos color corrected infused. We will start the process of editing them in Photoshop. However, there are four different products that we offer, at each product has a slightly different editing process. In each of the next four tutorials, will go step-by-step through the workflow of each product.
Need some help with your real estate photos? We in Phixer can help you achieve a professional level real estate images. Contact us now!