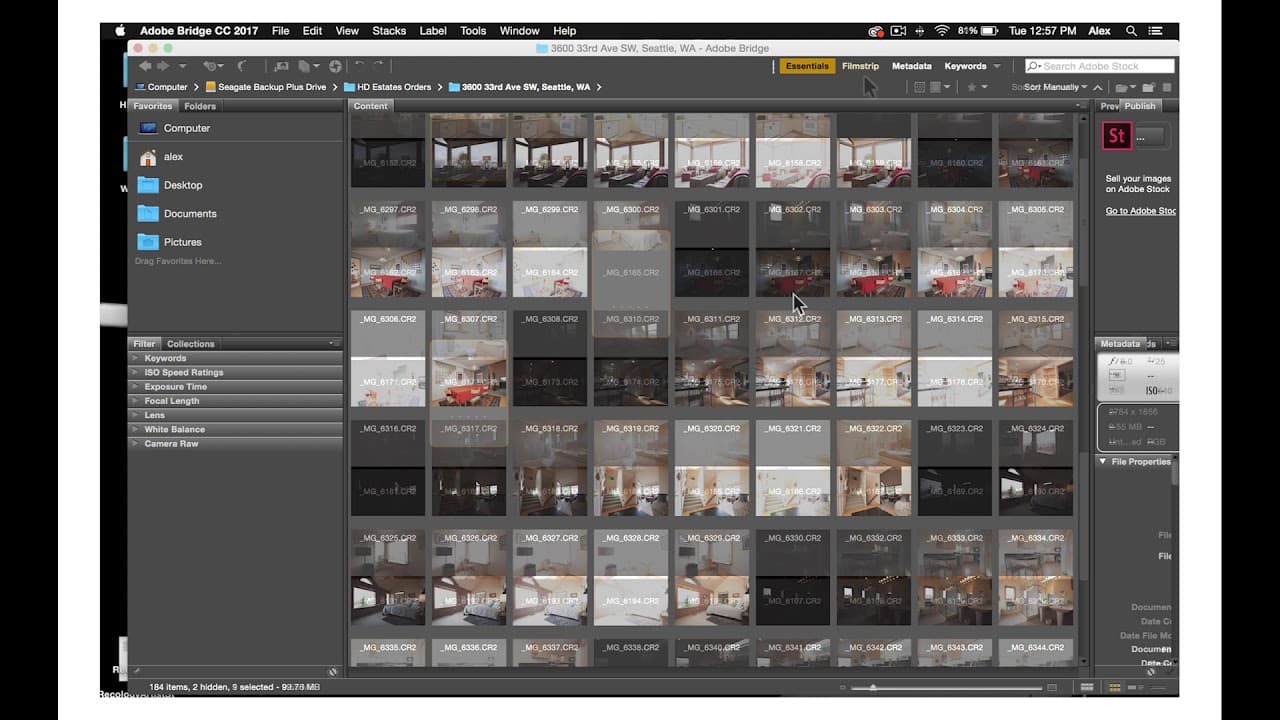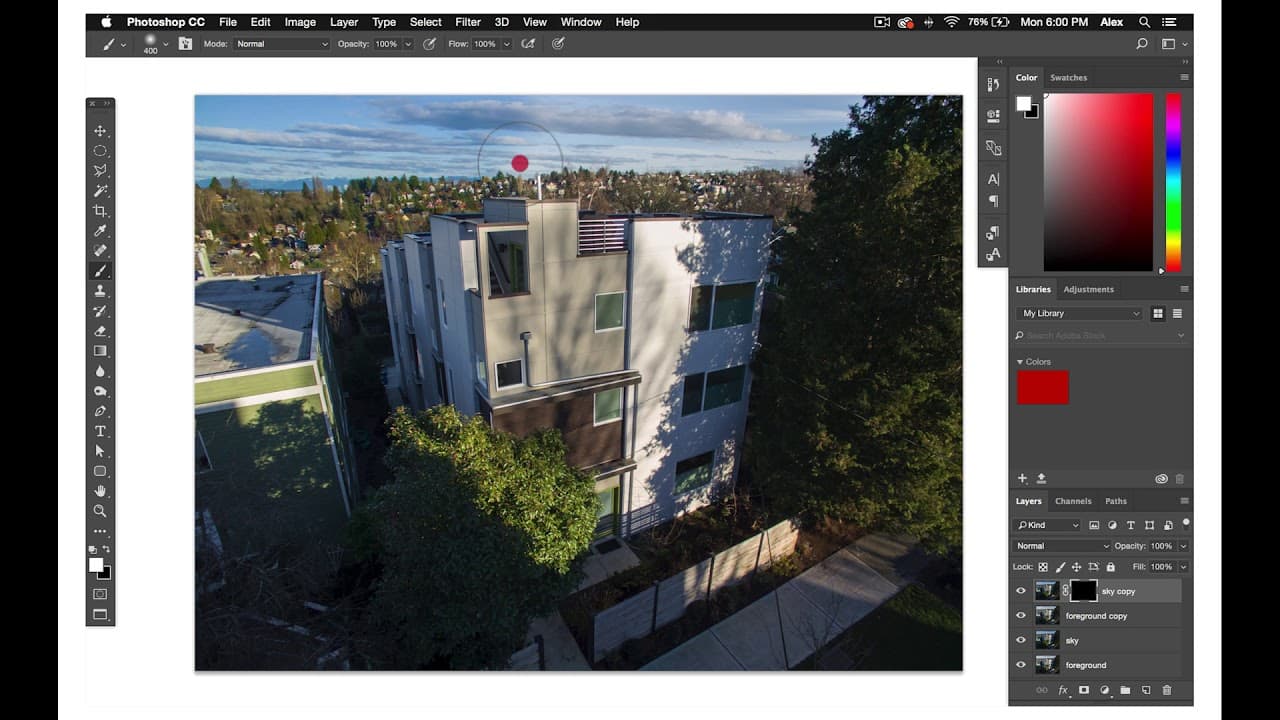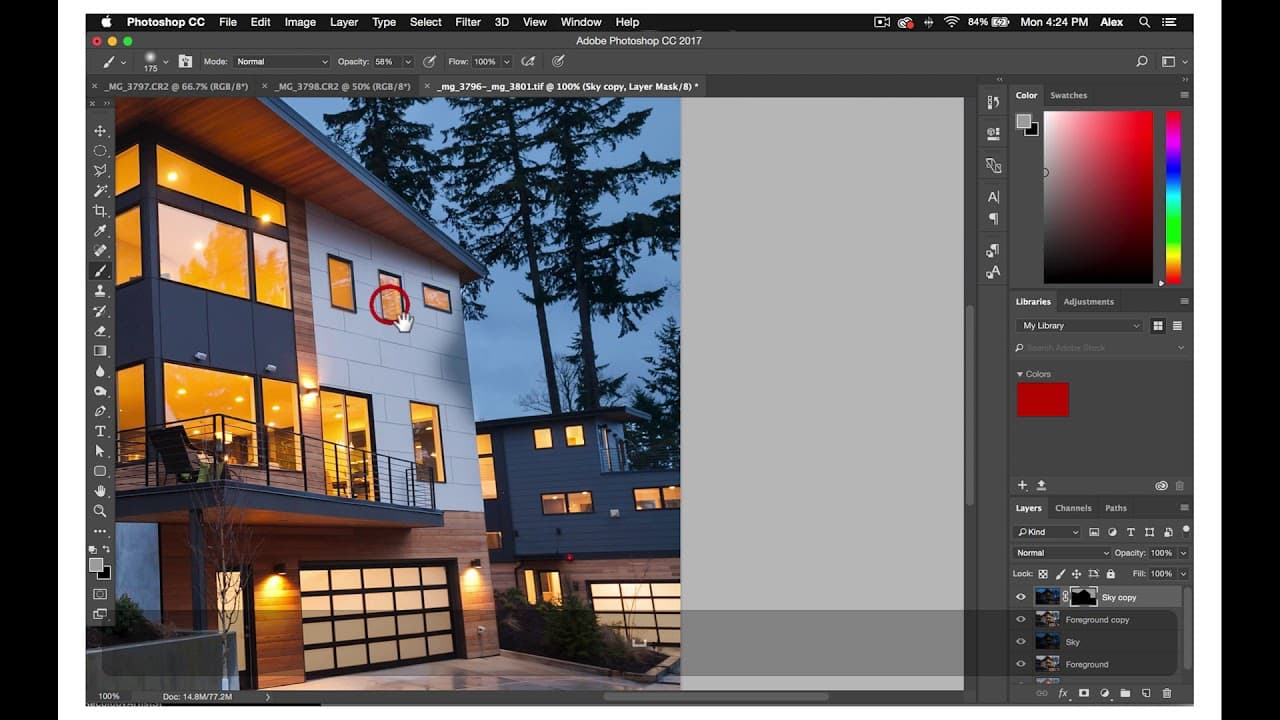
So, now that you have all your fused HDR files in the fused folder and your flash files edited in the flash folder. It's time to edit and combine these files in Photoshop. The HD Naturals editing process is simpler than the rest of them.
First import your flash Infuse files into Photoshop. Put your fuse file in layer 1 and label it fuse. Next, place your flash file onto layer 2 and label it flash. It is important that when you’re editing in photoshop you title your layers accordingly so that you or other editors that may work on the photo later will be able to keep track of how the composite is organized.
Sometimes, the photographer’s camera moves slightly when they turn their flash on. So, the next step is you want to check the alignment of the fuse and flash files. You can do this by turning on and off the top flash layer. If there’s slightly unaligned, then you will need to select both layers. Go to edit -> auto align layers and then select auto. This should align your bottom and top layers so you can blend them naturally.
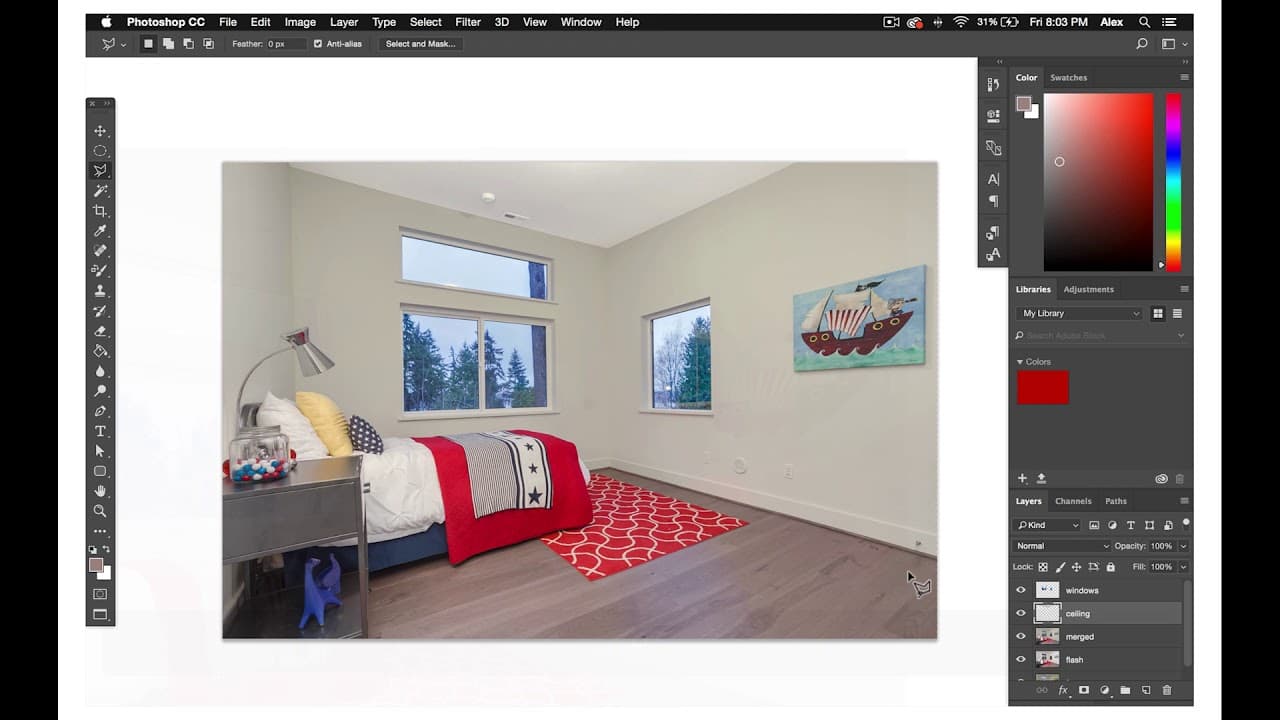
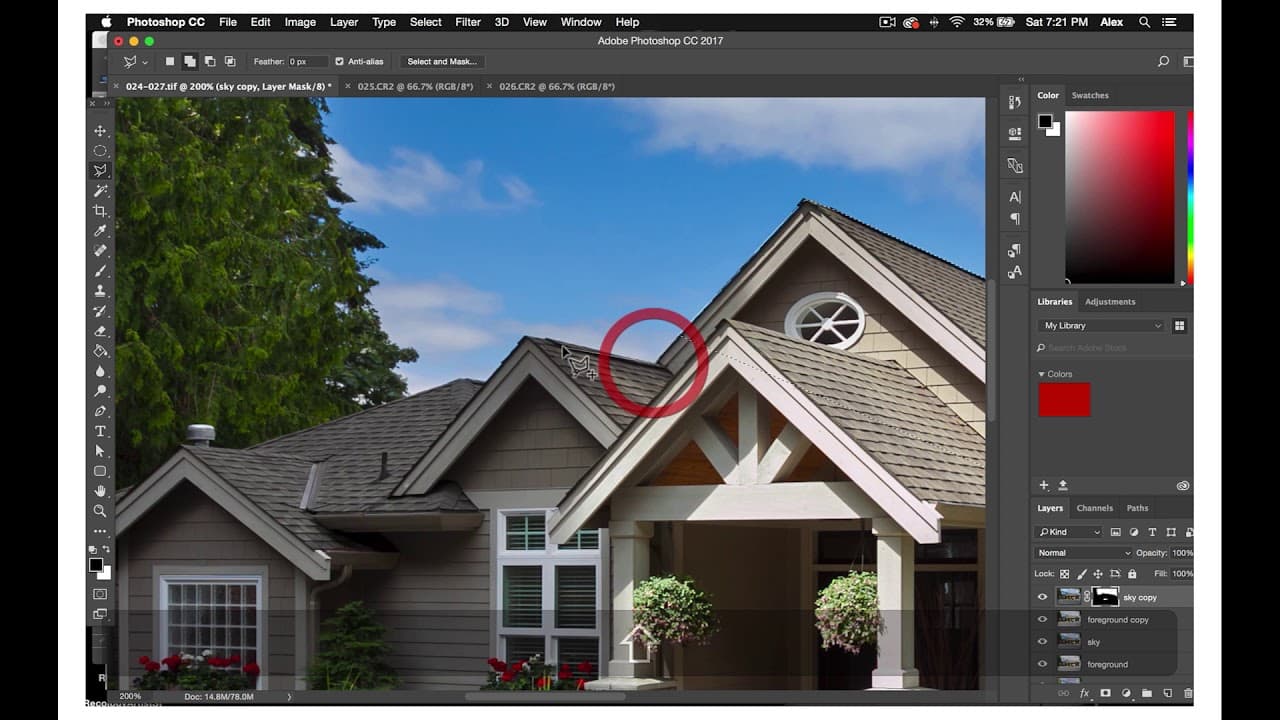
Next, you’ll select the window views of you fused file by using the polygonal lasso tool.
Once you have your windows selected, copy and paste onto a new layer and label the layer windows. Then you can use levels, hue saturation, or camera raw to edit the vibrance, brightness and contrast of your window views. We will examine the process of compositing windows more in depth in a later tutorial.
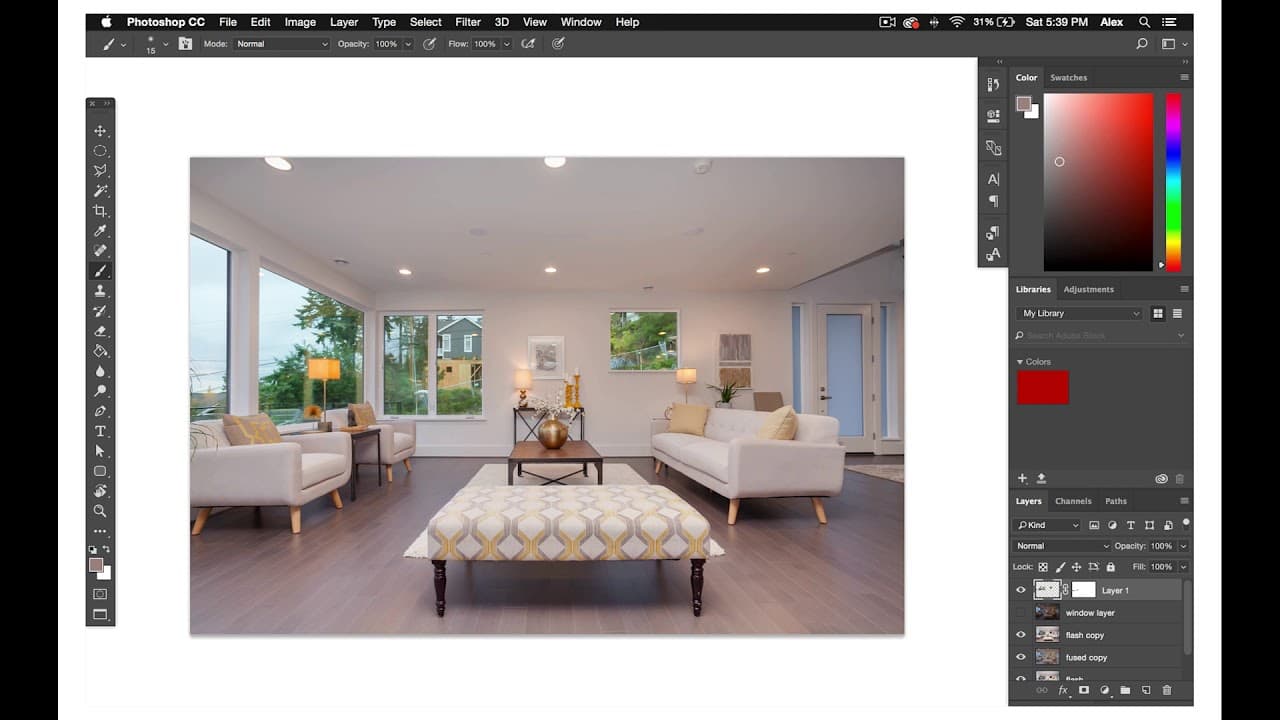
After you’ve labeled your flash and fuse files and checked for alignment, duplicate them by pressing command+J. Before you do edits on any layer, always duplicate the layer so that you have the original layer for reference. Once you’ve done this, select the flash layer and bump down the opacity between 50 and 75. Your final opacity will depend on the photo and the quality of the flash. If the flash shot looks really good then your opacity will be higher, probably around 75. Use your discretion and really look at the photo when you make this decision. There’s no mathematical way of making this decision. Do what is best for the photo. Once you’ve blended them by setting the flash opacity down. Merge the layers by pressing command + E and label this layer merged. Now that you have your windows composited and you’ve merged your fuse and flash layers. You can do final edits in Viveza.
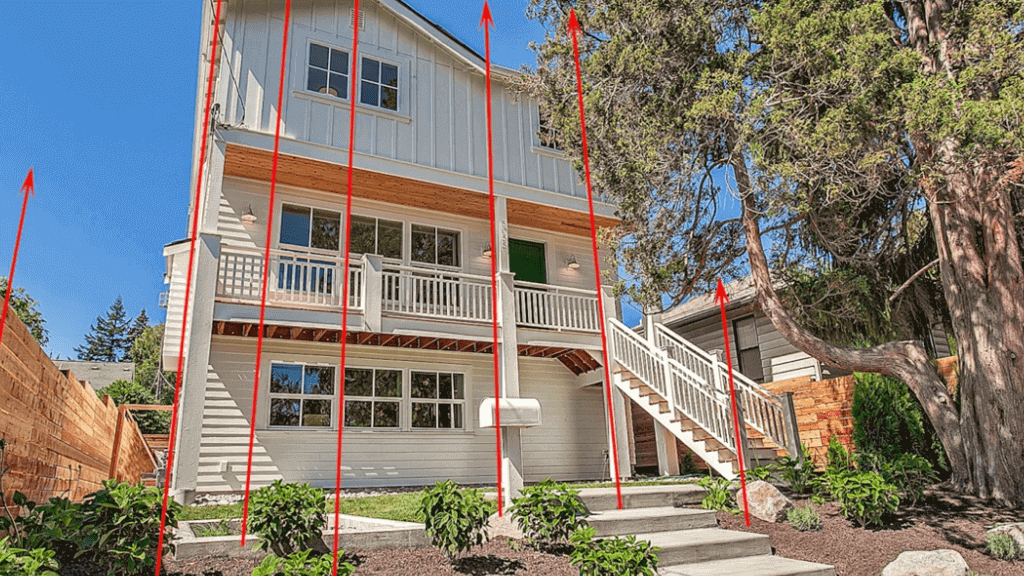
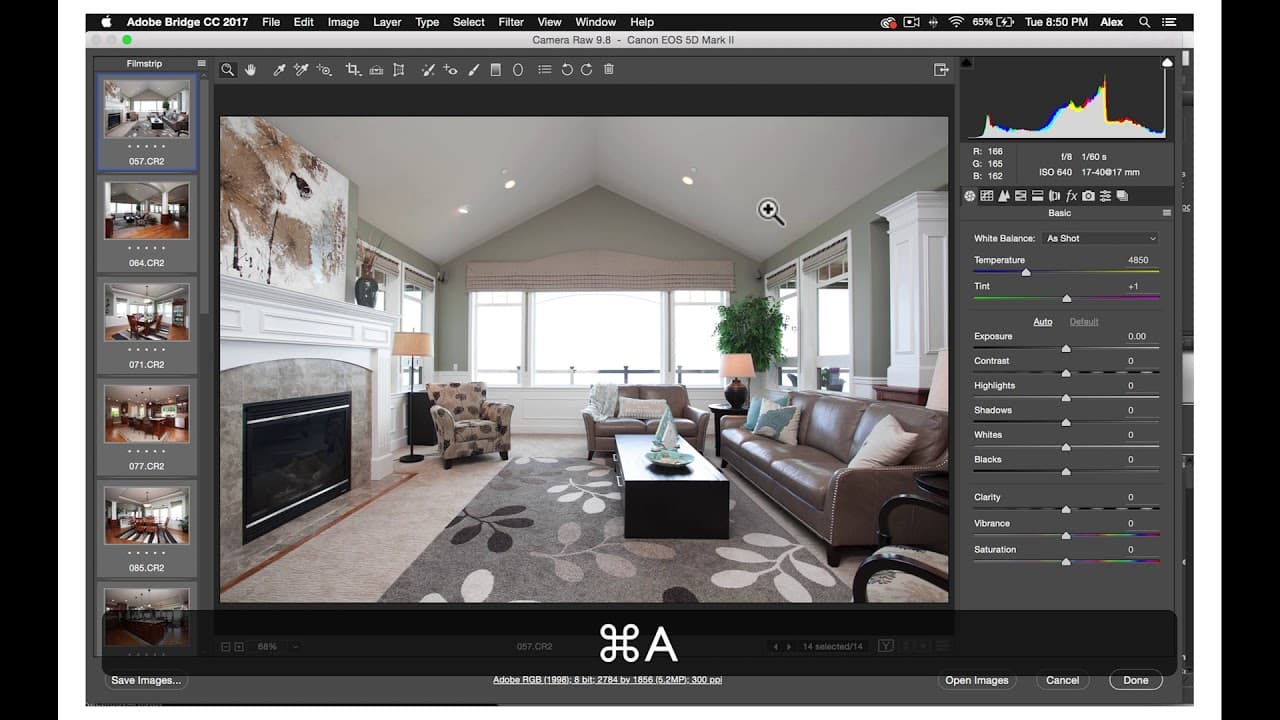
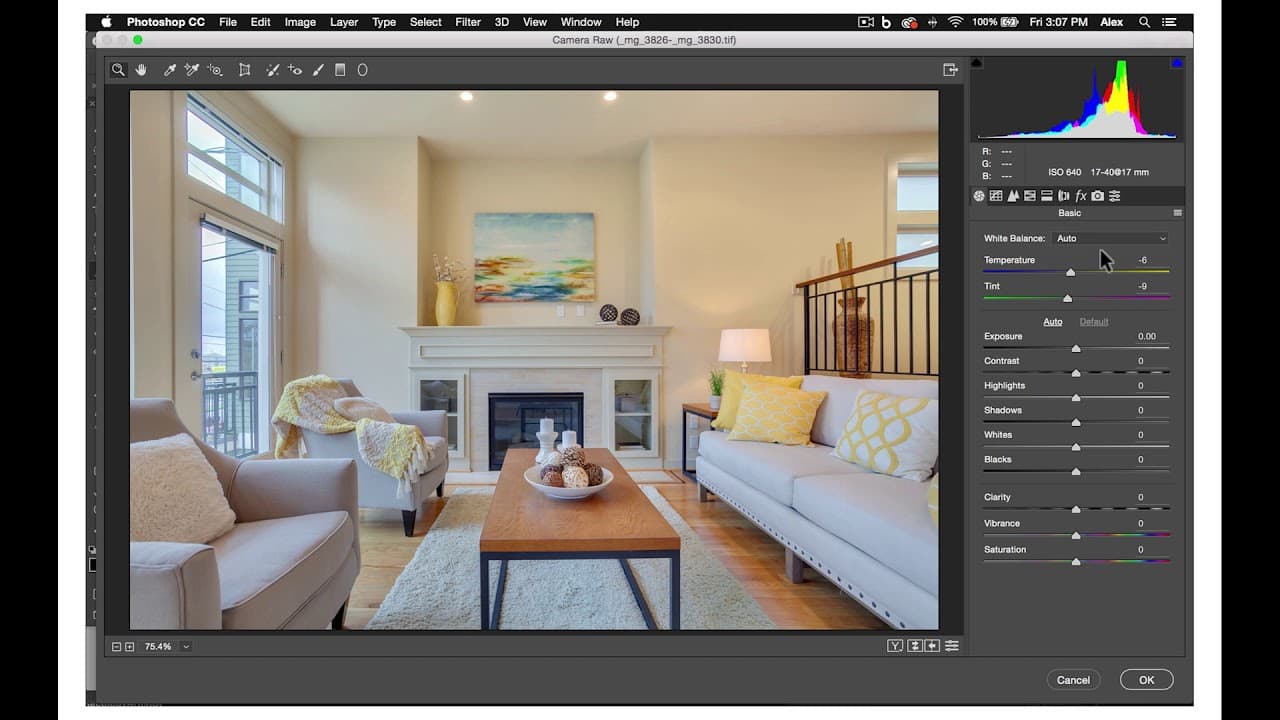
Viveza is a Photoshop plugin that will be very useful to you. In Viveza, you can increase the brightness and the ceilings and the walls while setting nodes on the floors, furniture and cabinets that will keep these things looking rich and contrasted. We will go over the specifics of Viveza in a later tutorial. After you’ve made your Viveza edits, the last step in the HD naturals process is opening your Viveza layer in camera raw to double check the photo’s temperature and alignment. Set the white balance to auto to check if the temperature is correct and if your vertical or horizontal lines are off kilter. Go to the transform tool and align them.
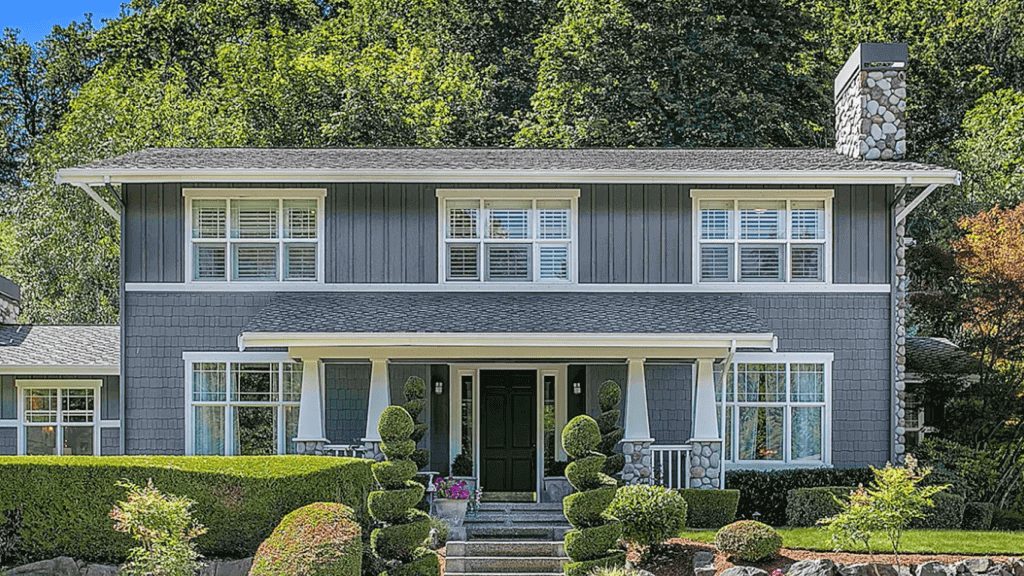
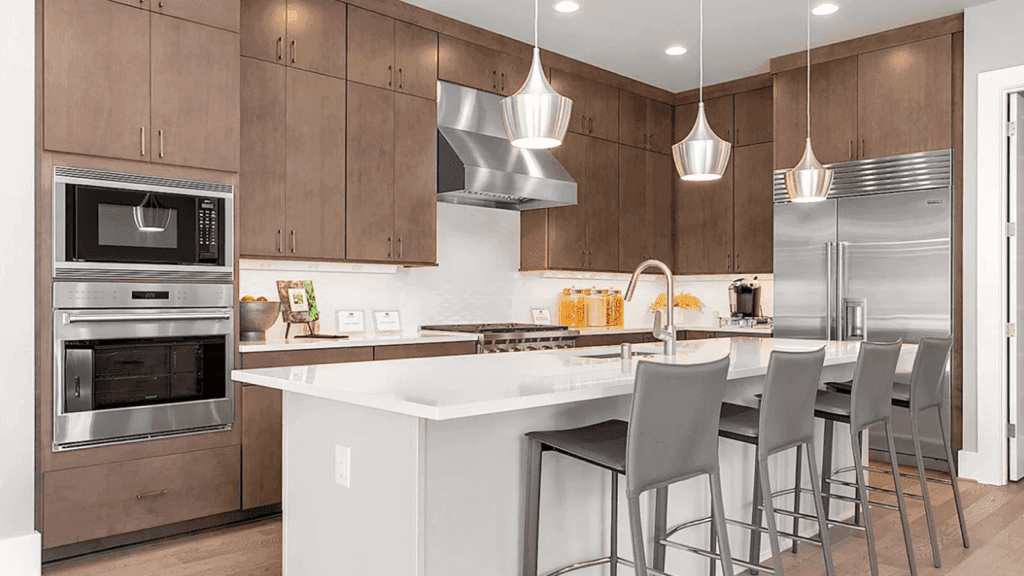
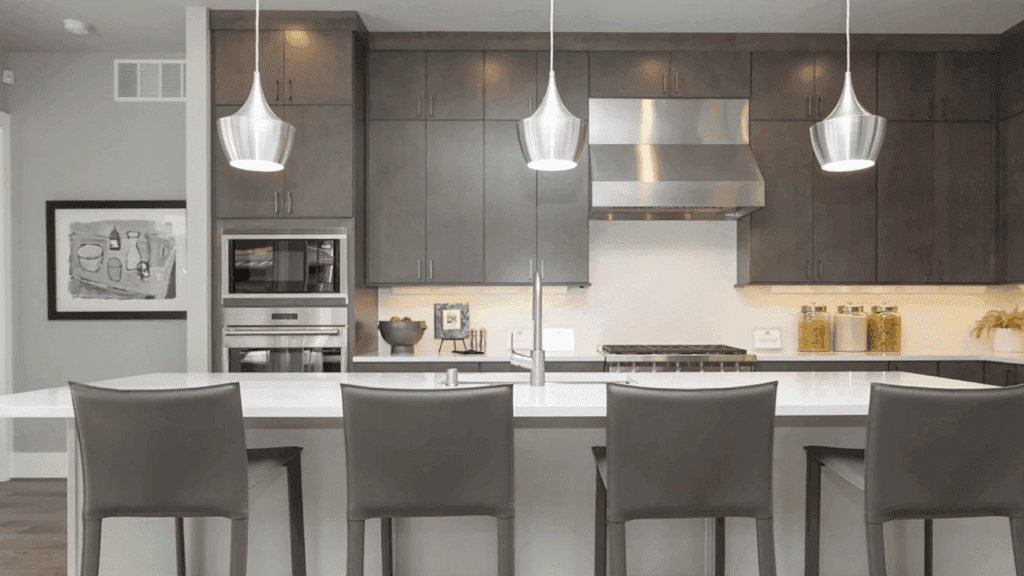
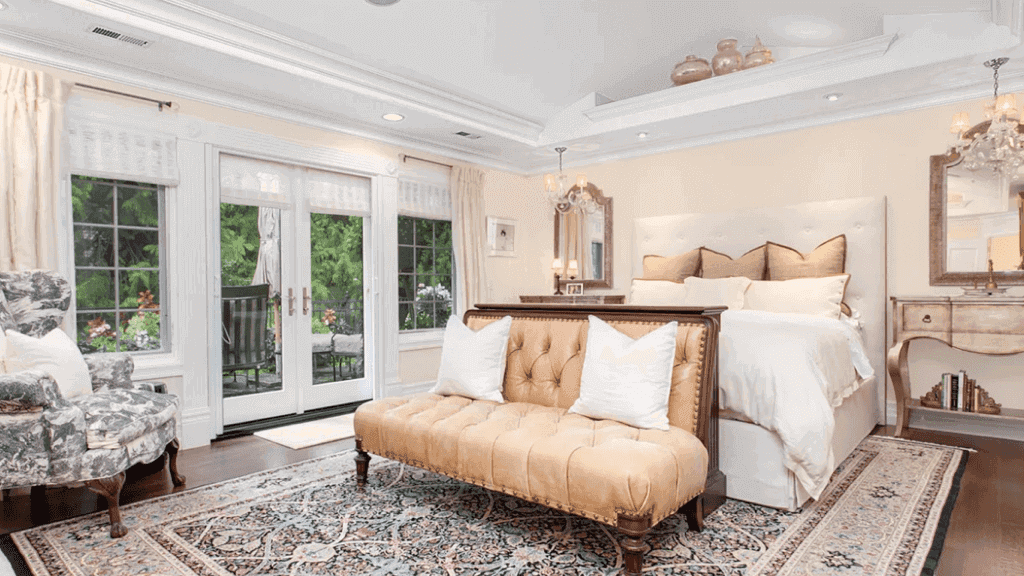
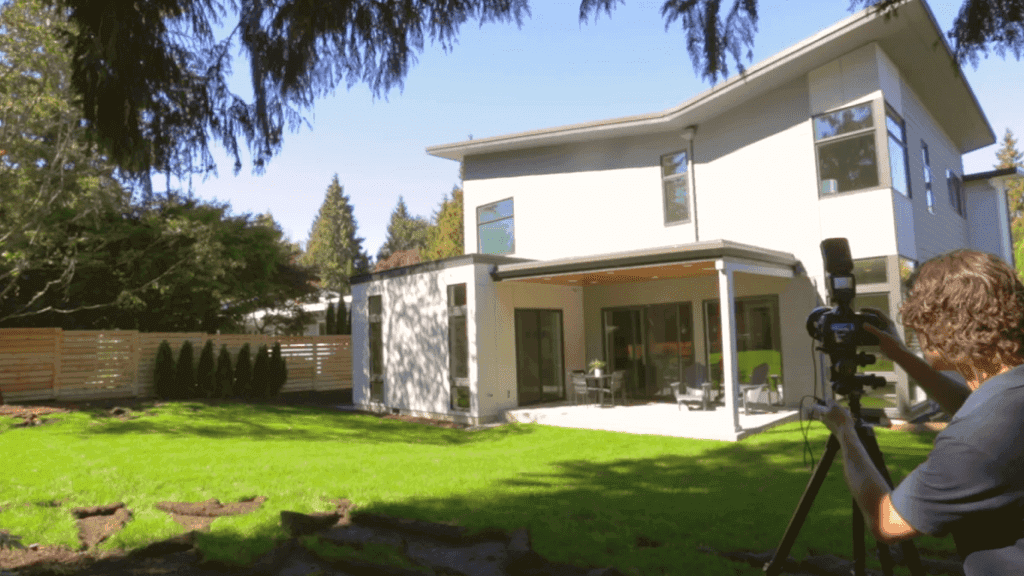
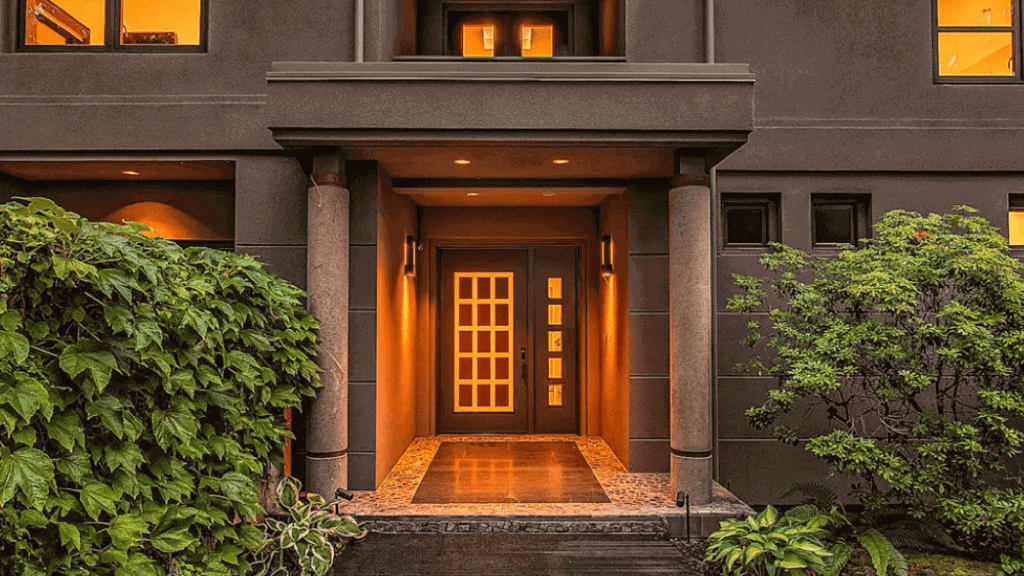
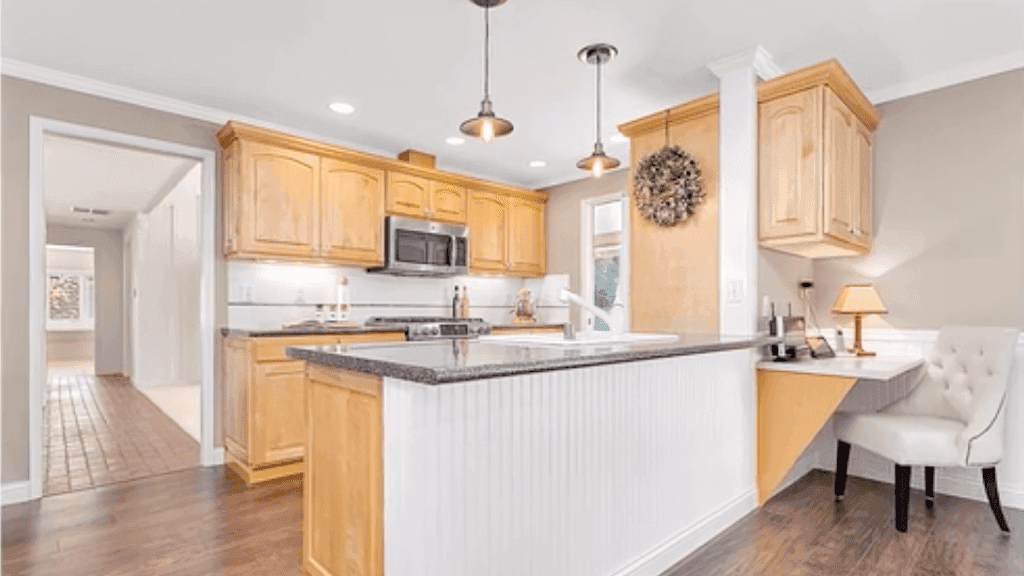
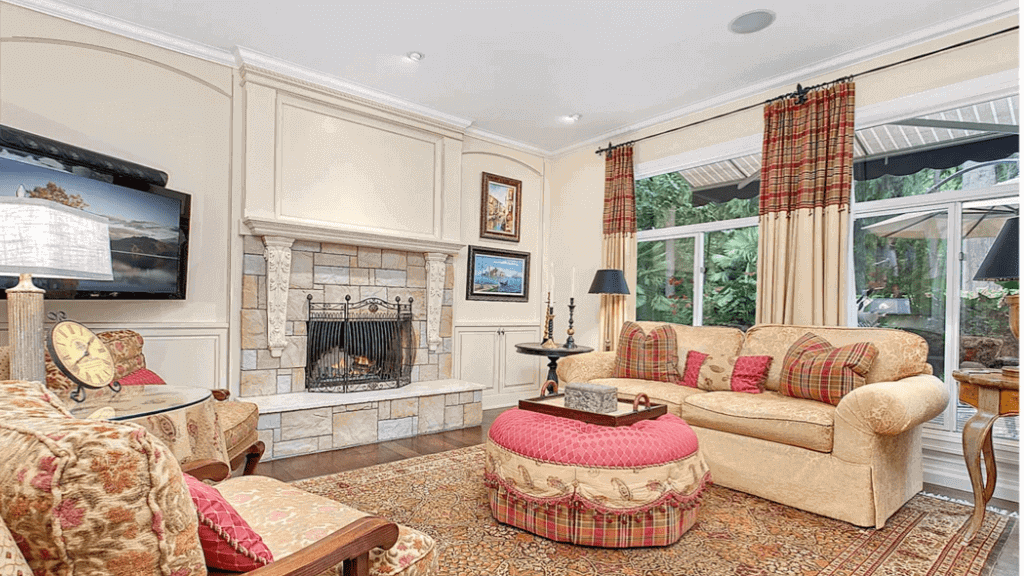
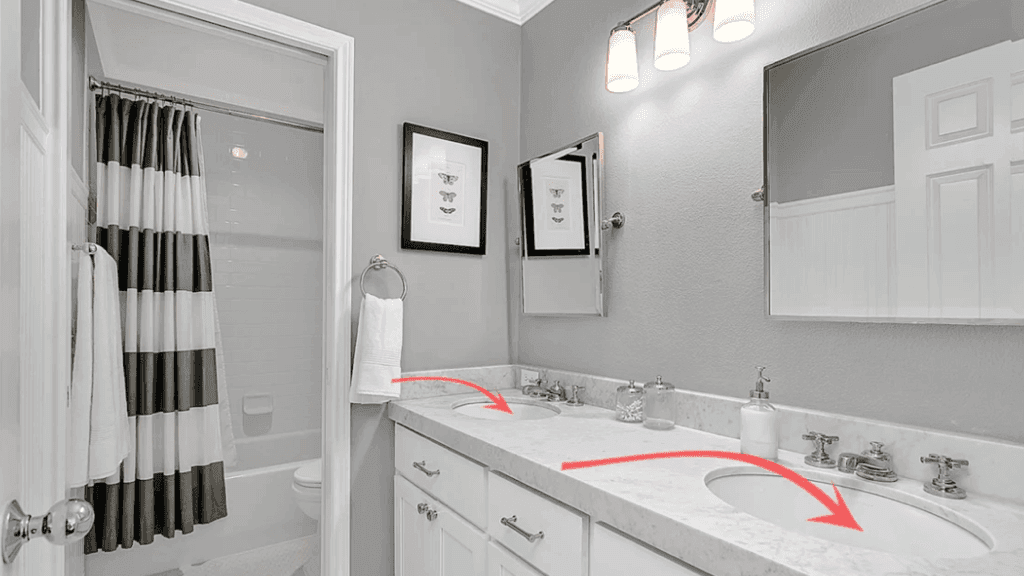
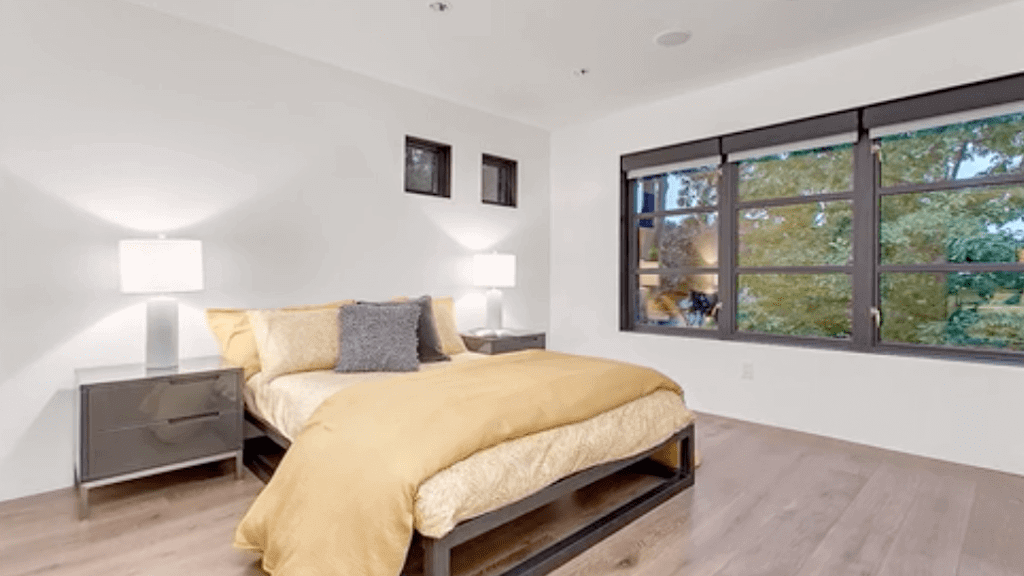
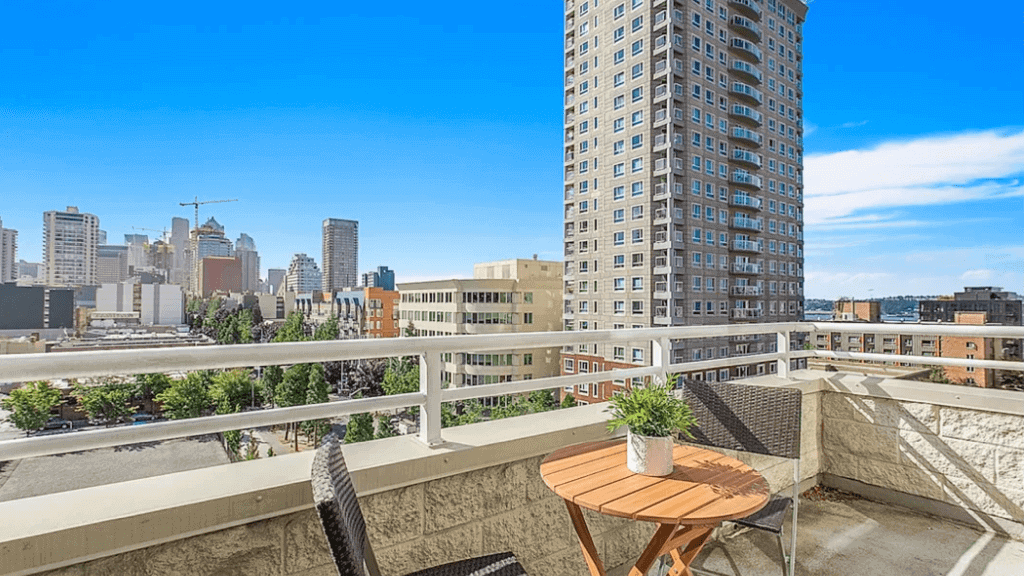
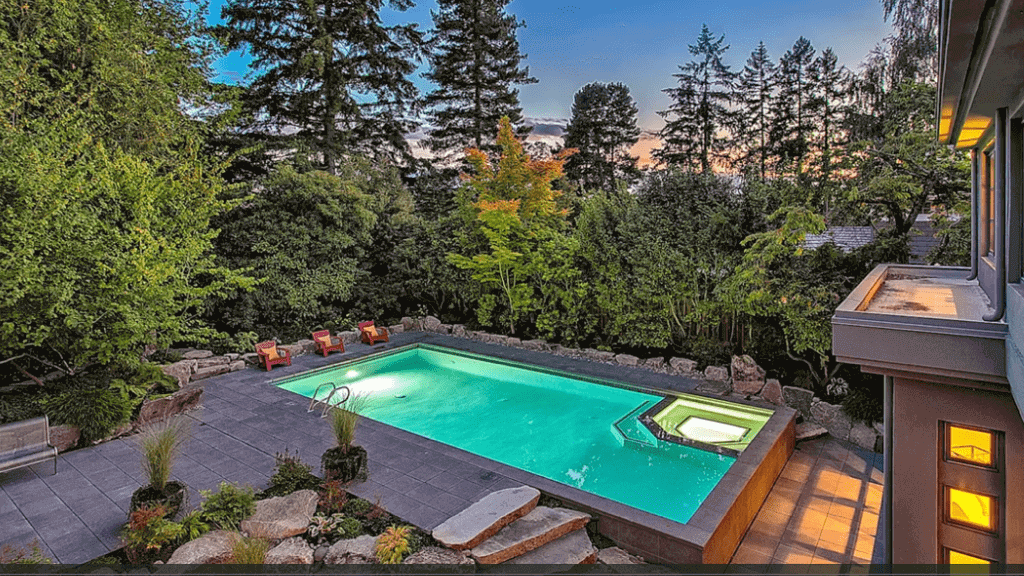
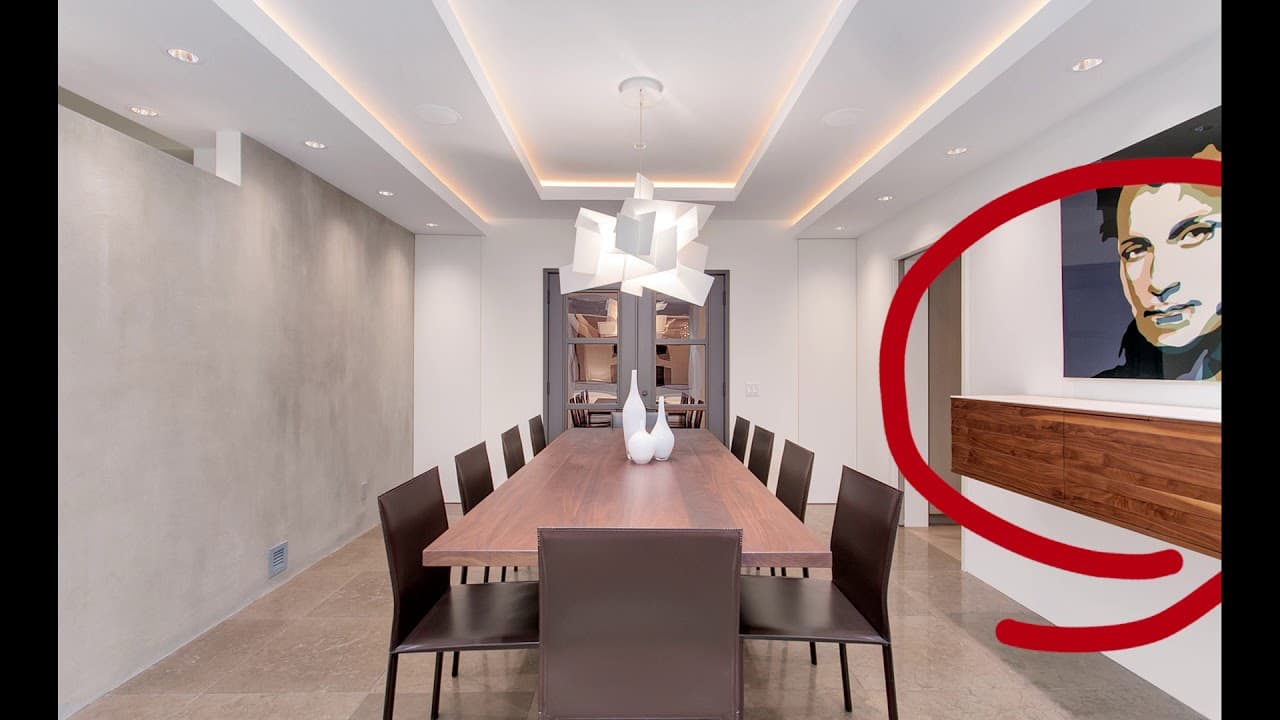
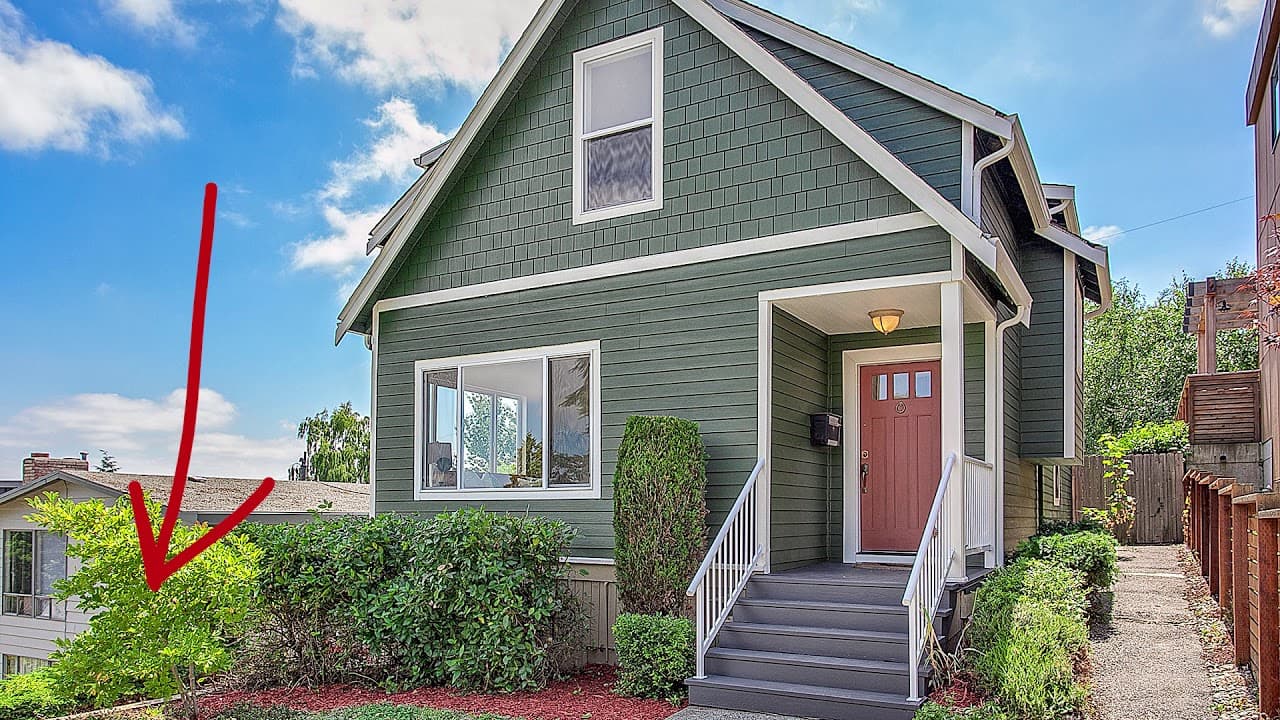
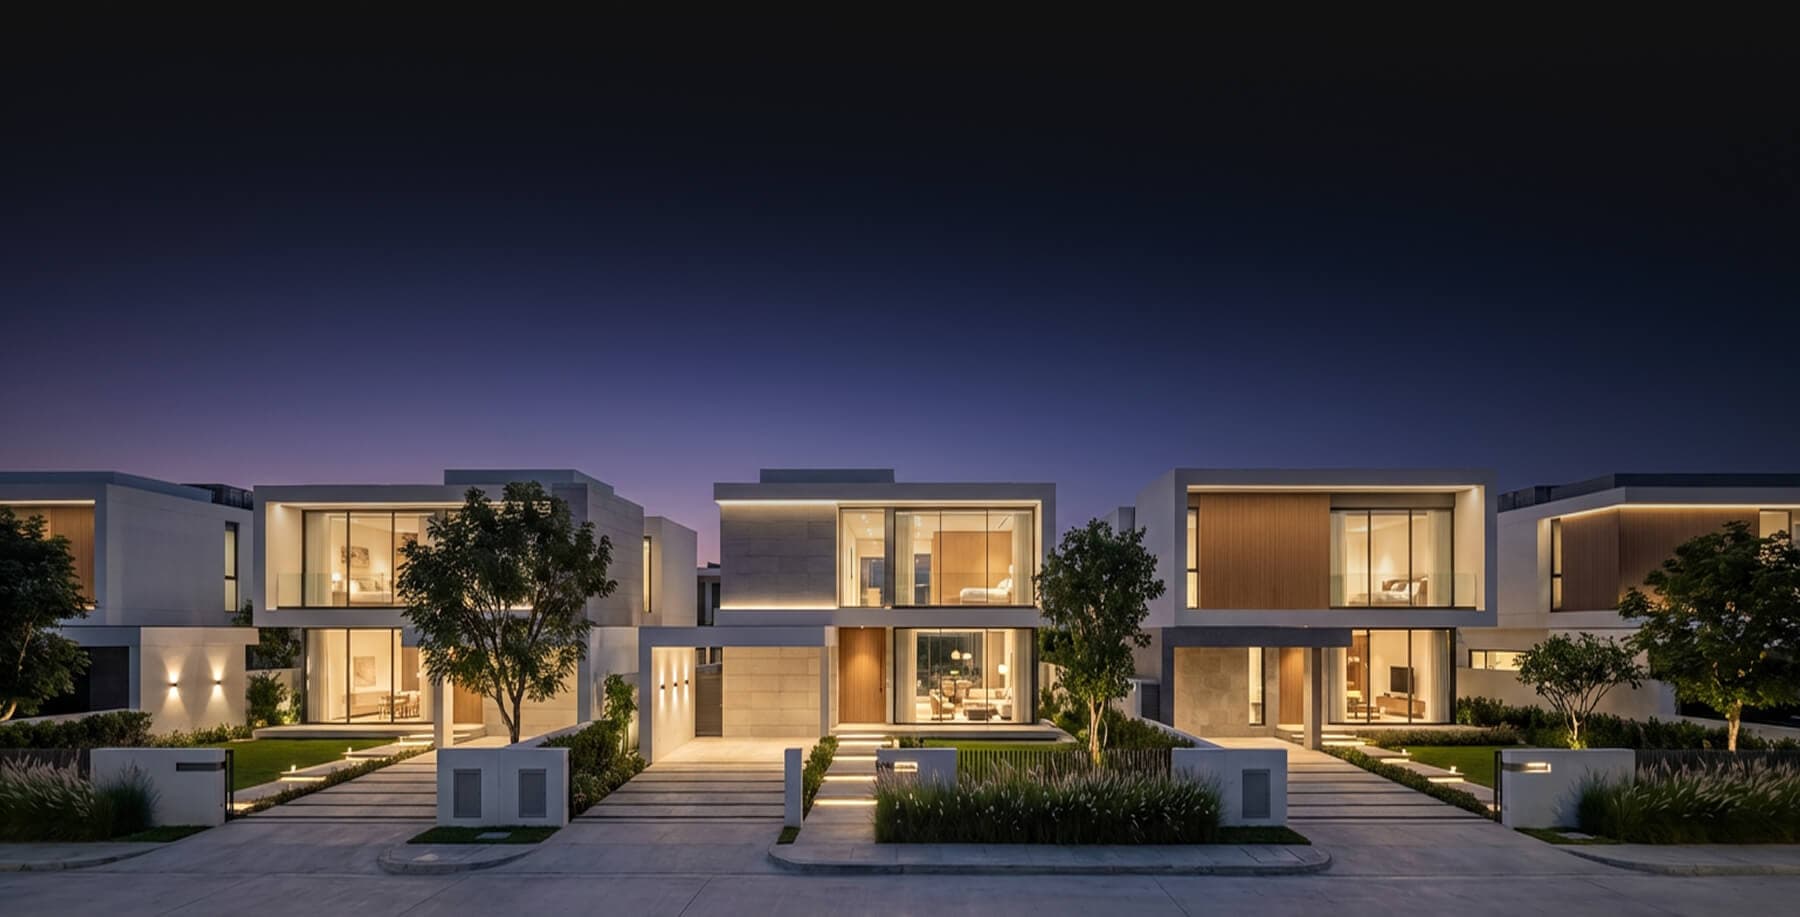
Lastly, open up this final layer with the adjustment tool levels and check the histogram to make sure there isn’t any space on the left or right side of the histogram. If there is then you’ll need to drag the sliders over so that your photograph is as bright and contrasted as possible. Press OK and your photo should be finished according to the HD naturals editing process. Here are some examples of well edited HD natural.
If you need help with your real estate photo editing, you can always contact Phixer to do the job.
First import your flash Infuse files into Photoshop. Put your fuse file in layer 1 and label it fuse. Next, place your flash file onto layer 2 and label it flash. It is important that when you’re editing in photoshop you title your layers accordingly so that you or other editors that may work on the photo later will be able to keep track of how the composite is organized.
Sometimes, the photographer’s camera moves slightly when they turn their flash on. So, the next step is you want to check the alignment of the fuse and flash files. You can do this by turning on and off the top flash layer. If there’s slightly unaligned, then you will need to select both layers. Go to edit -> auto align layers and then select auto. This should align your bottom and top layers so you can blend them naturally.
Next, you’ll select the window views of you fused file by using the polygonal lasso tool.
Once you have your windows selected, copy and paste onto a new layer and label the layer windows. Then you can use levels, hue saturation, or camera raw to edit the vibrance, brightness and contrast of your window views. We will examine the process of compositing windows more in depth in a later tutorial.
After you’ve labeled your flash and fuse files and checked for alignment, duplicate them by pressing command+J. Before you do edits on any layer, always duplicate the layer so that you have the original layer for reference. Once you’ve done this, select the flash layer and bump down the opacity between 50 and 75. Your final opacity will depend on the photo and the quality of the flash. If the flash shot looks really good then your opacity will be higher, probably around 75. Use your discretion and really look at the photo when you make this decision. There’s no mathematical way of making this decision. Do what is best for the photo. Once you’ve blended them by setting the flash opacity down. Merge the layers by pressing command + E and label this layer merged. Now that you have your windows composited and you’ve merged your fuse and flash layers. You can do final edits in Viveza.
Viveza is a Photoshop plugin that will be very useful to you. In Viveza, you can increase the brightness and the ceilings and the walls while setting nodes on the floors, furniture and cabinets that will keep these things looking rich and contrasted. We will go over the specifics of Viveza in a later tutorial. After you’ve made your Viveza edits, the last step in the HD naturals process is opening your Viveza layer in camera raw to double check the photo’s temperature and alignment. Set the white balance to auto to check if the temperature is correct and if your vertical or horizontal lines are off kilter. Go to the transform tool and align them.
Lastly, open up this final layer with the adjustment tool levels and check the histogram to make sure there isn’t any space on the left or right side of the histogram. If there is then you’ll need to drag the sliders over so that your photograph is as bright and contrasted as possible. Press OK and your photo should be finished according to the HD naturals editing process. Here are some examples of well edited HD natural.
If you need help with your real estate photo editing, you can always contact Phixer to do the job.