What's New?

AI![]() Real Estate Photo Editing
Real Estate Photo Editing
Instant, professional-quality edits powered by AI technology—perfect for tight deadlines.
Read More ↗November 13, 2024

Real estate photography has become a crucial aspect of property marketing. High-quality images can make a huge difference in attracting potential buyers. We know that great photos start with good camera skills, but editing is where the magic happens.

Advanced real estate photo editing techniques can transform ordinary property images into stunning visuals that capture attention and drive sales. These skills go beyond basic adjustments and can help create images that truly stand out in a crowded market.
We’ll explore some powerful Photoshop tips to take your real estate photos to the next level. From perfecting exposure to removing unwanted objects, these techniques will help you create eye-catching property listings that leave a lasting impression.
Real estate photo editing requires a blend of technical skills and artistic vision. We’ll explore key techniques to enhance property images and make them stand out.
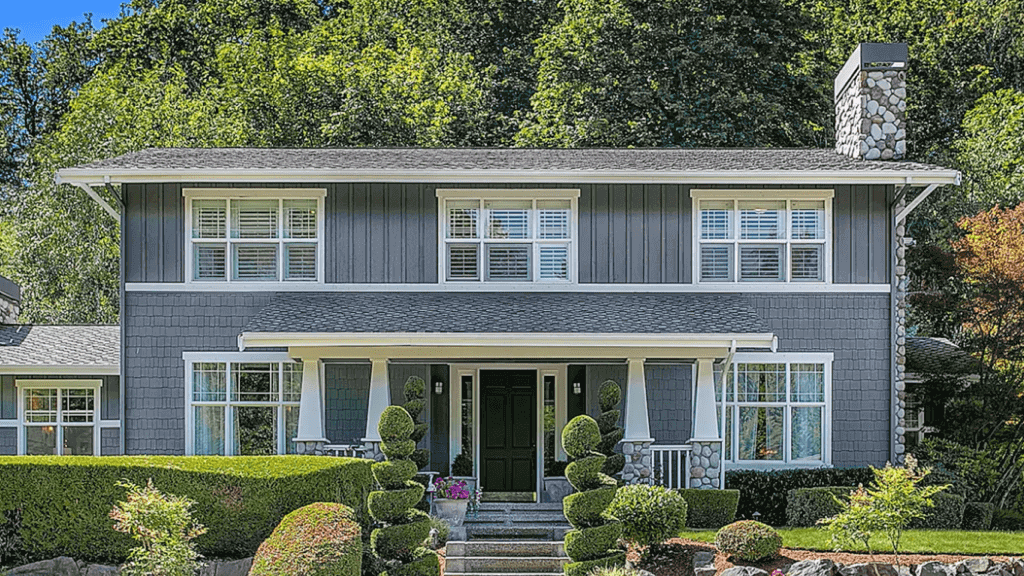
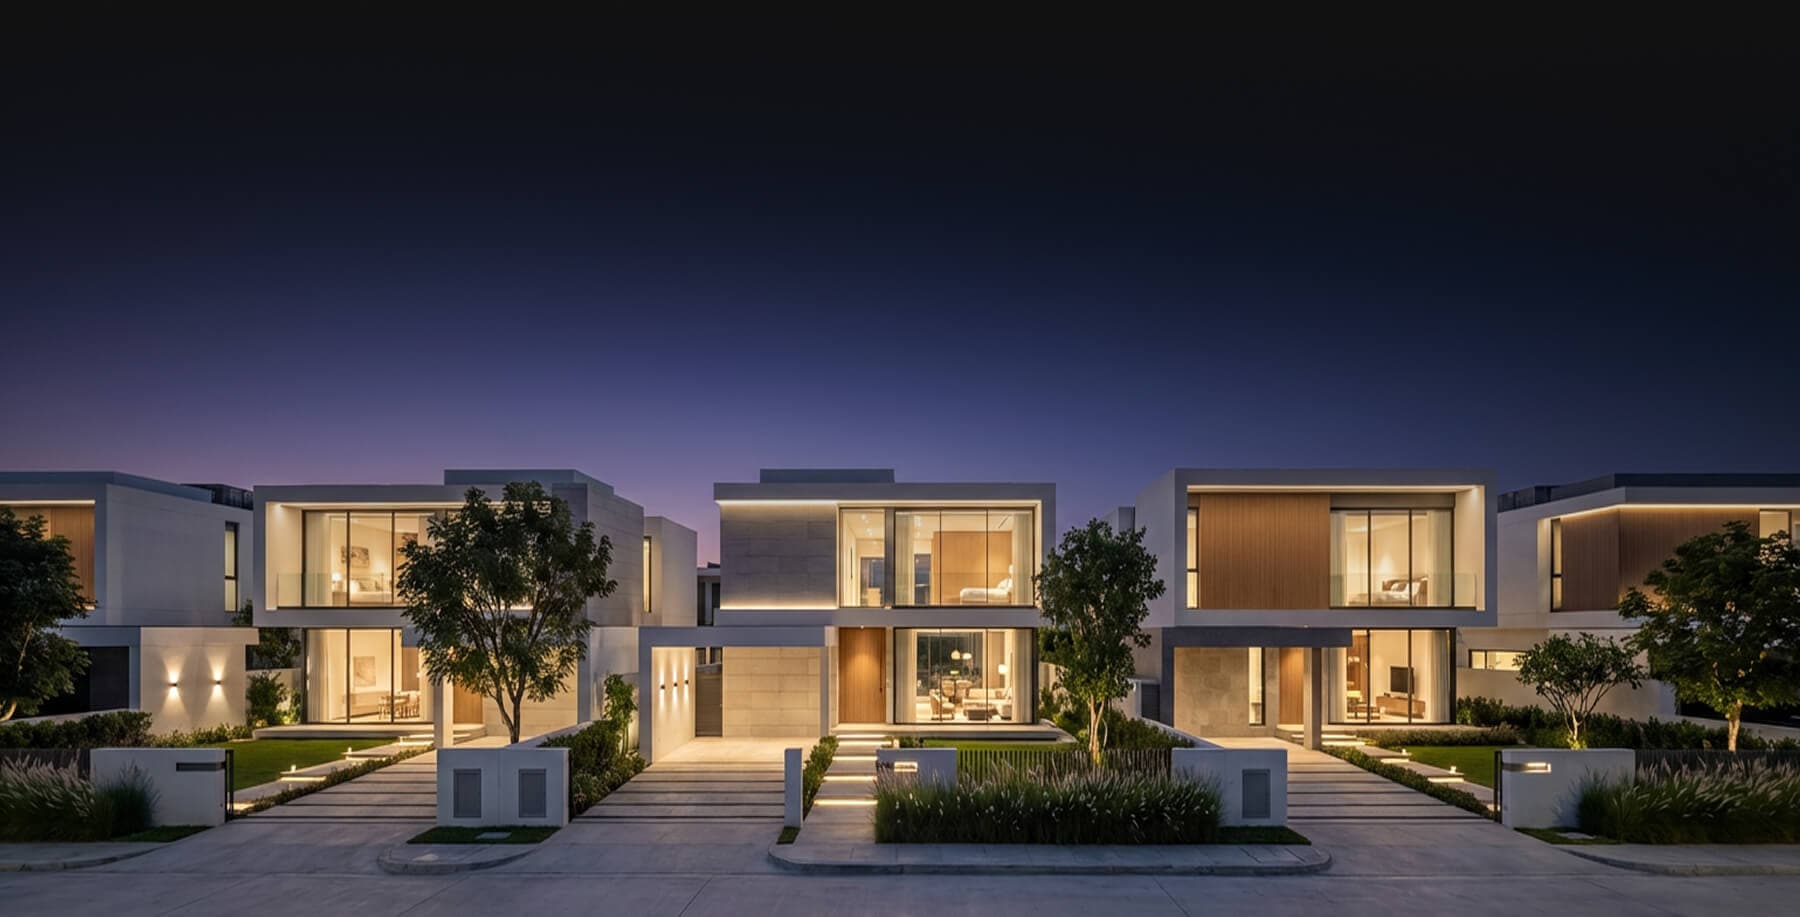
Real estate photography aims to showcase properties in their best light. We use wide-angle lenses to capture spacious rooms. Good composition is crucial. We frame shots to highlight key features and create a sense of flow.
Lighting plays a big role. We balance natural and artificial light to create bright, inviting spaces. Window views are important too. We make sure they’re not overexposed.
In post-processing, we focus on enhancing brightness and color. This makes rooms look more appealing. We also fix any distortions from wide-angle lenses.
Proper exposure is key in real estate photos. We aim for bright, well-lit images that show off the space. Getting the exposure right is one of our first steps in editing.
We adjust highlights and shadows to balance light. This helps show details in both bright and dark areas. We might use HDR techniques for tricky lighting situations.
In Photoshop or Lightroom, we fine-tune:
These tweaks help create a natural, inviting look. We’re careful not to overdo it. Our goal is a realistic yet attractive image.
Color accuracy is crucial in real estate photos. We start by setting the right white balance. This ensures neutral colors look correct.
Next, we adjust hue and saturation. This helps make colors pop without looking fake. We might boost greens for lush lawns or blues for clear skies.
Color correction is often needed to fix:
We use tools like Color Balance and Selective Color in Photoshop. These help us target specific color ranges for precise adjustments.
Wide-angle lenses are great for real estate shots. But they can cause distortion. We use lens correction tools to fix this. This straightens vertical lines and reduces bulging.
Perspective correction is also key. We adjust images to make walls look straight and floors level. This creates a more natural, true-to-life view of the space.
In Photoshop, we use:
These tools help us create images that look more like what the human eye sees. The result? Photos that give a realistic sense of the property’s layout and proportions.
Real estate photo editing requires specialized techniques to create stunning property images. We’ll explore key tools and methods to enhance your real estate photography and take it to the next level.
The clone stamp tool is essential for fixing imperfections in real estate photos. We use it to remove small blemishes or duplicate desirable elements. The free transform tool helps adjust perspective and straighten lines, crucial for architectural shots.
To enhance lighting, we employ adjustment layers. These allow non-destructive edits to brightness, contrast, and color. Curves adjustments are particularly useful for fine-tuning exposure in different areas of an image.
For a polished look, we often use the dodge and burn tools. Dodging lightens specific areas, while burning darkens them. This technique adds depth and dimension to flat-looking spaces.
Sky replacement is a game-changer for exterior shots. We select the sky area, then blend in a more appealing sky image. This technique dramatically improves the property’s curb appeal.
Virtual staging helps potential buyers envision a space’s potential. We add furniture, decor, and even change wall colors digitally. This process requires careful attention to lighting and perspective to maintain realism.
For both techniques, layer masking is crucial. It allows us to blend edits seamlessly with the original image. We also use adjustment layers to match colors and lighting between added elements and the base photo.
Reflective surfaces like windows and mirrors pose unique challenges. We often need to reduce glare or remove unwanted reflections. The pen tool helps create precise selections around these tricky areas.
For object removal, the content-aware fill tool is invaluable. It analyzes surrounding areas to fill in removed elements convincingly. We use this for eliminating clutter, cars, or even power lines from exterior shots.
In complex cases, we may need to recreate parts of an image. This involves careful use of the clone stamp and healing brush tools. We match textures and lighting to ensure the edit is undetectable.
Streamlining photo editing workflows boosts productivity and ensures consistent, high-quality results. We’ll explore key techniques to enhance efficiency in real estate image processing.
Batch editing is a game-changer for real estate photographers handling large numbers of photos. We use this technique to apply the same edits to multiple images at once. This saves time and keeps our style consistent across a property listing.
Most photo editing software offers batch processing features. We start by selecting a group of similar images, like all the bedroom shots. Then we apply common adjustments such as:
After setting up our edits on one photo, we sync these changes to the rest. This method can cut editing time by up to 80%.
For best results, we organize our photos into categories before batch editing. This ensures we apply the right edits to the right types of shots.
Maintaining image quality is crucial in real estate photography. We implement strict quality control measures to catch any issues before delivery.
Our top strategies include:
Noise reduction is key for crisp, clean photos. We apply it selectively to avoid over-smoothing. Areas like shadows often need more noise reduction than well-lit parts.
To reduce noise effectively:
By following these strategies, we produce high-quality photos that showcase properties at their best.

The last steps in editing real estate photos can make a big difference. These touches add polish and protect your work. They also help create images that really grab attention.
We always aim for balanced, eye-catching compositions in real estate photos. Straightening horizons is key. We use grid overlays to align vertical lines like doorways and windows. This makes rooms look bigger and more appealing.
Cropping can improve the focus of an image. We remove distracting elements at the edges. This draws attention to the best features of a room or property.
Lens flares can add warmth to exterior shots. We carefully place them to highlight sunny areas without being too obvious. A subtle flare can make a property seem more inviting.
Watermarks are important for protecting real estate photos. We place them discreetly in corners or along edges. This prevents others from using our work without permission.
We use semi-transparent logos or text for watermarks. They should be visible but not distract from the image. Some clients prefer no watermarks, so we discuss this beforehand.
For extra protection, we can add metadata to image files. This includes copyright info and contact details. It’s hidden from view but helps prove ownership if needed.
Blank TV screens can make rooms look dull. We replace them with attractive images or scenery. This adds life to living spaces and helps buyers imagine themselves in the home.
We choose screen content that fits the room’s style. Nature scenes work well for relaxed spaces. For modern homes, we might use abstract art or cityscapes.
The key is making the TV blend in naturally. We adjust brightness and reflections to match the room’s lighting. This creates a seamless look that enhances the overall image quality.

Advanced Photoshop techniques can greatly enhance real estate photos. We’ll cover essential tools, compositing methods, and color correction strategies to achieve professional results.
Detail enhancement is a key technique for real estate images. We adjust sharpness, contrast, and clarity to bring out finer details like wood grain and tile patterns.
Another useful method is selective color adjustment. This allows us to enhance specific hues without affecting the entire image.
To achieve a professional look, we focus on proper exposure. Real estate photos should be bright and welcoming, but not overexposed.
We also use layer masking to blend multiple exposures. This creates a balanced image with well-lit interiors and properly exposed windows.
The Curves adjustment tool is crucial for fine-tuning brightness and contrast. We use it to create a pleasing tonal range in our images.
The Clone Stamp and Healing Brush tools are vital for removing unwanted objects or blemishes in the property.
Image compositing is a powerful technique in real estate photography. We combine bracketed images to create a well-balanced final photo.
Using luminosity masks helps us blend exposures seamlessly. This technique allows for natural-looking results in high-contrast scenes.
We use the Camera Raw filter to adjust white balance and tint. This ensures accurate color representation of the property.
The Dodge and Burn tools help us selectively lighten or darken specific areas. This technique adds depth and dimension to the image.
We create and save custom presets for common adjustments. This ensures a uniform look across all images in a property listing.
Using adjustment layers allows us to make non-destructive edits. We can easily apply these layers to multiple images for consistent results.
Send us your photos and let our expert real estate photo editors handle the editing — fast, accurate, and ready for publishing.