August 9, 2018

August 9, 2018
The techniques in blending exposures using Photoshop’s Lightroom seem endless. These techniques will actually allow you to blend interior photos perfectly. They are also great in editing photos seen in any exposure blend.
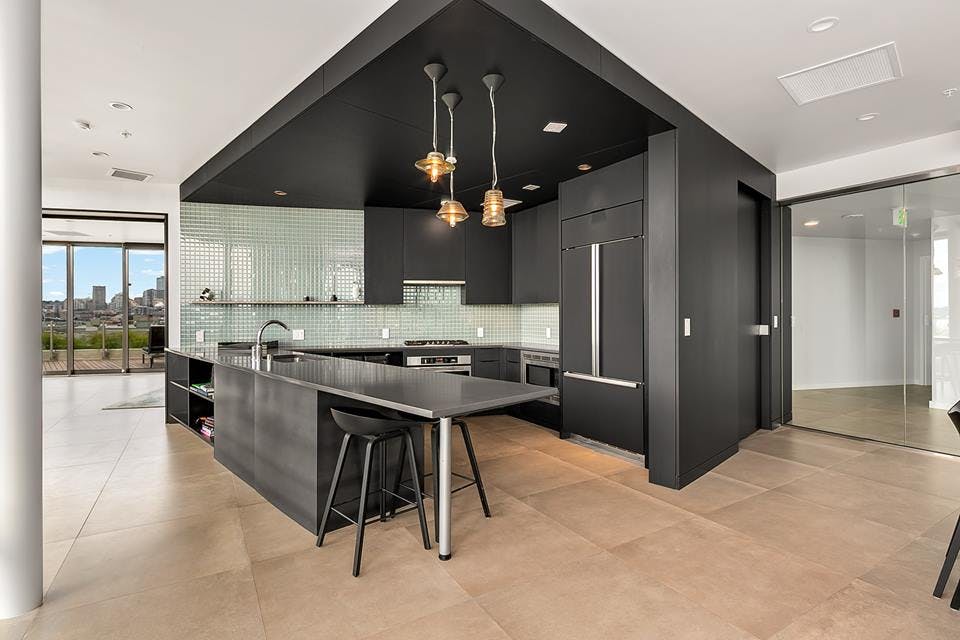
With the proper use of Photoshop CC of Adobe, you can easily blend interior designs under the city lights. The primary concern in this modification task is to develop the skills in the familiarization of Adobe Photoshop with the use of Raya Pro.
This article is more about preparing for exposure blending than the actual exposure blending itself.
One basic technique when the photo is a little bit dark and some areas are partly exposed. You can immediately change the character of the picture with some few simple steps using Photoshop. When comparing the exposures of three identical photos with different exposure blends.
They can be dark picture which covers the highlights, a normal picture with basic exposure, and a picture with brighter exposure that needs to bring back some of the shadows. One of the purposes of this tutorial article is to push the knowledge of any individual about exposure blending to the highest level.
To start the editing process, select all the images and hold down SHIFT. Notice that the Open Images at the lower right of the screen changes to Open Objects. You need to press Open Objects and use the Stack button in Raya Pro. With the use of the Stack button, all the images will appear over the spaces below the panel.
You can make adjustments and editing in your normal photo by retrieving some of the highlights included in your dark and bright photos. Especially for the photo to blend with the normal, it would be very hard at some point to do it.The main objective of this exposure blend is to avoid making the contrast look flat. To fix this problem, go to How to use Precision Masks and click AUTO BLEND DARK.
There are instances wherein we need to have a very contrasting photo and the only way to do this is by clicking the value of your desire. The greater the value of the AUTO BLEND DARK, the darker the picture becomes. The resulting photo will highlight the parts that are overexposed.
To compare the previous photo with the new one, press Select under Precision Masks and bring down the Capacity back. You can press the Thumbnail to make adjustment to the Exposure, Highlights and Contrast.
After the correct adjustment has been made, just press OK and you will see the natural blend of the picture. You will notice that the critical parts in the image before exposure blend are very well edited after modifications were done. Make it sure that you will zoom in to check the picture before and after modification.
2. Check the blend of contrast
By clicking the Thumbnail that you want to edit, you need to zoom in and check every small detail of the picture. Check the contrast masks if they match your taste. Adjust it to your liking by pressing either the exposure or the contrasting buttons.
There is also a better and quicker way to do contrasting masks without Raya Pro. You only need to select the thumbnail, press Image, Apply Image and Press OK afterwards.You need to do this few times to create a much contrasting masks.
Or if you want to, you can make the dark image visible once again. Choose the actual mask itself by pressing the Command and L in the micro-control and you just can create a more contrasting mask while the Level control pops out.
This is just a pretty easy task to do because you can actually invert the situation by pressing Image and selecting Apply image. This time around, you will be selecting the Invert, and press OK.This is done for the photos with brighter exposure. Once this is done, you will notice that you have created an inverted mask.If you are not happy and contented with the result, you need not to panic. There is the Adjustment button to press to and all you have to do is adjust the levels of exposure and highlights.
For more tutorials, you may check this out.
Good reads:

Send us your photos and let our expert real estate photo editors handle the editing — fast, accurate, and ready for publishing.