What's New?

AI![]() Real Estate Photo Editing
Real Estate Photo Editing
Instant, professional-quality edits powered by AI technology—perfect for tight deadlines.
Read More ↗February 12, 2021
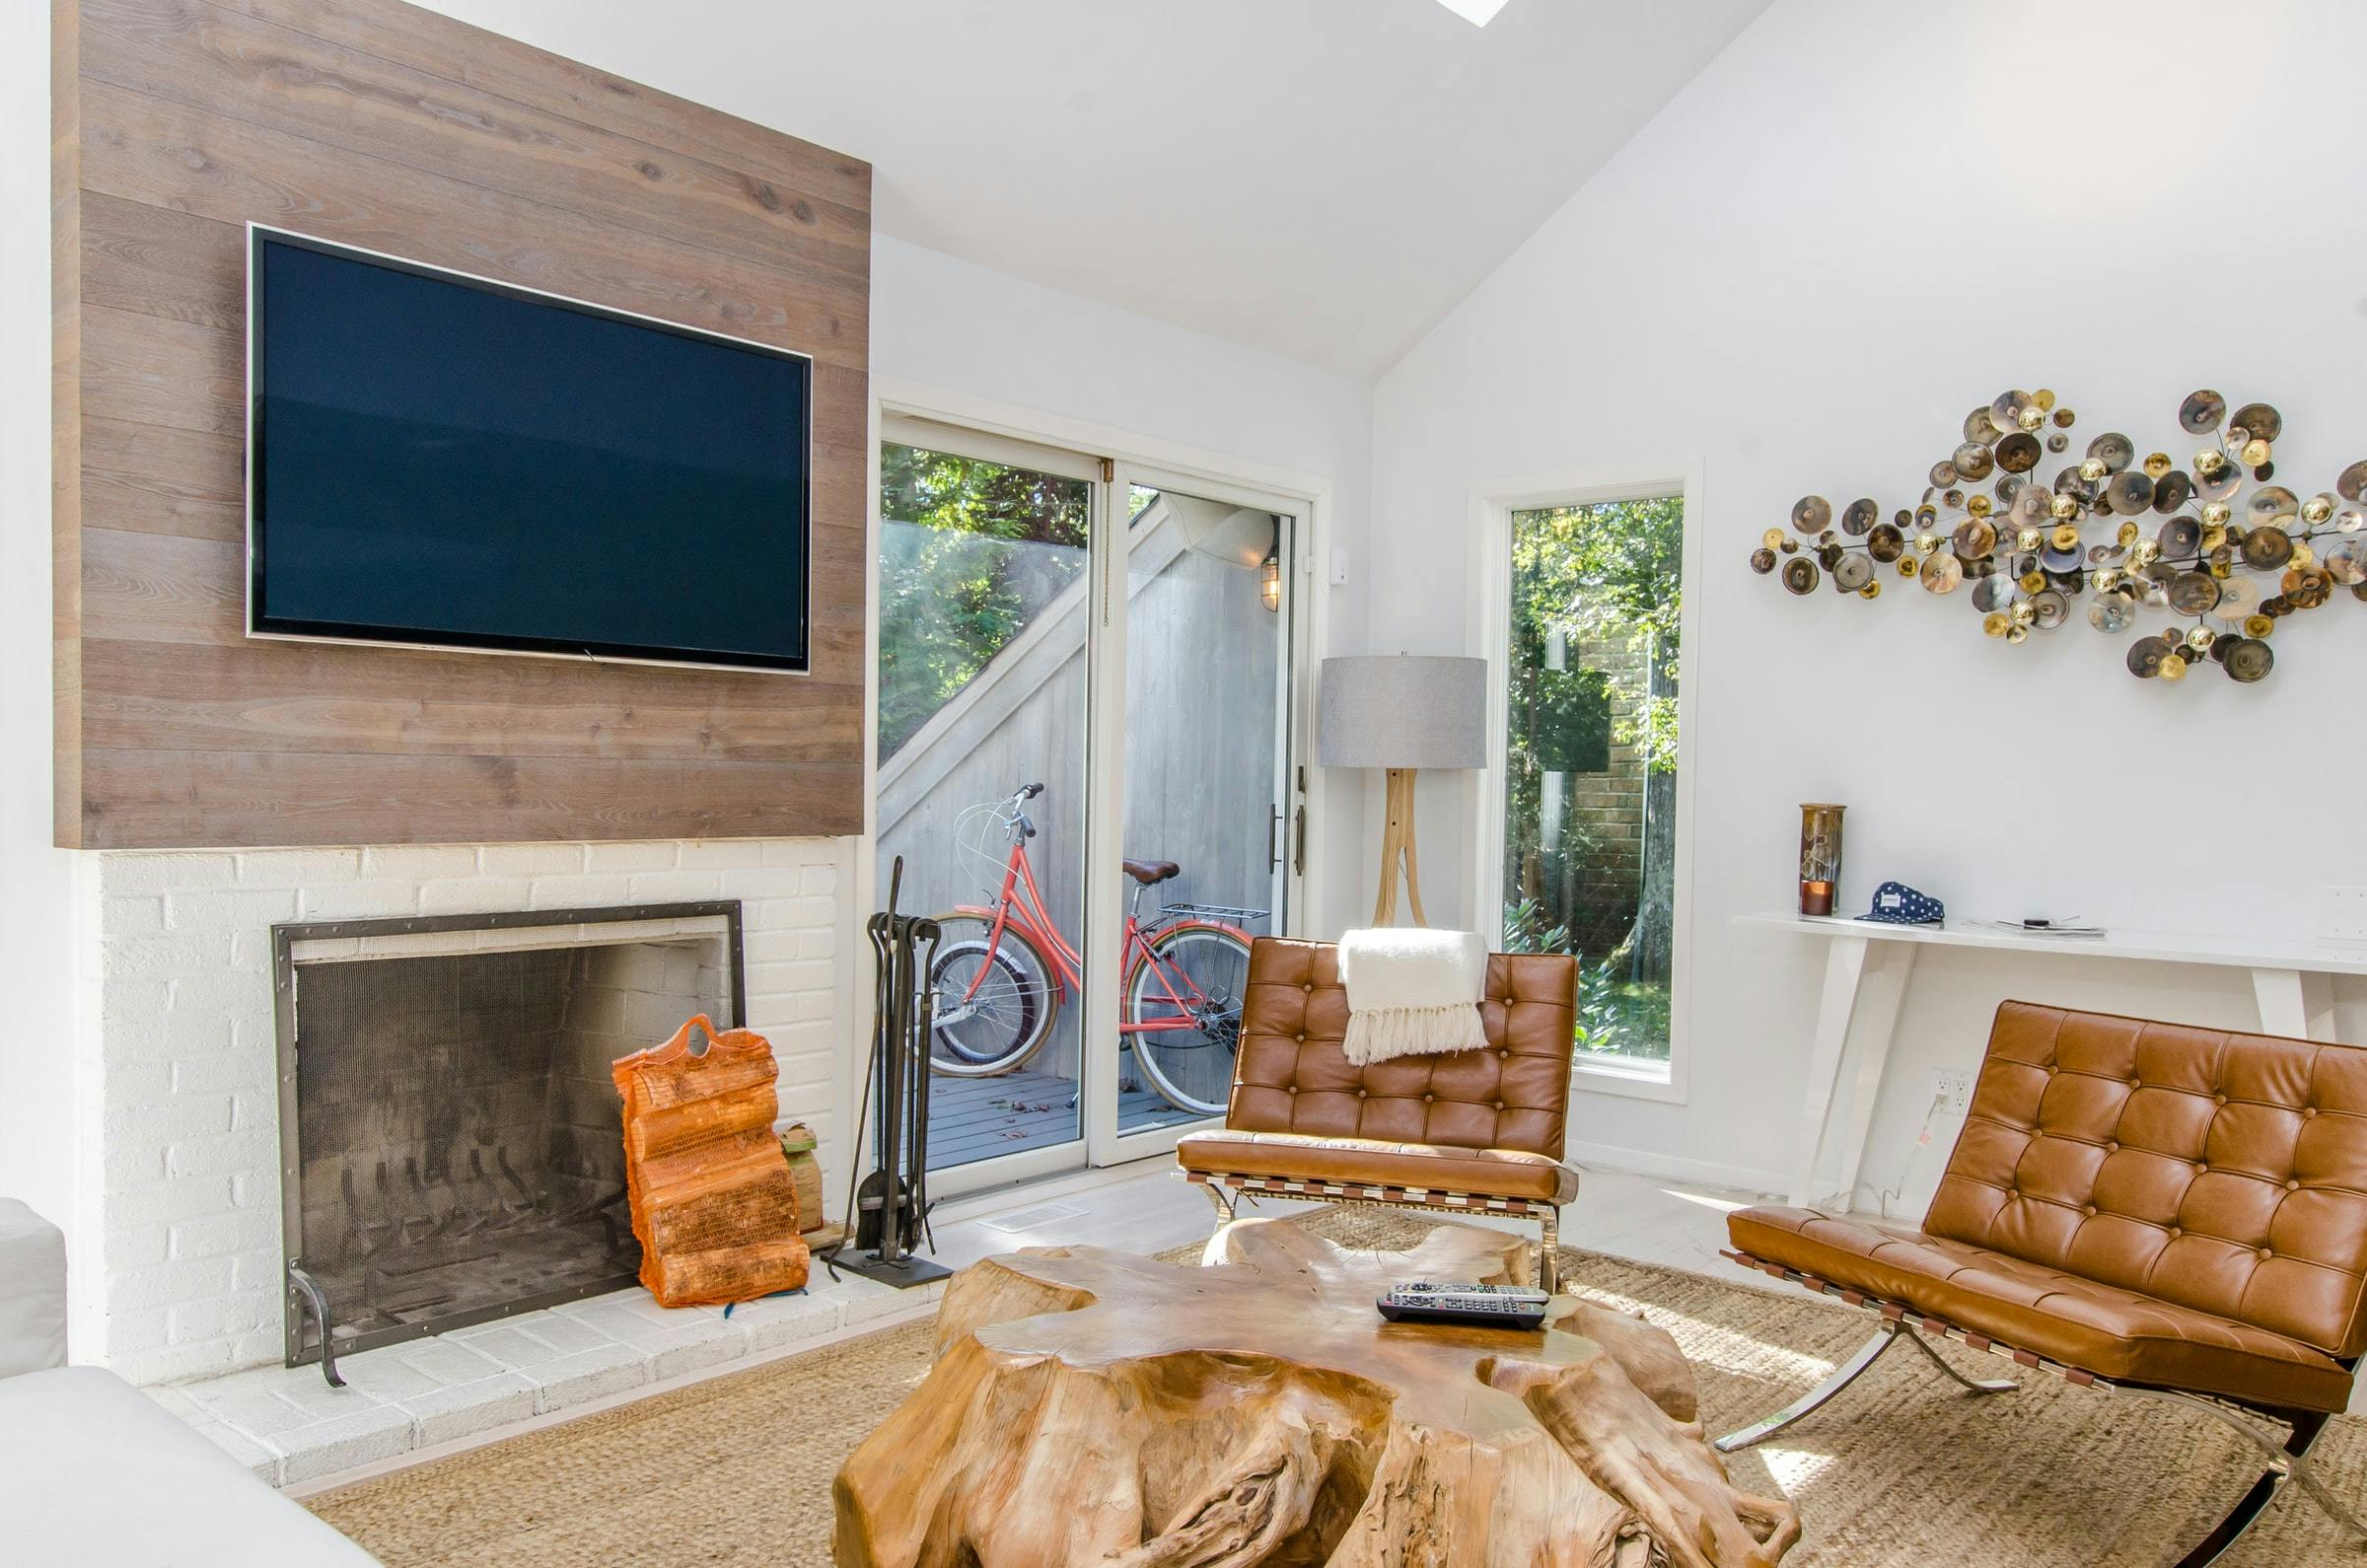
As mentioned in the previous blog, manipulating a TV’s screen in real estate images is entirely possible.
And the bonus part? It practically follows the step needed when adding that fiery fire effect on a fireplace in an image.
Before going through the steps again, here is one good reason you should also pay attention to your TV’s screen when acquiring photos for your listing: it adds a “wow” factor to the property’s sophistication.
Again, there is no room for dull and boring images when it comes to your real estate listings. You should have them look vibrant and colorful, drawing the attention of future buyers.
Now, one question is this: is it mandatory needed?
To be honest, it is not. But if you want to add value to your images, then doing this is a great option.
For real estate photo editors, this work’s demand is apparently good, with several customers asking to get this done as part of the packages.
Today, if you are one of those who want to learn how to do this on your own, then check out these three easy steps.
To make this work possible, you need to have the materials prepared. Mainly, you need to have that image you want to use on the screen.
Among the most popular choices are natural images, beach photos, sunset pictures, or a new photo of your listing.
After securing the photo you need, open the raw interior photo with a black TV screen and the image for replacement in Photoshop or other preferred software.
Then, create the selection path by using the Pen Tool. Next, use Ctrl+Enter to select the path and copy the image to use for the screen replacement. You can easily do this by using the Ctrl + A and C functions.
This time, open the main photo and use Alt + Shift + Ctrl V.
Another alternative is to click on the “Edit” menu on the top bar and choose Paste Special. The photos should appear in the selected area.
You can already see the image on your photo, but now that your image is on the TV, some adjustments may be needed. In this case, adjust the image using Ctrl+T to drag the photo and make it look smaller.
Now, do a right-click and choose Distort to drag the four corners of the photos inside the TV’s corners.
Lastly, change the blending mode to “Screen” for a good screen effect. Do not forget to reduce the image’s opacity to around 80% to make the image less intense and blend well in the screen.
So, what do you think? Can you pull it off on your own?
There is no harm in trying. You can give it a try, but if it is hard to achieve, do not hesitate to ask for help from your trusted photo editor.
There is no pressure. Doing TV screen replacement is always optional and never a requirement. You can still have listing photos with just a blank TV screen and close a deal.
This is only a suggestion that may work for you. After all, you need to determine which one works for you.
Do you have other photo editing projects in mind but do not know where to get help? Let us know! We can help you.
Send us your photos and let our expert real estate photo editors handle the editing — fast, accurate, and ready for publishing.