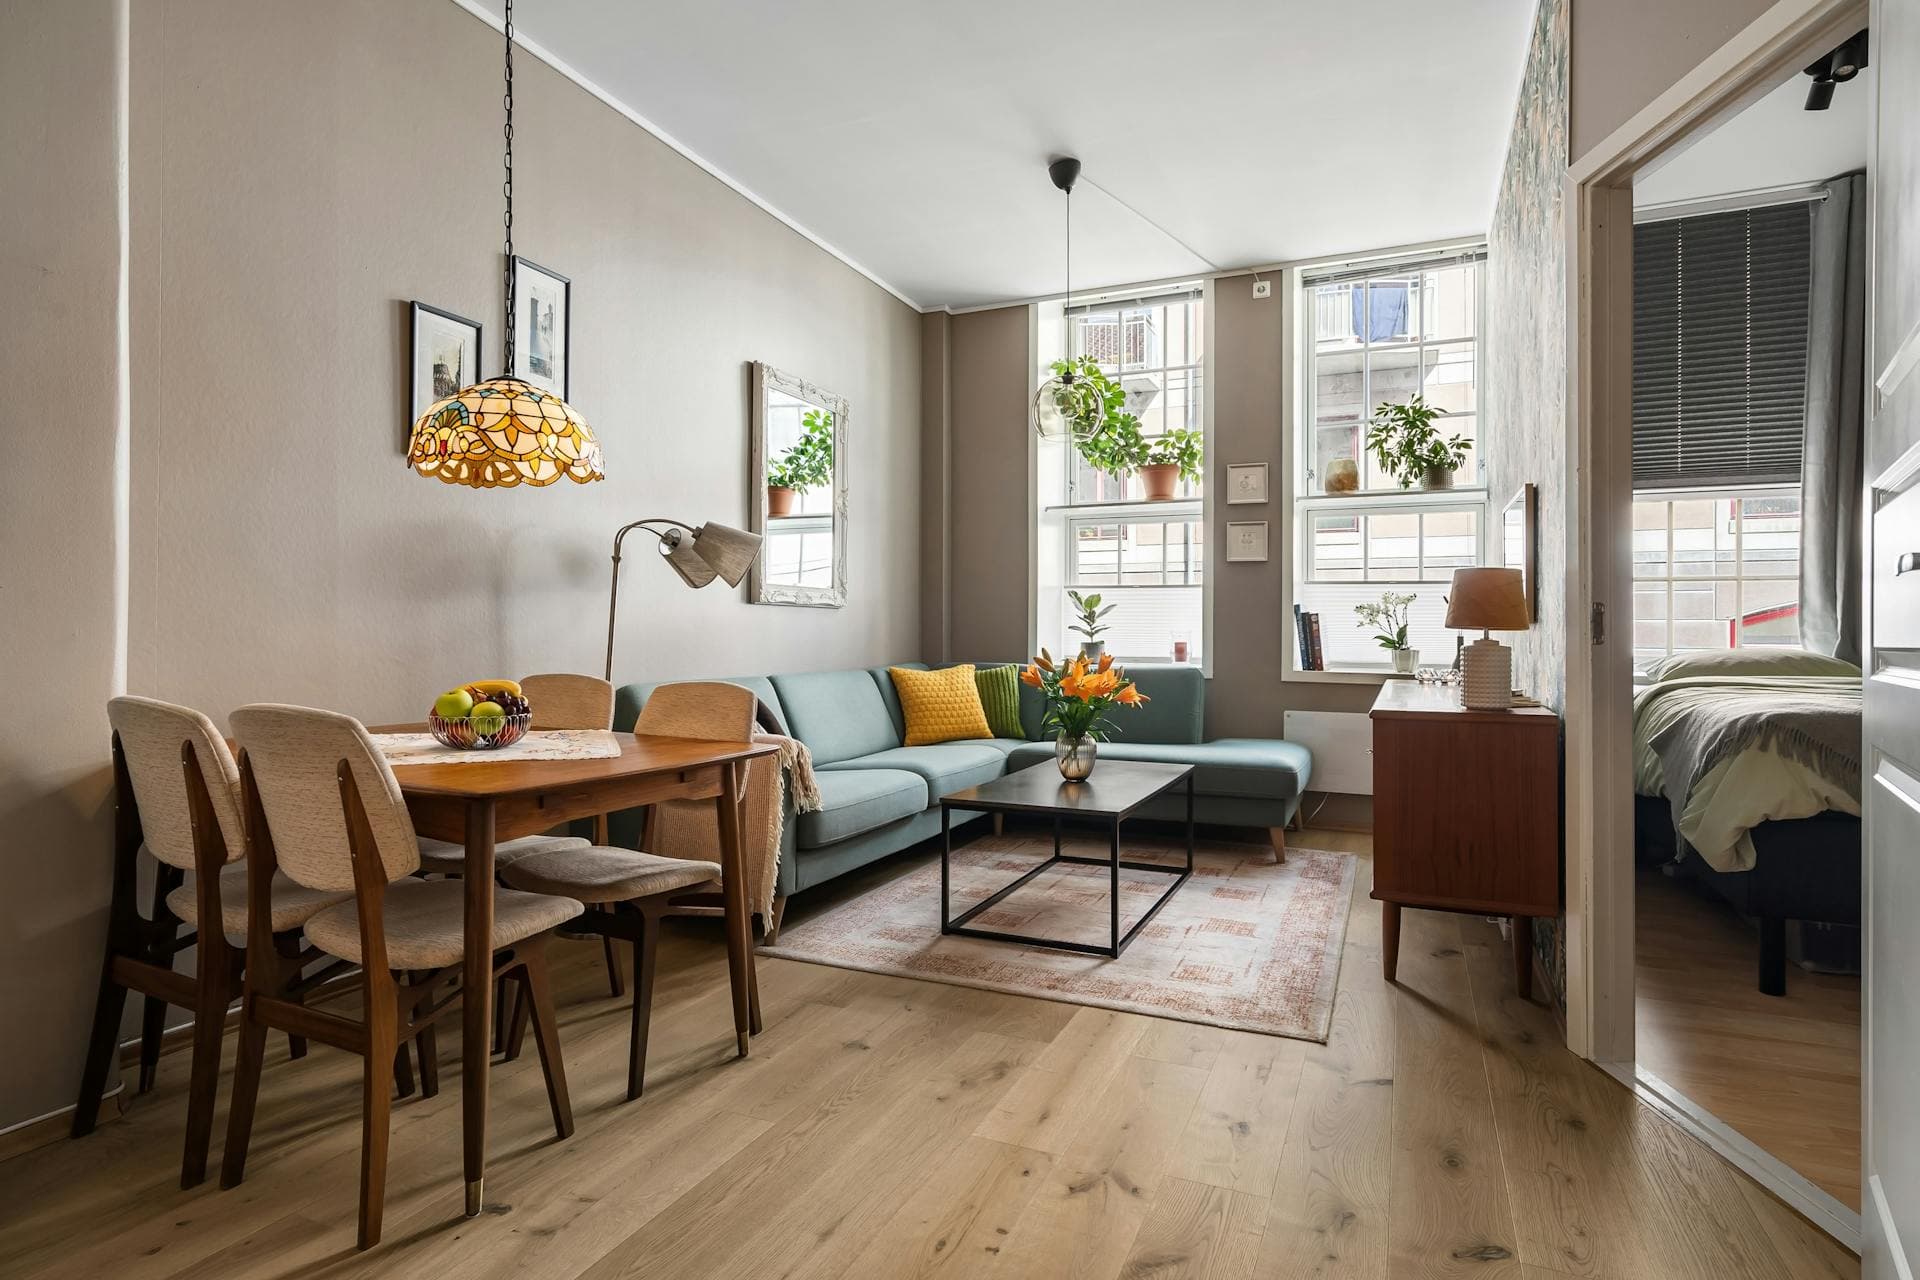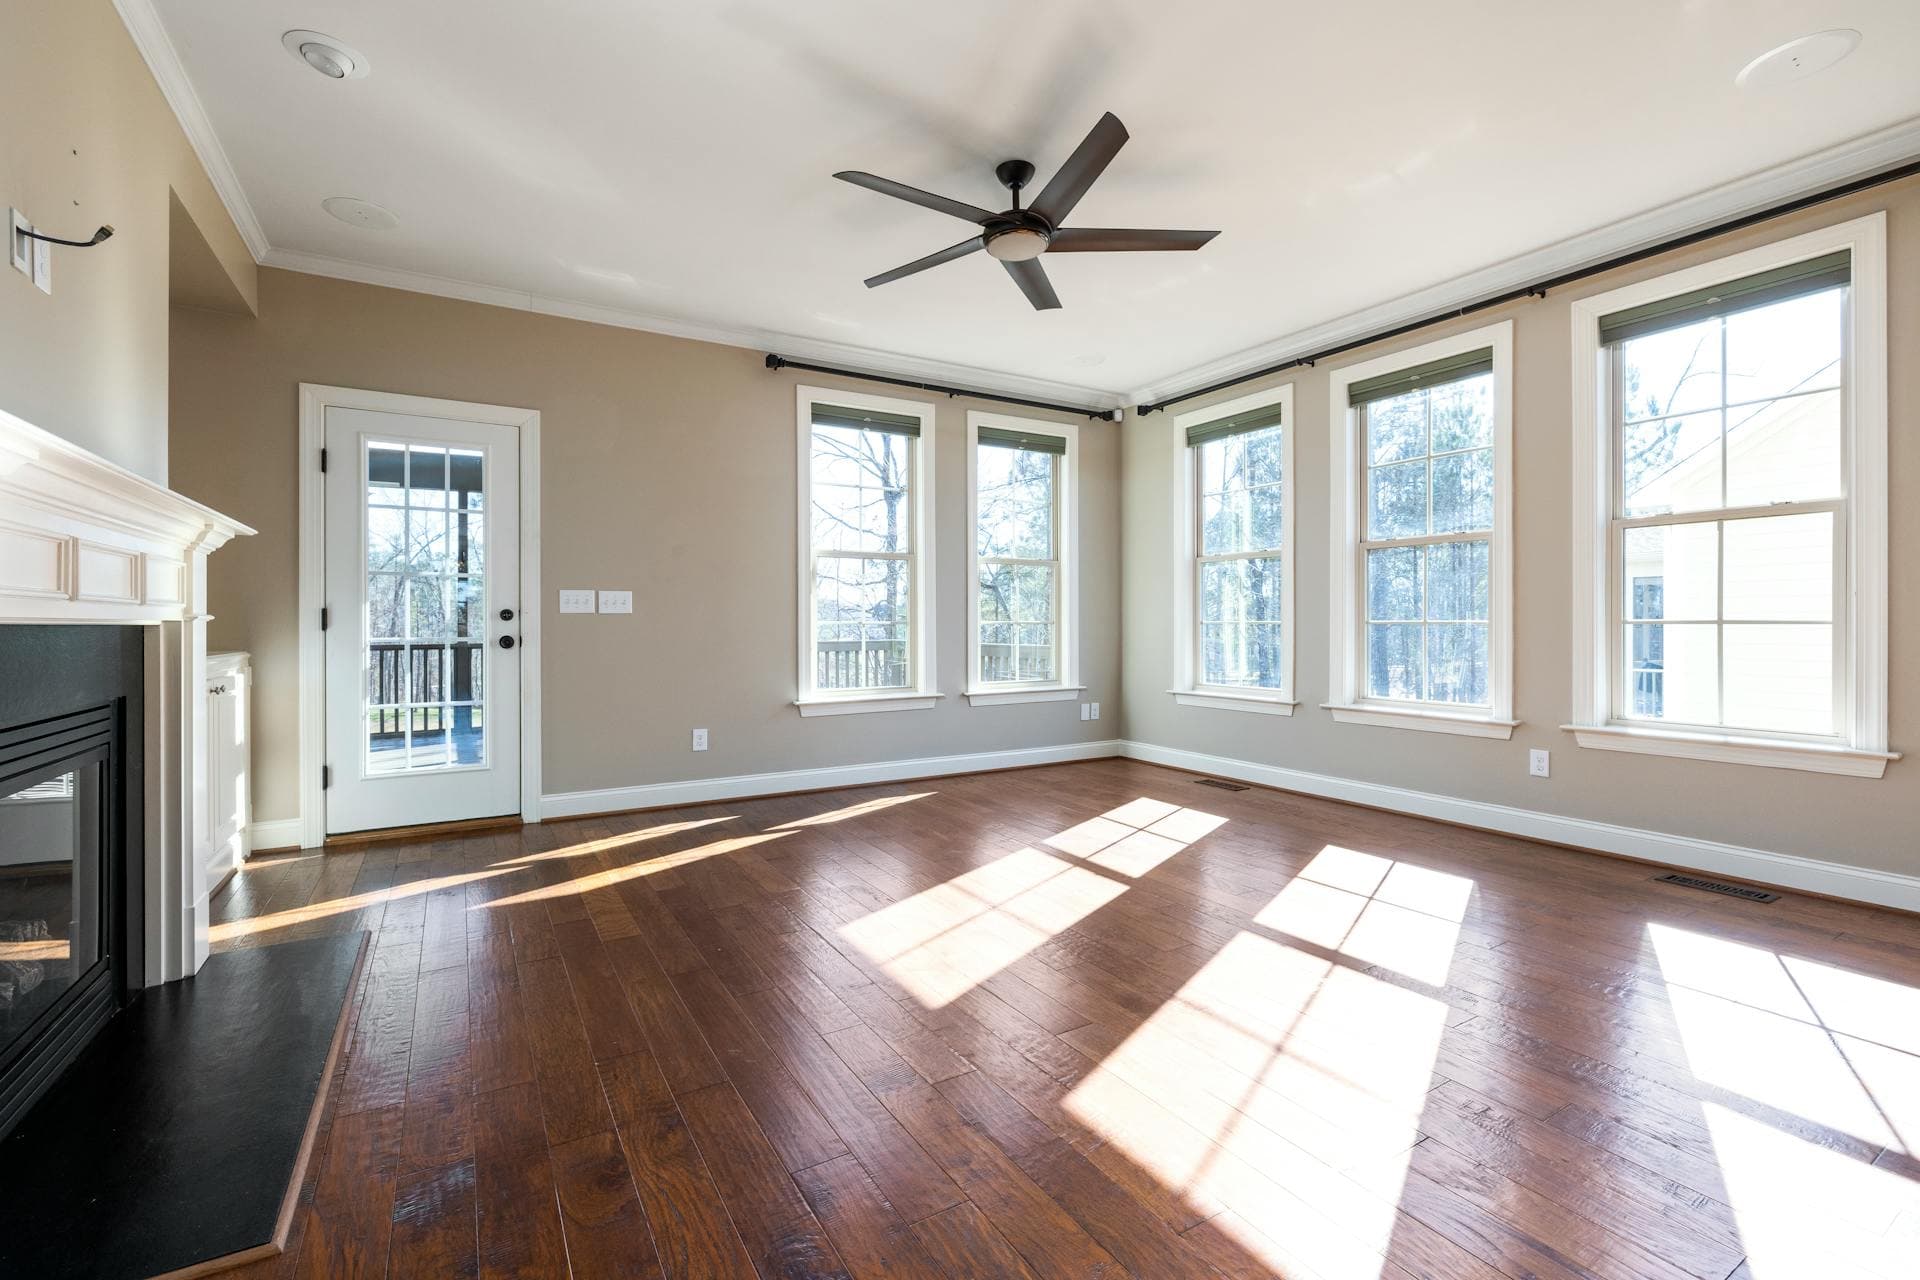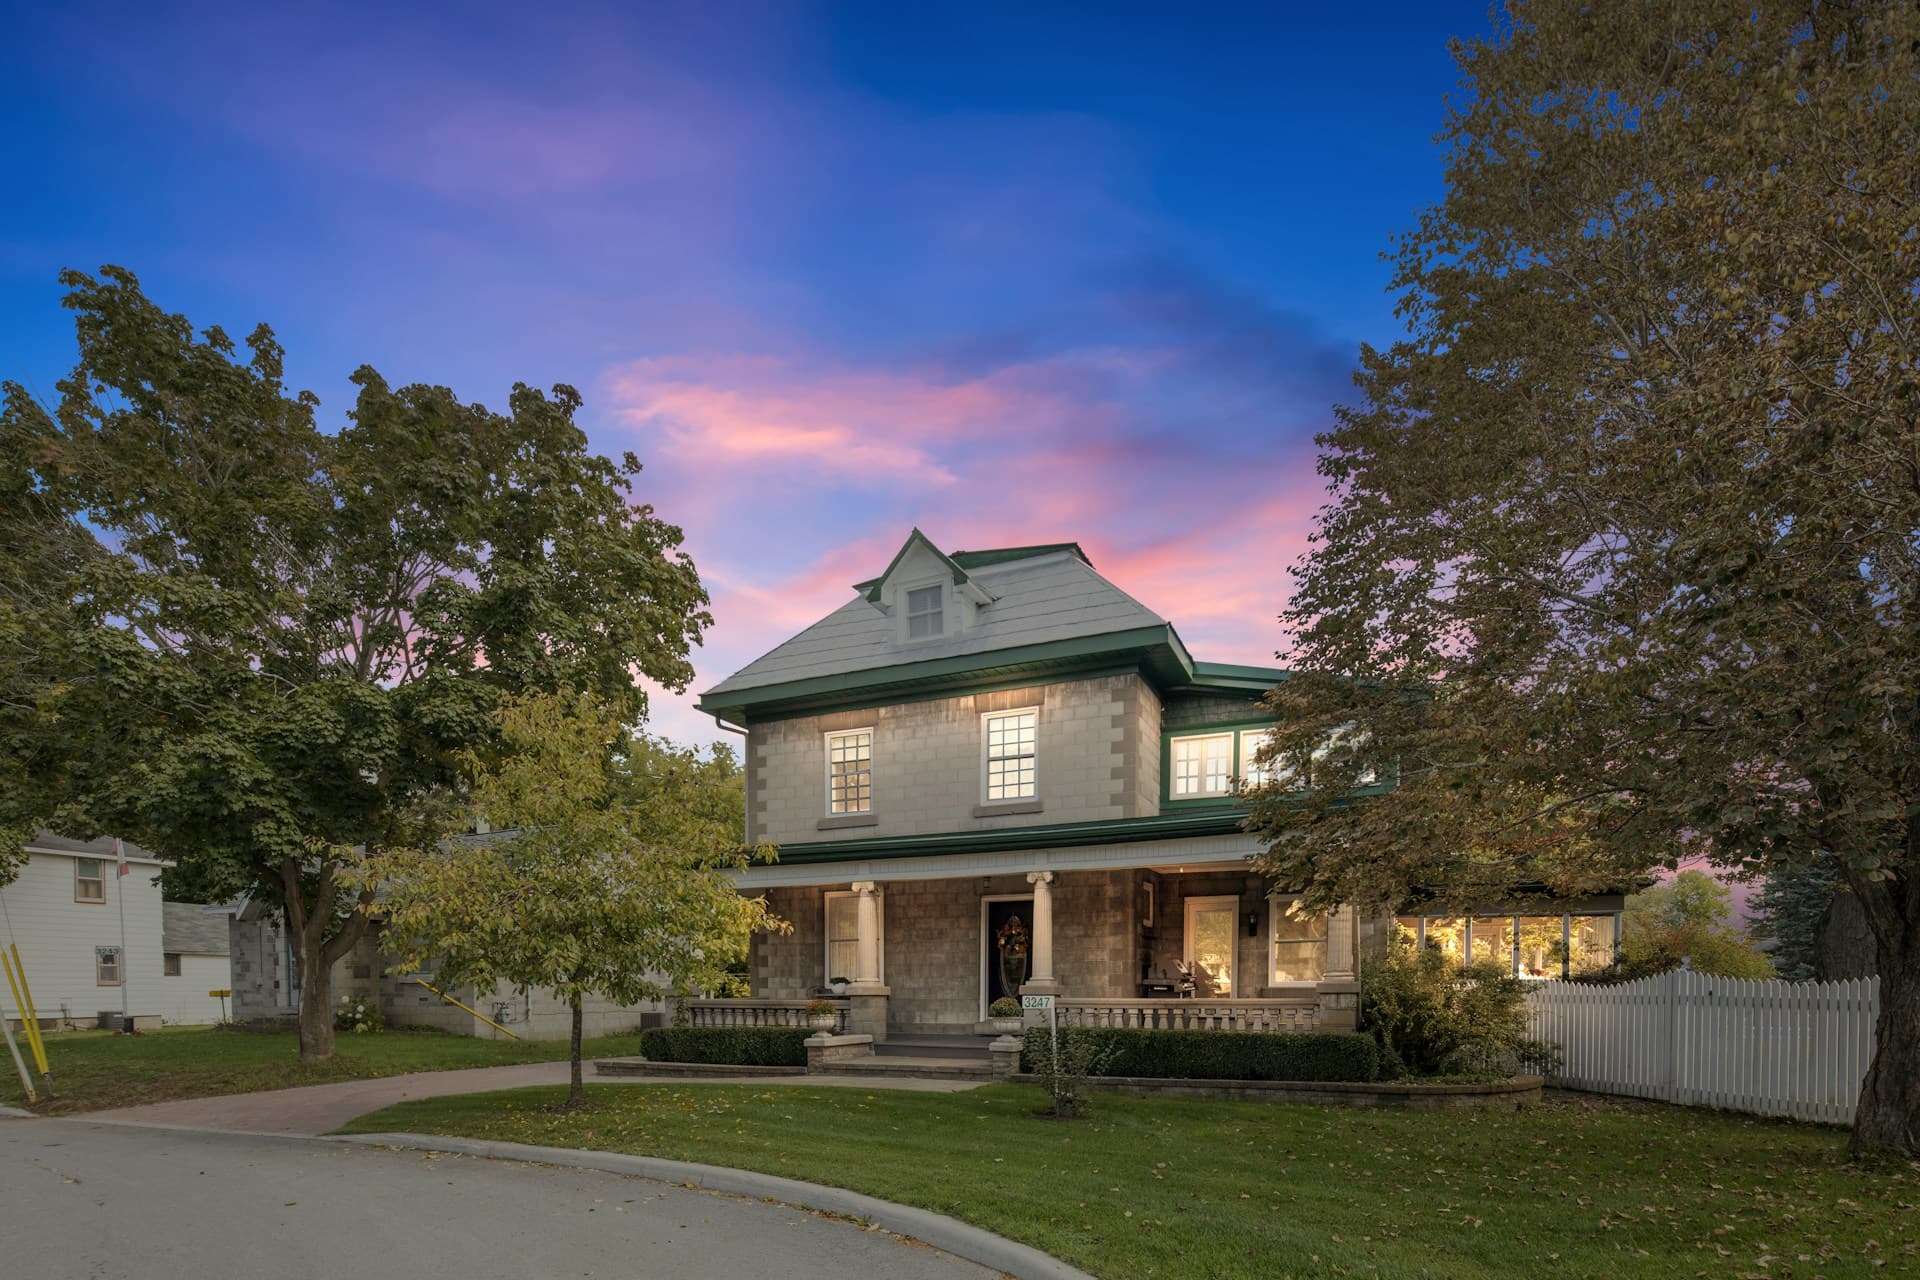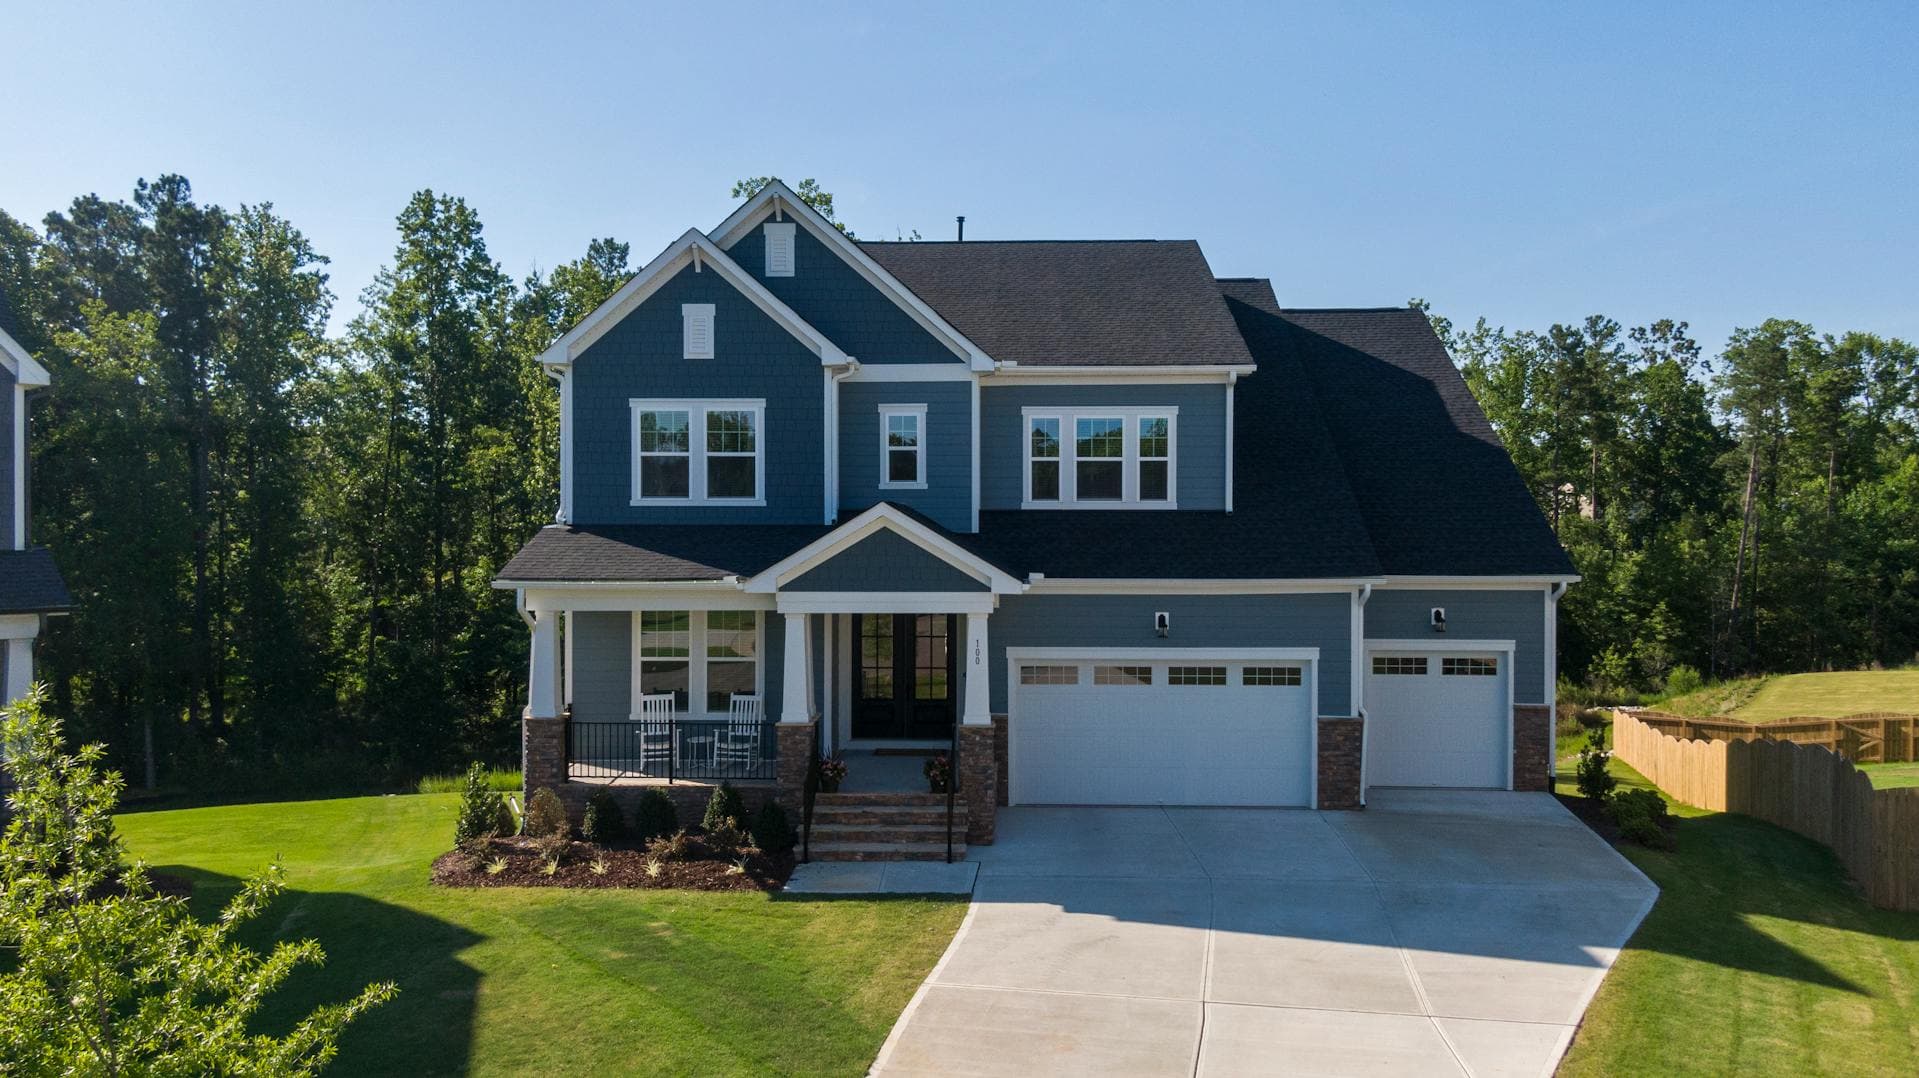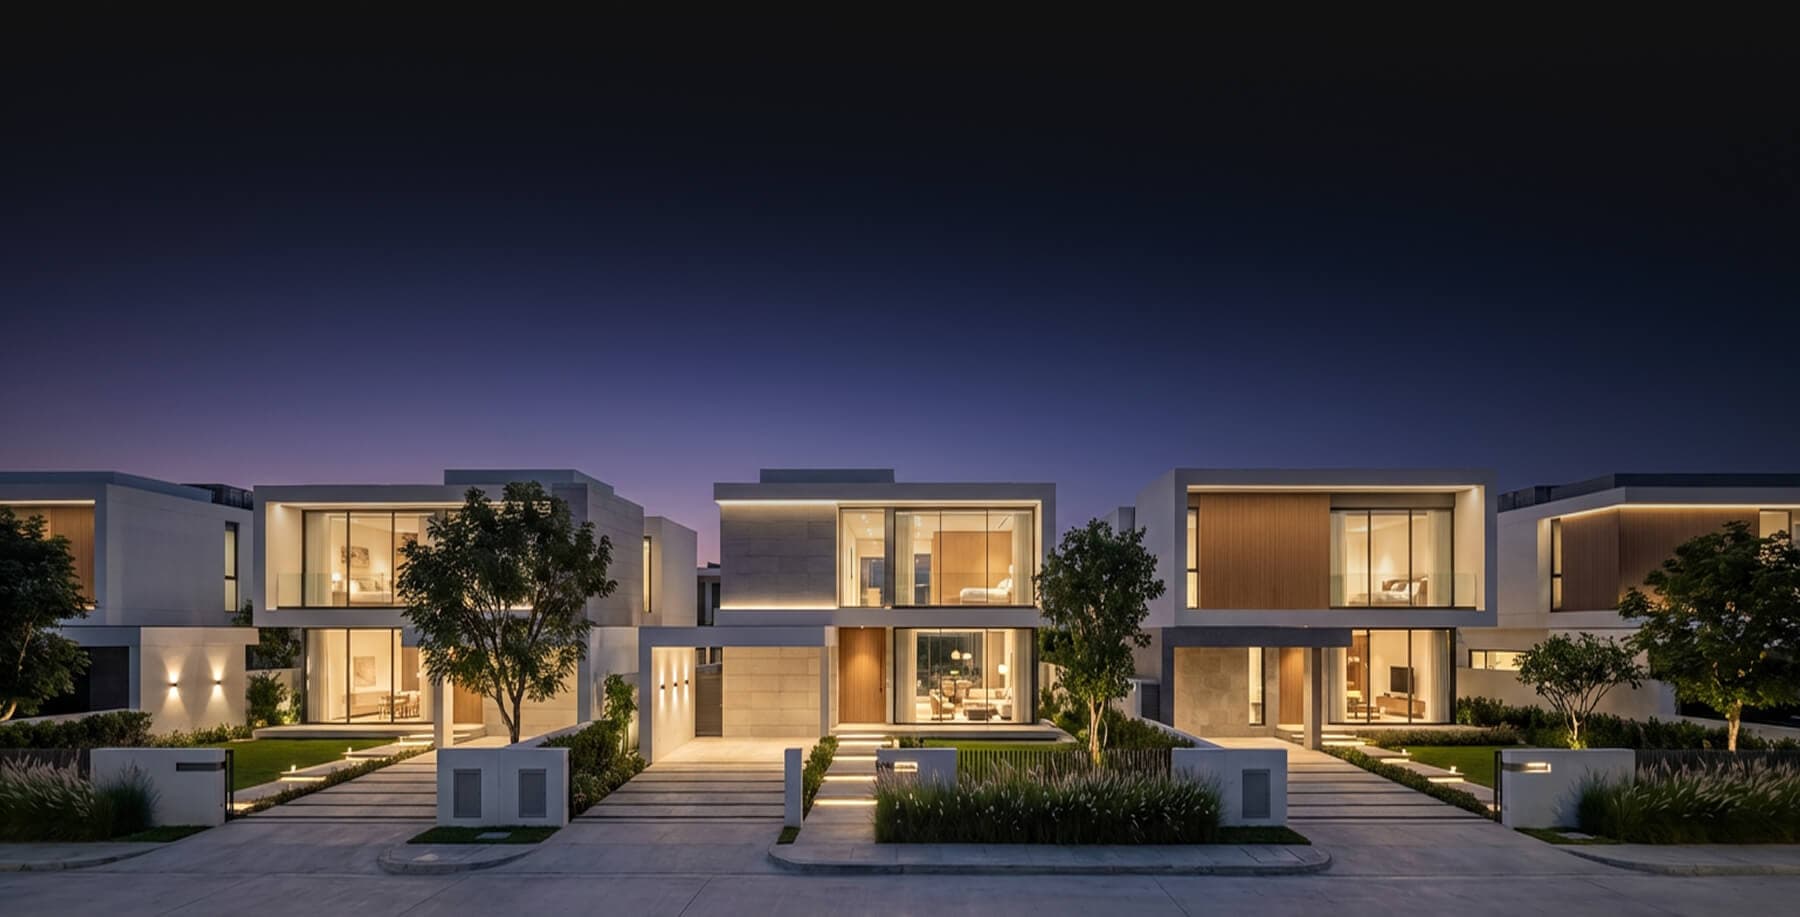

Taking photos of real estate can be tricky. It’s not just something that you can do quickly and send to clients in the hopes of being able to sell their properties. Real estate photography is more than just taking pictures. There’s more work to be done after every photo shoot. The real estate photography retouching and editing can take a lot of time, especially if you want to produce amazing photos for clients. Retouching and post-processing is an essential part of real estate photography. Having mastery of Photoshop and other post-processing software is important.
Retouching in Photoshop
There are different things that can be done in Photoshop for real estate. The goal is to make the image look realistic, as well as make the property look its best. Through Photoshop, you can adjust the colors and the lighting of the property or change the sky.
One of the most useful editing tricks is to blend ambient photos with flash photos. This can be most effective for interior photos. Often, you do not capture the perfect image just with your camera. The lights can be off and you have a variety of light source that makes the image look crazy. To combat this problem, most real estate photographers take multiple photos of the same subject in different lighting settings. Then, you merge the photos in order to get the best lighting in the image.
Blending ambient and flash photos

Blending different photos in order to create one seamless image with amazing lighting can be tricky but doable. If you need to blend ambient and flash photos into a single photo, follow these steps:
1. Open all of your images. Make sure that you have opened all the ambient and flash photos in your Photoshop. You might have photos of the lighting fixtures inside on and another photo with the lighting fixtures off. Arrange the photos and make the ambient photo your base layer for blending.
2. Edit your lights-on photo first. Before you start blending, make appropriate corrections for each the photo. On your lights-on photo, switch the blending mode to lighten. If you have visible lighting fixtures, you might want to brush in the lights. Put a black layer mask. Click on the brush tool and set the flow to 30 percent. Brush the area where the lights are. Make sure that the lights are already visible.
3. Correct your lights-off image. Retouch your lights-off layer by putting a black layer mask on top. With this, you want to tone down the bright areas of the image, like where the ambient lights are hitting and other sources of light.
4. Use stamp visible. This is a very helpful function that creates a new layer of the content that you want to merge. Make sure that you make all your working layers visible. Then, go to Layers menu and click Merge Visible while holding the Alt key.
5. Align your verticals. Make sure that you have straight lines on your image. The problem with shooting interiors is that you get slanted lines all over. First, you can try to use the Lens Correction function under the Filter menu to see if Photoshop can automatically straighten the lines. Photoshop usually matches the camera and lens used to create the image and automatically corrects the minimal distortion. You can also use the Skew function under Transform. This allows you to align your verticals manually. Just pull the corner until your verticals line up with your guide.
6. Remove unwanted objects. If there objects in your frame that you want to remove, like some light stands that are in the frame, make a new layer. Click the Spot Healing Brush tool and go over the areas that you want to remove.
Crop the photo as needed. Make sure that you don’t include unnecessary parts in the photo. Click on the Crop tool. Crop the image as needed in order to bring the focus into the interiors. This also removes unnecessary areas in the photo.
7. Flatten the image. Once you are happy with how the photo looks like, make sure that you flatten the layers to create one image. This would be your deliverable to the client. To flatten, make sure that the layers you want to retain are all visible. Then, go to the Layer menu and click Flatten Image. Now, you have a single photo that has all the edits that you’ve done.
There are still a lot of other Photoshop tricks and edits that you need to be familiar with as a real estate photographer. Just like being in photography, everything takes practice. Make sure that you train your eye and keep shooting. Find angles that will work for the specific space andproperty. Editing in Photoshop is time-consuming. Once you are used to it, you can easily find a flow that works for you.