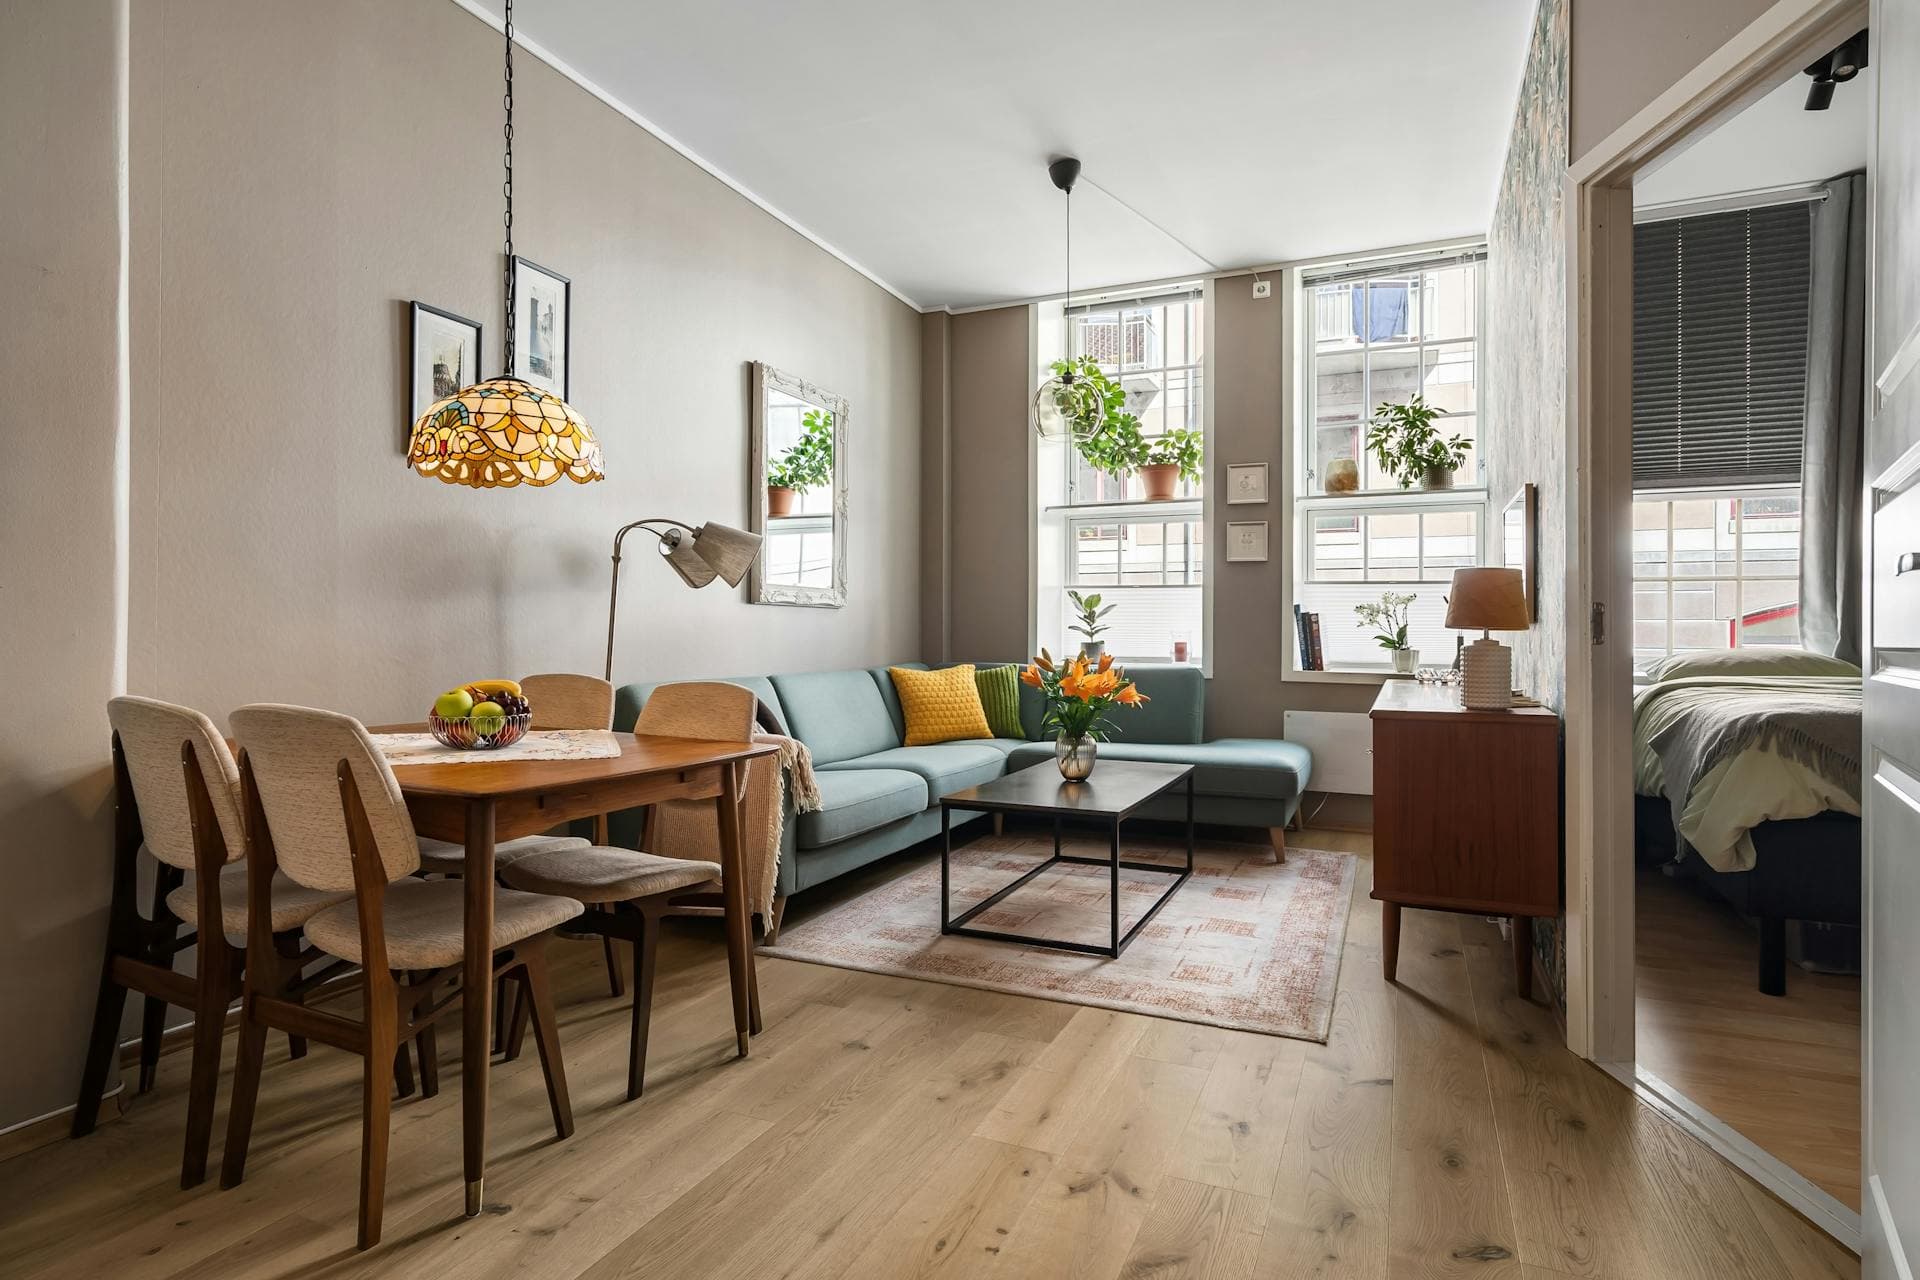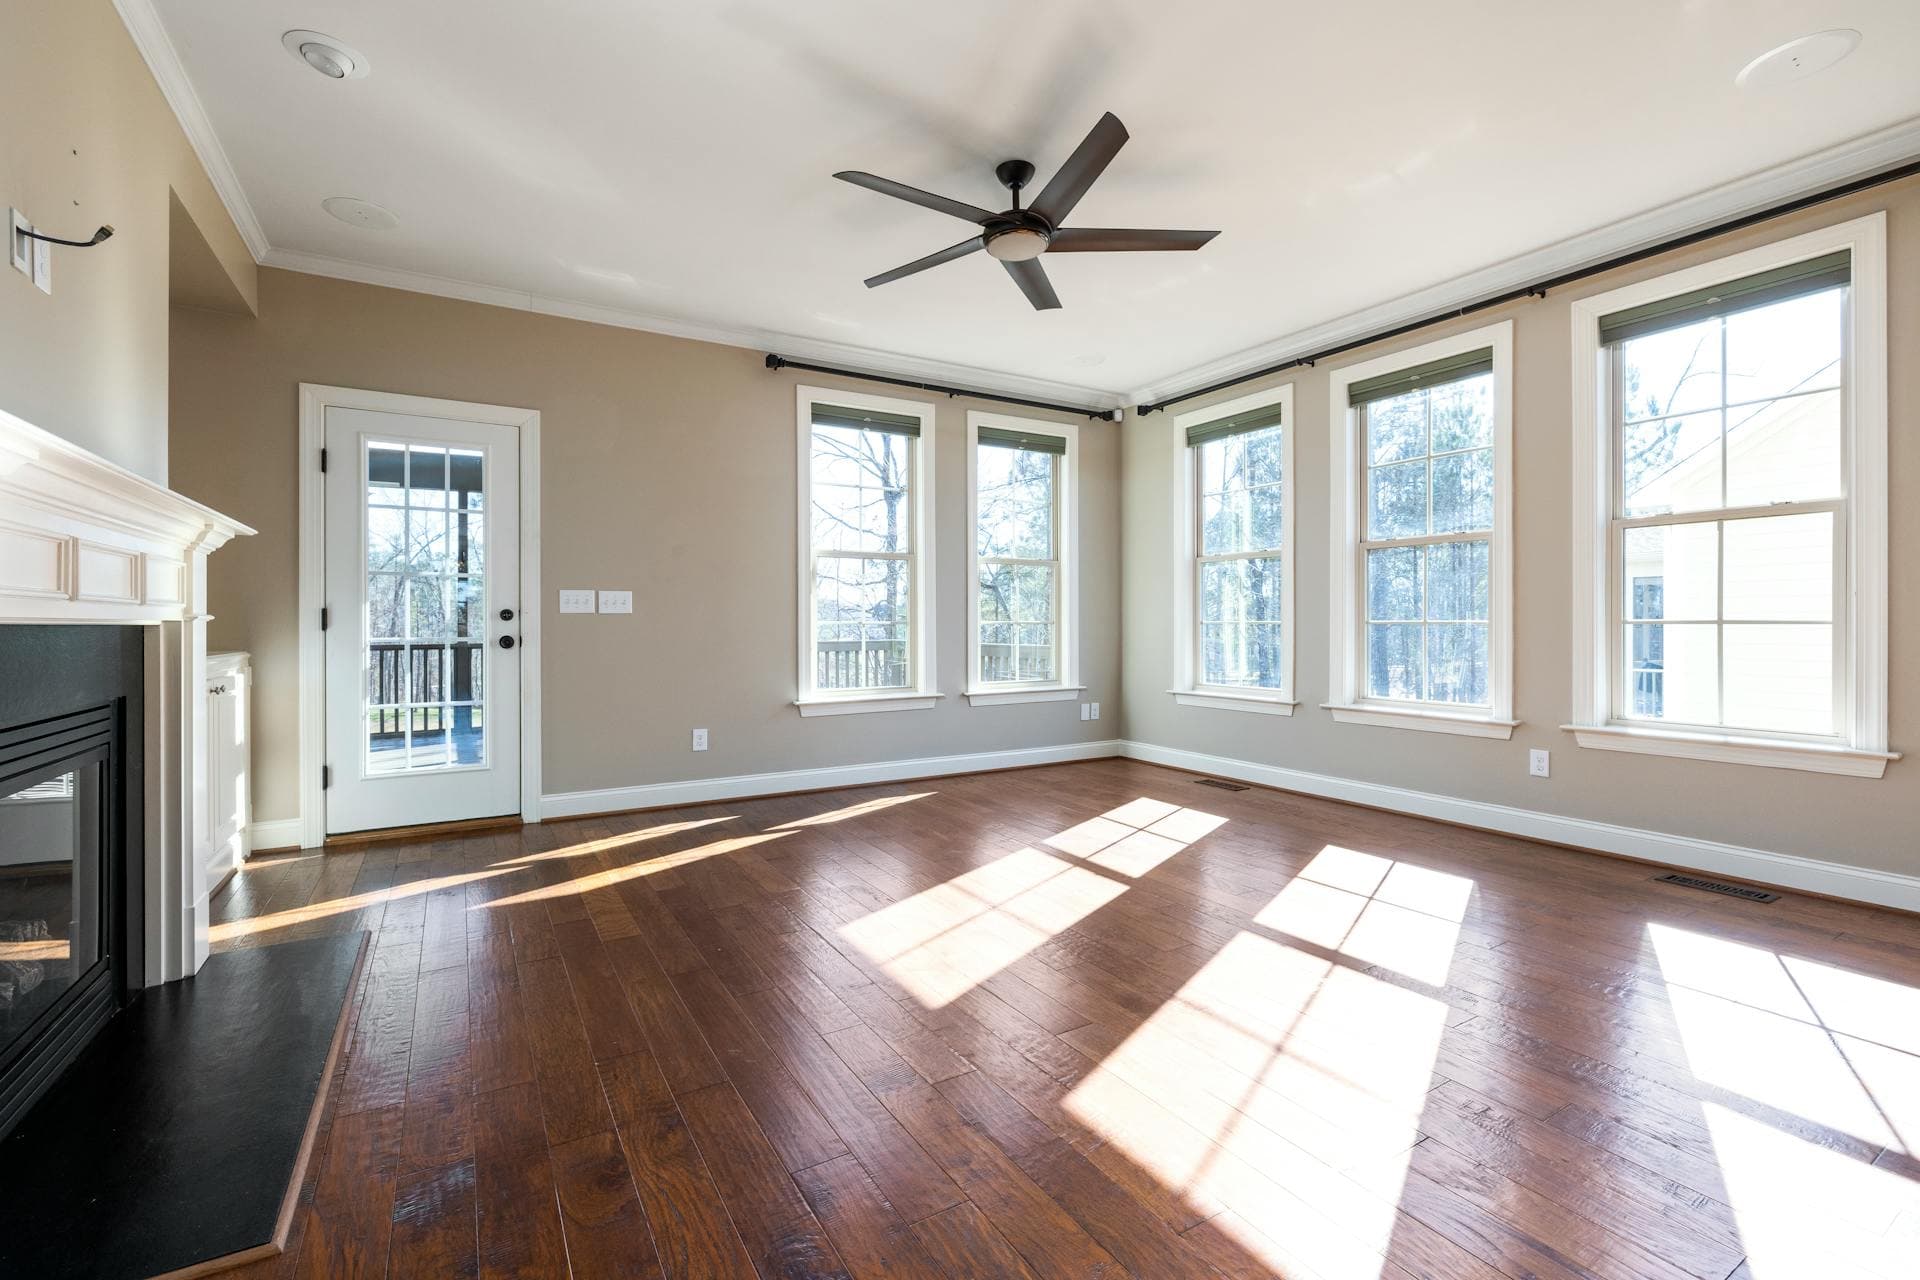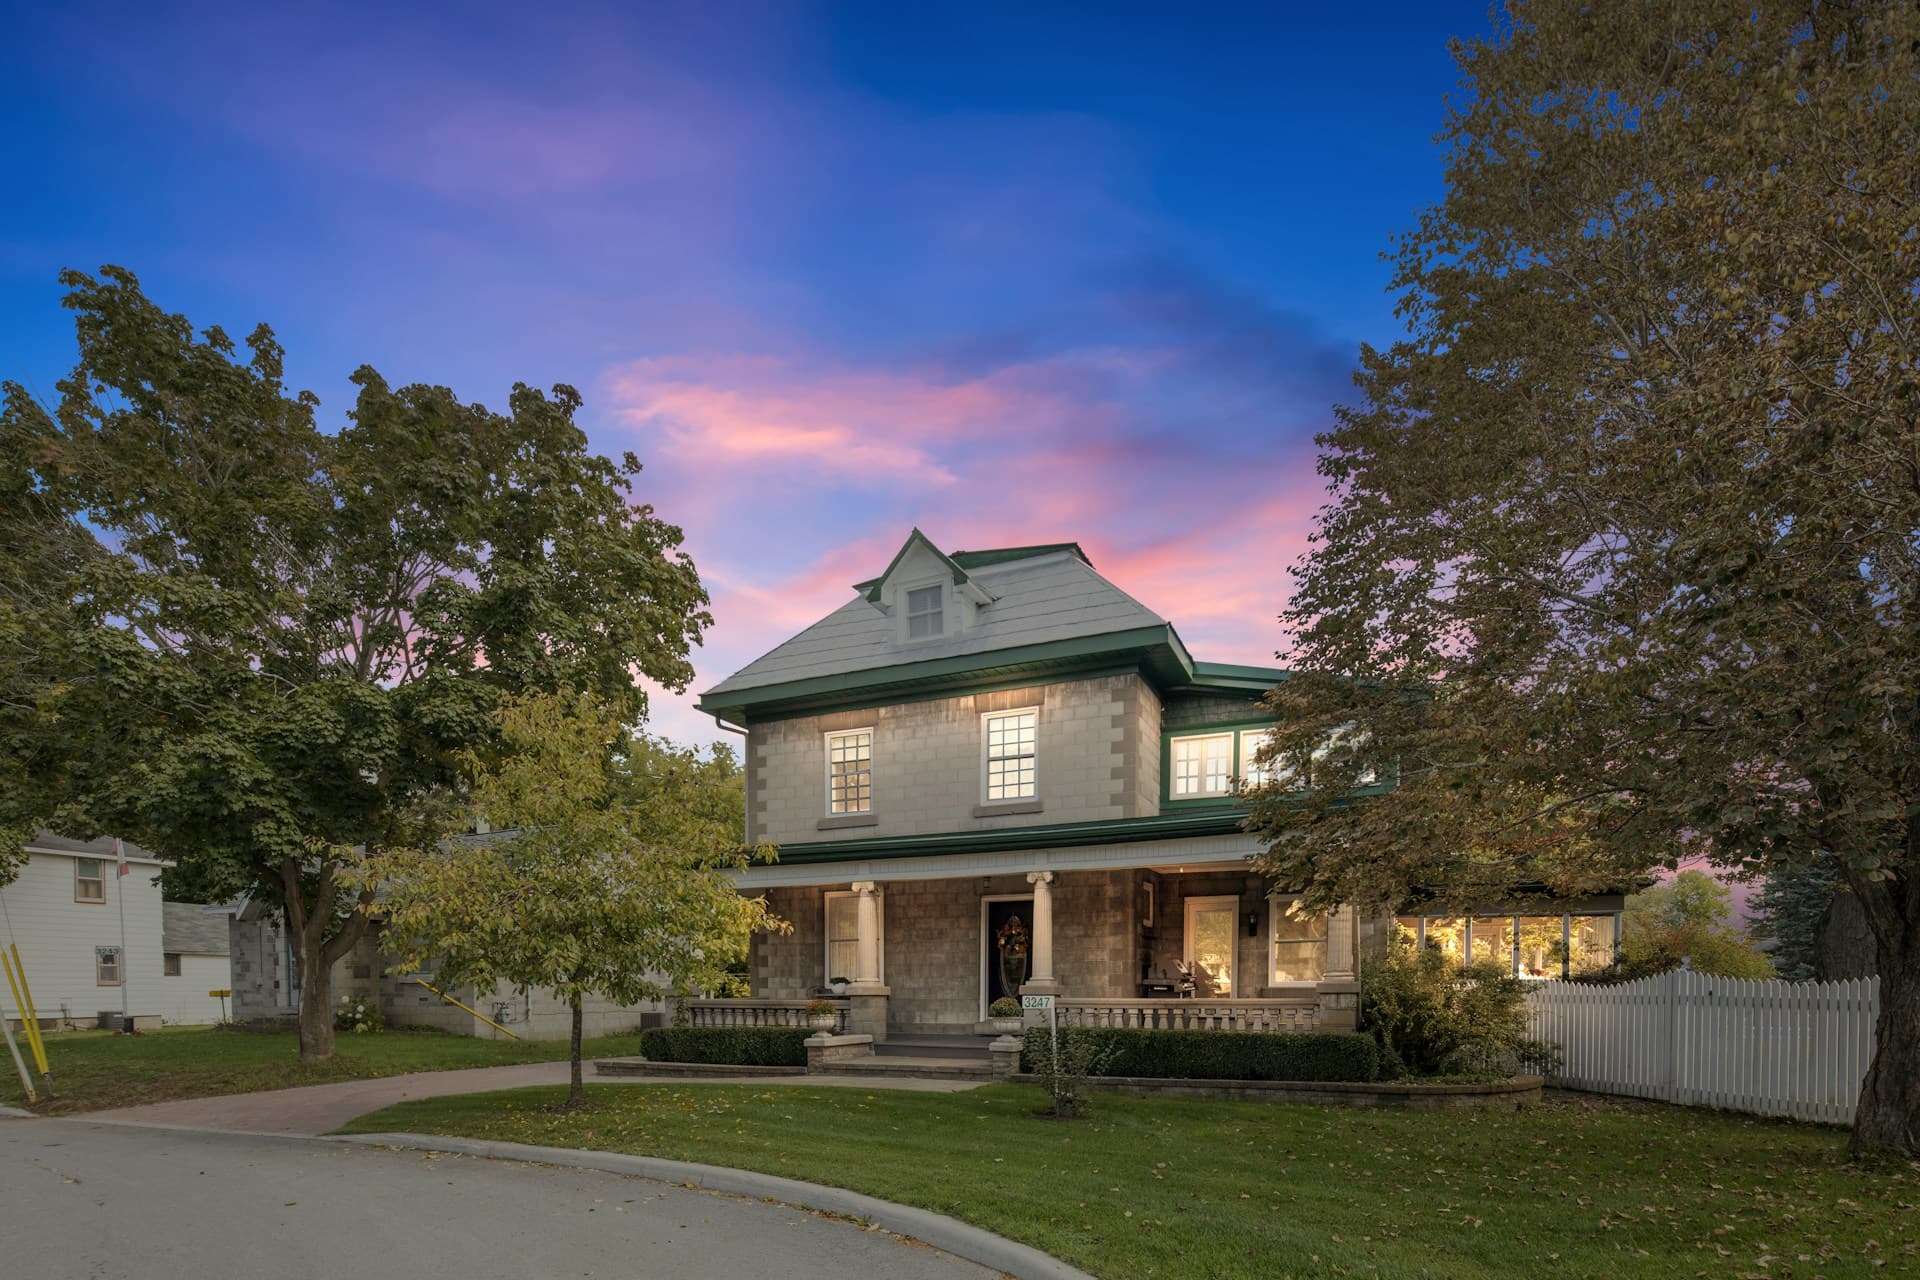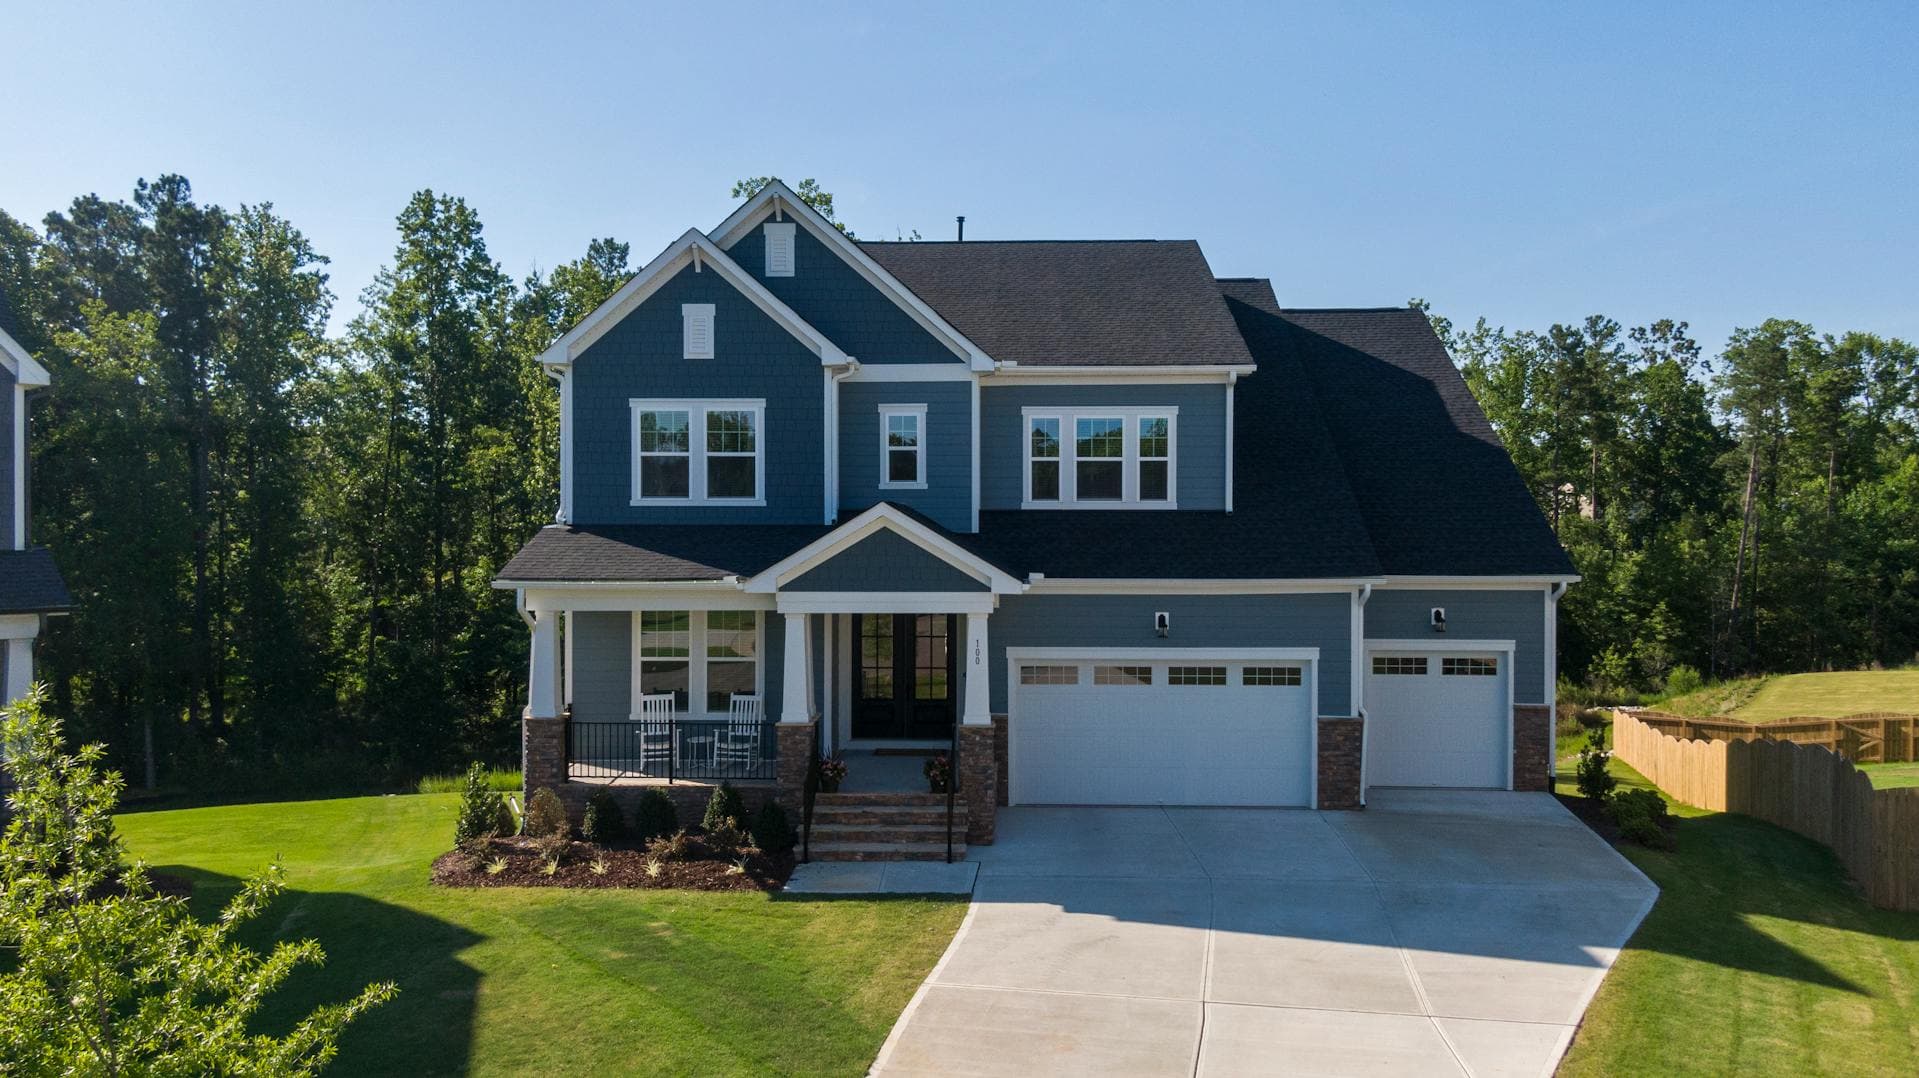


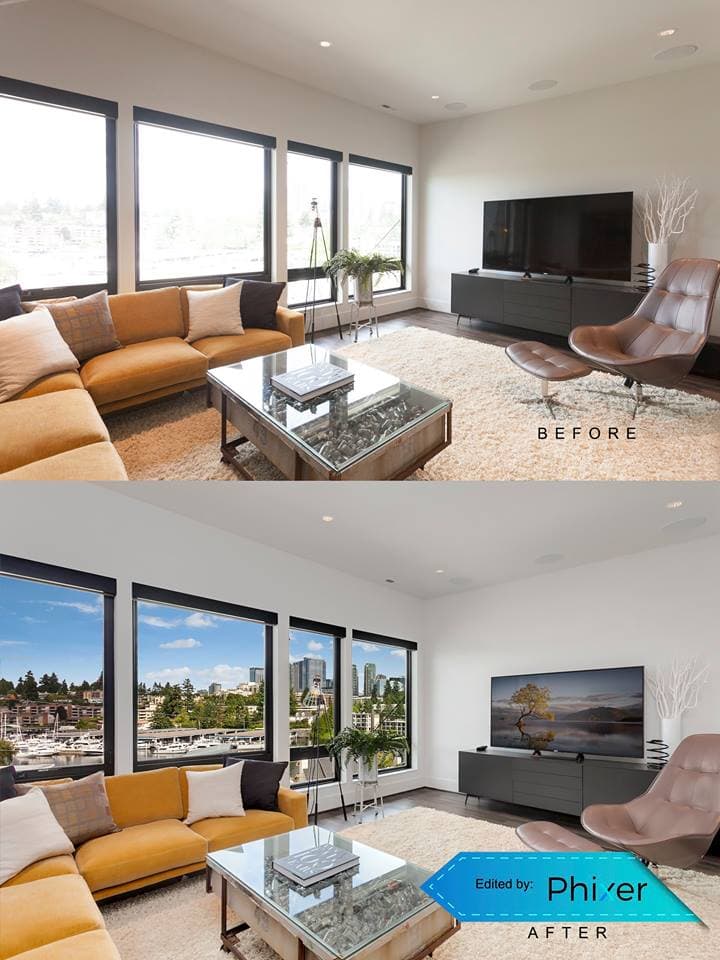
Interior photos are beautiful but also can be very challenging to shoot and edit. However, they make up the majority of the photos in a given property listing since buyers are interested in what’s inside a home.

Aside from putting the work in shooting the property, you also need to take the time to retouch and post-process your images before you hand them over to the clients. Amazing photos take time and effort, especially if you are shooting interior photos.
Using Lightroom

Adobe Lightroom is a staple tool for many photographers, no matter what their niche is. This software allows organizing, viewing, and editing a large number of images. This is great for non-destructive editing that still keeps the data of the original image.
Lightroom will allow you to batch edit and adjust the lighting and colors on your images. This is a great quick tool to go over images for some minor or basic editing.
Aligning your verticals

One of the most basic, yet most necessary editing that needs to be done on all interior photos is aligning the verticals. This can be easily done on Lightroom.
1. Use transform tool under the develop tab and make the proper adjustments.
2. Make sure that the columns and the edges of the furniture are straight and aligned properly.
Adjusting the brightness
One of the usual issues when shooting interiors is dark images. There is an easy fix to this problem.

1. Open up the shadows in your image a little bit by dragging the shadows to the right. Adjust accordingly and make sure that you don’t highlight all your photo. A middle ground would be perfect.
2. If needed, you might want to bring down your highlight a little bit. This does not work for all interior images unless you see some hot spots or there are a lot of bright lights in your photo.
3. Hold down the Alt key on your PC or the option key on your Mac, and bring the whites bar to the right until you see specs of white on your photo. This will define the white on your image.
4. To show the blacks on your image, hold down the Alt key on your PC or the option key on your Mac. Bring the blacks bar to the right until you see some specs of black color on your image.
Correcting the white balance
Changing the white balance on interior photos can be a matter of personal taste. Often, the white balance in interiors can be off since you have several light sources. One of the easiest ways to correct the white balance is to use the eyedropper tool.
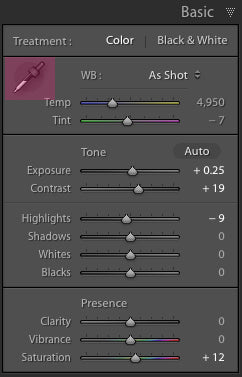
1. Click on the eyedropper tool on your Lightroom and find a neutral color. You can check the RGB percentages on the tool as you go over some areas of the photo. It would be best to pick white or a gray area.
2. Once you click on the right color, this will automatically correct the white balance on your image.
3. Adjust the temperature and the tint as to your liking. Increase the temperature a bit if the photo is too blue and bring the tint to the right.
4. Add some contrast and bring in some exposure to the photo. Just adjust the contrast and exposure bar as you seem fit.
Adjusting for the grain
Check the darkest areas of your image, like the floor or corners. Often these are the parts that have the most grain. To retouch for the grains, follow these steps:
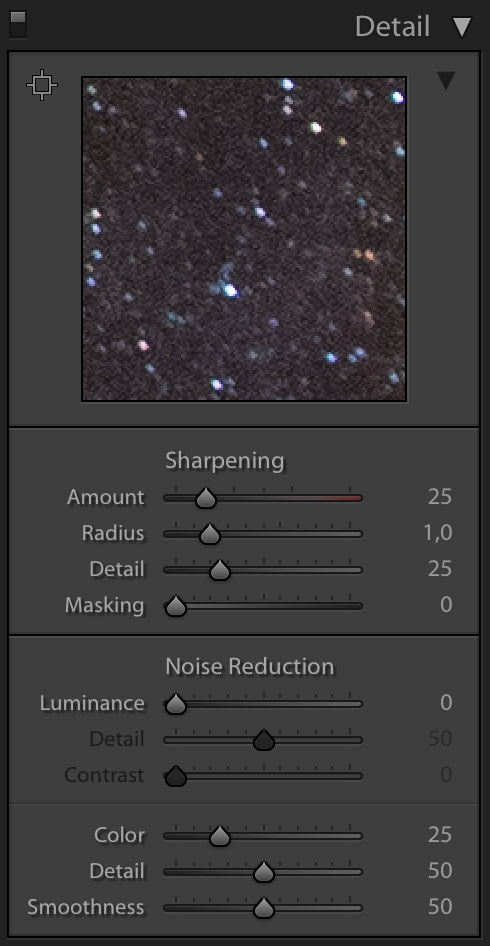
1. Adjust the luminance under the noise reduction module. Drag the bar to 40 or until the green grain gets neutralized.
2. Adjust the amount of sharpening to around 90 to make the photo very sharp.
Doing some lens correction
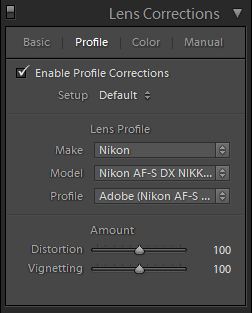
Lightroom’s lens correction tool is a very handy module that corrects the different optical issues on most lenses. It’s a quick and powerful tool that can be used on photos.
1. Just go to the lens correction module and check enable profile corrections. This automatically adjusts your photos and can bring about such big difference in the after photo.
2. Go to the color tab under lens correction and check remove color aberration.
Dodging and burning
Adding some interesting lights on the image is possible through Lightroom. Doing some dodging and burning on the photo will add some extra light. This can be great for images with lighting fixtures as this creates more realistic lighting.
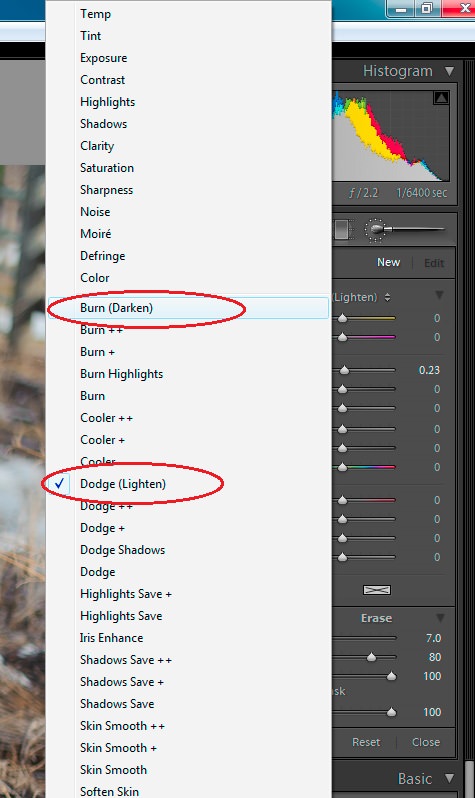
1. Take your brush tool and make sure that you adjust the exposure, feather, flow, and density. Keep these high in order to create effective streaks of light.
2. Drag the brush on the areas where the light beams from the fixtures are naturally hitting, like the floor or ceiling. Drag over these areas to brighten the area. This technique adds some shine on the light in the room.
3. You can create a new brush with every beam that you add to make the light beams different every time.