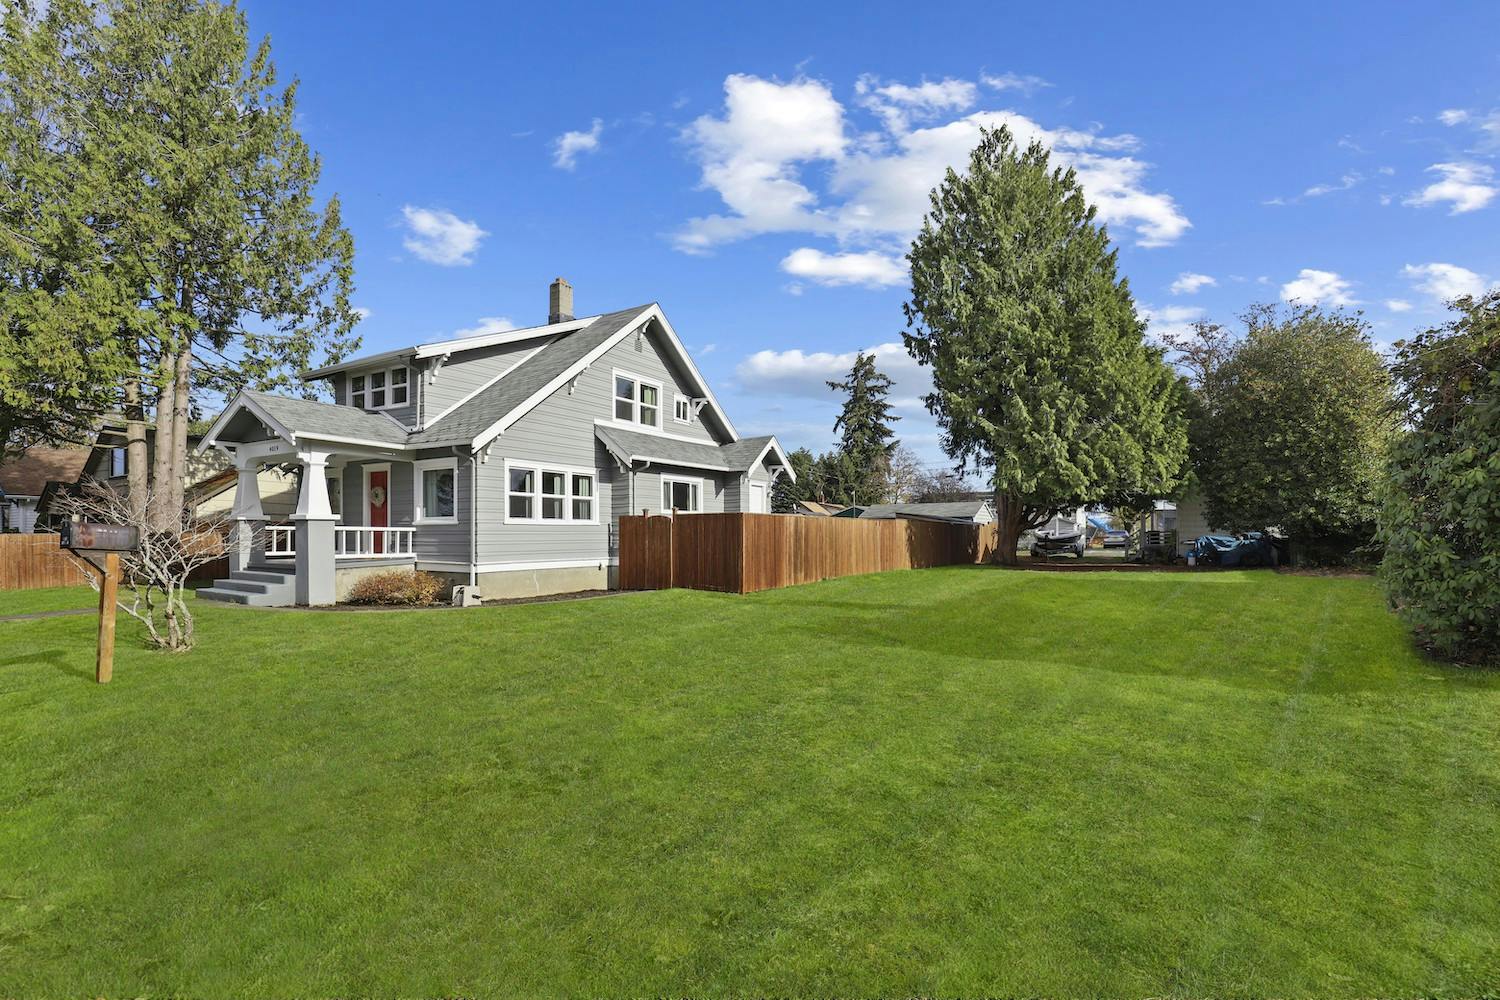
Human beings are highly visual creatures, which is why imagery is crucial, especially in digital platforms like ecommerce or real estate listings. How your home looks in photos can create an impression – and this impression can significantly influence a buyer’s final decision.
A well-maintained property won’t sell if it’s not translated well in the photos. If you want to impress homebuyers with your real estate photos, avail of real estate grass change services from pros, like Phixer, or master how to create a green lawn using Photoshop. This article will help you with the latter.
[lwptoc]Method 1: Use Hue And Saturation Parameters
Everything in your real estate photos should be perfect – and that includes the details present in your real estate exterior photos. Yellow- or brown-colored grasses will make potential homebuyers think that the property isn’t maintained and will likely look for other options.
If your real estate photos show yellow- or brown-colored grasses, lawn replacement editing using hue and saturation parameters in Photoshop can help.
Step 1: After opening an image in Photoshop, create a new layer.
Step 2: Select the “Adjustment” panel located in the right corner of the editor.
Step 3: Click the “Hue/Saturation” icon. To replace grass in Photoshop using this method, you need to adjust the tone, intensity, and brightness of colors. Generally, this section has three parameters that you need to change.
Step 4: Choose the yellow color and adjust the settings accordingly. This setting will depend on how light or dark the yellow is in your photos.
Step 5: Merge all the layers, and don’t forget to save your work
Pro tip: When it comes to grass replacement editing, you can’t miss a single detail. The lawn on your photos should look even to increase your chances of finding a homebuyer and earning profits fast.
Method 2: Turn Yellow Grass Into Green Using Brushes
To make your real estate photos look like real estate grass change services have edited them, you can also use brushes on Photoshop. This method is straightforward and doesn’t require years of experience in using Photoshop.
Step 1: Upload the photo in Photoshop.
Step 2: Create a new layer and choose “Soft Light” as your blending mode.
Step 3: Set your desired green tone. This setting depends on the overall lighting of the photo and the existing color of the grass.
Step 4: Select the brush tool located in the standard toolbar.
Step 5: Draw all over the area where you want to fix using the brush. This action will apply new color (in this case, color green) without affecting the grass’s original texture and brightness.
Step 6: If you accidentally drew over other areas, choose the “eraser” tool found in the second group of icons in the toolbox. Selecting this option will restore the damaged parts.
Step 7: On the layers panel, open “Levels” by pressing the right mouse button or using the Ctrl+L combination. Move the right control point to the left to make the grass layer brighter.
Step 8: Adjust the “Opacity” of the grass to achieve a more realistic effect. Ideally, the opacity of the grass should be around 60% or 70%.
If the grass still looks bleak or unrealistic after adjusting the opacity, consider using special brushes that allow you to fill in empty spaces, imitate grass bunches, or make the lawn denser.
Step 9: Once you’re happy with how your grass looks, merge all the layers and save your work.
Method 3: Make Grass Greener Using Camera Raw Filter
If this is your first time creating a green lawn in Photoshop, this method is for you. Unlike the previous two scenarios presented, you’ll only need to make a few mouse clicks to replace grass in Photoshop using this method.
Step 1: Upload your RAW photo in Photoshop.
Step 2: Click “Filter” and then “Raw Camera Filter.”
Step 3: Click “Channel Mixer” and adjust the yellow and green colors in the three tabs. Every photo is unique, so make sure that you change these colors carefully.
Practice Makes Perfect
As you can see, lawn replacement editing using Photoshop isn’t as difficult as you thought it would be. By spending some time to practice, it won’t be long before you can master grass replacement editing and produce the best photos to impress homebuyers!