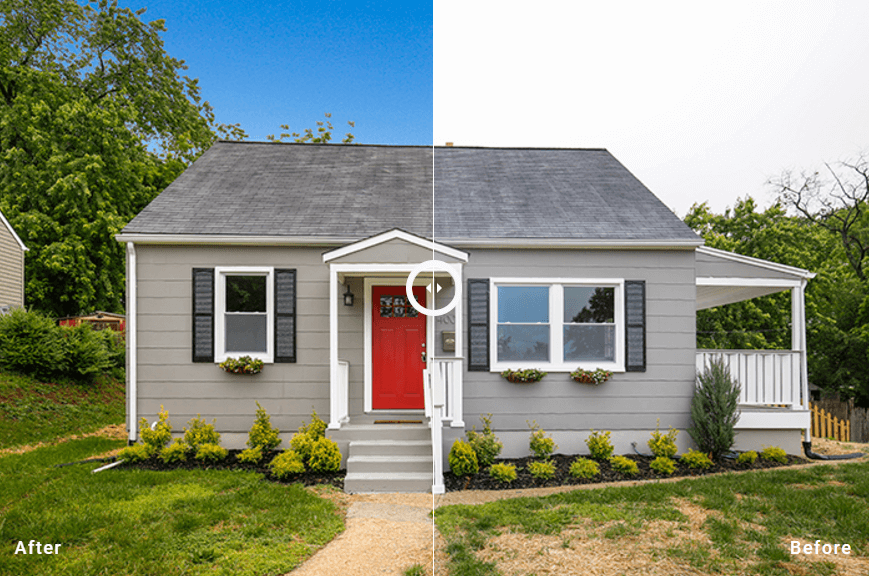
Real Estate is a lucrative industry. The total value of all the housing stock in the United States has never been worth more than it is right now, according to a new report from Zillow. The report says the total value of U.S. housing stock grew to a total of $29.6 trillion in 2016, marking an all-time high. Listing Agents are willing to invest in effective marketing and in this highly competitive market, they are always looking for the best photos and media to sell their properties fast.
Photography services are in high demand when it comes to marketing real estate properties.
There is always a need for a good photographer. No matter what the economy looks like houses are always for sale. This makes real estate photography an attractive pursuit for many.
1. Master the basics of photography. Before you venture into any type of photography, mastering the basics is a must. Although there are exciting technological advancements that are very prevalent in the field, it pays to take the time to get to know your equipment and basic the techniques in photography first. Take workshop classes that focus on fundamentals and just keep on shooting.
2. Choose the right tools. A craftsman is only as good as his tools. Invest in the right gear so that you deliver quality work. Invest in a camera with good ISO performance and make sure that it is a full-frame DSLR model. A wide-angle lens is also a must for shooting real estate. This is a staple for shooting large bedrooms, interiors, and even exteriors of homes. A tilt-shift lens can help to minimize distortion when dealing with a wide angle lens without sacrificing composition. A sturdy tripod with an adjustable head will come in handy and save you a lot of time when moving your setup about the property. This will drastically improve your consistency as far as composition is concerned, which is necessary for HDR processing, which has become very prevalent in the real estate industry. A powerful flash unit and a remote shutter are accessories that will make a difference in your output.
3. Network and shoot. If you’re just starting out in real estate photography, it pays to know people who are currently working within the industry. Connect and network with real estate agents or brokers and consider offering your services for free. This is something that you should strongly consider if you’re still building your portfolio. You can use this as an opportunity elicit referrals. You, at a minimum, will build a strong portfolio so you can land paid projects in the future.
4. Find out the industry rates. Research what other real estate photographers are charging and charge appropriately. If you’re still new, you can compete with veteran photographers by offering more bang for the buck.
5. Plan ahead. Once you’re booked for a shoot, make sure to carefully plan every detail. Talk to your clients openly and discuss their wants and expectations. Create a shot list based on your client’s desires and identify the setup and lighting you will need in order to achieve the desired result. Arrive a few minutes early in order to survey the location. It is also key to find the best hours to shoot based on the Sun’s location relative to the property, especially for exterior photos.
6. Learn, learn, learn. Learning never stops, no matter what field you’re in. You need to always strive to be better and work hard to learn more techniques to better your craft. Learn more editing techniques and figure out how to streamline your processes. The style and trends in photography change rapidly.
