Phixer
PortfolioAbout Us
Tutorials

Learn how to get the most out of Phixer's editing services.

Blog

Tips, trends, and insights for real estate marketing success.

FAQ

Quick answers to common questions about our services.

Latest Tutorial & Blog

Introduction for Real Estate Photography

Introduction for Real Estate Photography

Hi my name is Alex and I will be taking you through a photographer training tutorial where you learn the principles and techniques of real estate photography. Make sure you have your camera and tripod on hand so you can change settings accordingly and experiment with some of the techniques intermittently as we go through different processes and ideas.<br/><br/><h2>Before we get started on the photography side of the job, we need to do a basic overview of best practices once you arrive at a property.</h2><br/>Firstly, it's important to remember that though there are formulas and rules of real estate photography that you'll be thinking about every shoot, every agent and broker has different preferences and goals, depending on their taste and the distinctive characteristics of the listing. Therefore after you've met the agent and gone through baseline introductions, ask them to give you a tour of the property so they can voice any specific shot ideas,angles are elements of the property they especially want to capture.<br/><br/>This will give you a good sense of their marketing goal and the layout of the house so you can mentally prepare for the forthcoming shoot. Don't hesitate to respectfully raise concerns if agent has a poor shot idea that you know won't work. In these situations you may want to take the shot and show them it's a bad idea rather than trying to describe why. Nonetheless, the ultimate goal is to give the agent what they want, so be compliant and experiment with bizarre ideas if necessary.<br/><br/>Sometimes you may even be surprised. After you've gotten a tour from the agent, start prepping the house for photos. This means turning on all light fixtures and lamps, pulling up blinds and hiding remote controls, Kleenex boxes, sponges and any other items inside that will show poorly in photos and make it difficult on your <a href="https://www.phixer.net/">real estate image retouching company</a>. For staged houses, you probably won't have to move anything out of the way but in properties where the homeowners are still living there, you may have to hide some personal items and declutter a bit. Remember you have a limited amount of time to finish the shoot, so if the house is overly cluttered or unprepared for shooting, ask the agent whether you should reschedule or if they're comfortable shooting the property in its present condition. There's only so much you can do and you're a photographer not a home cleaner/stager.<br/><br/><h2>Do not spend more than 15 minutes prepping the property.</h2><br/>Do what you can within that limit, however moving heavy furniture, decluttering every room, sweeping etc are not your responsibilities. If you have time, avoid including the following items in your shots; bath mats, small carpets or mats on the kitchen floor, modems and bundles of cords, the homeowner's personal photos, toothbrushes, shampoo bottles and personal toiletries in general, trash cans, bedside alarm clocks, home phones, dog beds, litter boxes and anything else that will negatively affect the marketability of the listing. Usually these items can be gently move to the outside of the frame of the photo, then returned once you finish capturing the space. A note on blinds, in general all window blinds should be pulled up there are few exceptions to this rule, so leave the blinds up if;<br/><br/>A. The view outside is really unpleasant, for example there's a dumpster and industrial refinery, a chaotic construction site or anything else that would devalue the listing.<br/><br/>B. If the agent and insists for whatever reason, on leaving them down, you are after all working for them.<br/><br/>And lastly:<br/><br/>C. If the blinds are broken and won't stay level or pull up entirely. Sometimes excessively heavy blinds can be problematic and it's best not to risk pulling them off the wall. Leave the blinds down and twist them open so light can come through the windows. Other notes on prepping the house; make sure you remove security signs from the front yard before taking exterior shots, also hoses should be either coiled or removed from view.<br/><br/>Garage doors should be closed and garbage cans either moved into the garage or out of view. In kitchen's especially, make sure you double check for cabinet under lighting and turn the stove lights on. Dining room and breakfast table chairs should be tucked in even and orderly. Fans, fireplaces, TVs in any other kinetic features of the listing should be turned off. These objects will appear blurry and disorienting once the disparate exposures are fused by your real estate photo retoucher into an HDR composite.

Read More ↗

What's New?

AI Real Estate Photo Editing

AIPhixer AIReal Estate Photo Editing

Instant, professional-quality edits powered by AI technology—perfect for tight deadlines.

Read More ↗
Photo Editing

Professional editing that makes properties shine.

Declutter

Remove unwanted objects for clean, distraction-free images.

Video Editing

Cinematic property tours that captivate and convert buyers.

Virtual Twilight

Convert daytime shots into dramatic dusk photography.

Virtual Staging

Add designer furniture to showcase a property's full potential.

AI Editing New

Lightning-fast edits powered by advanced AI technology.

Lawn Replacement

Transform dull lawns into lush, vibrant green instantly.

AI Website Builder

Build stunning listing websites in minutes, no coding needed.

LoginGet in touch
Phixer

© 2026 Phixer, Inc. All Rights Reserved

Trusted editing partner for real estate professionals since 2009.

Expert editors, proven quality, 24/7 support.

+1 206-934-1858

155 NE 100th St., #309, Seattle WA 98125

support@phixer.net

Community

  • About Us
  • Portfolio
  • Tutorials
  • Blog
  • FAQ

Services

  • Photo Editing
  • Video Editing
  • Virtual Staging
  • Lawn Replacement
  • Declutter
  • Virtual Twilight
  • AI Editing
  • Website Builder

Legal

  • Privacy Policy
  • Terms of Use

Basic Color Correction Tutorial using Photoshop

January 27, 2020

Basic Color Correction Tutorial using Photoshop
Photo Editing

January 27, 2020

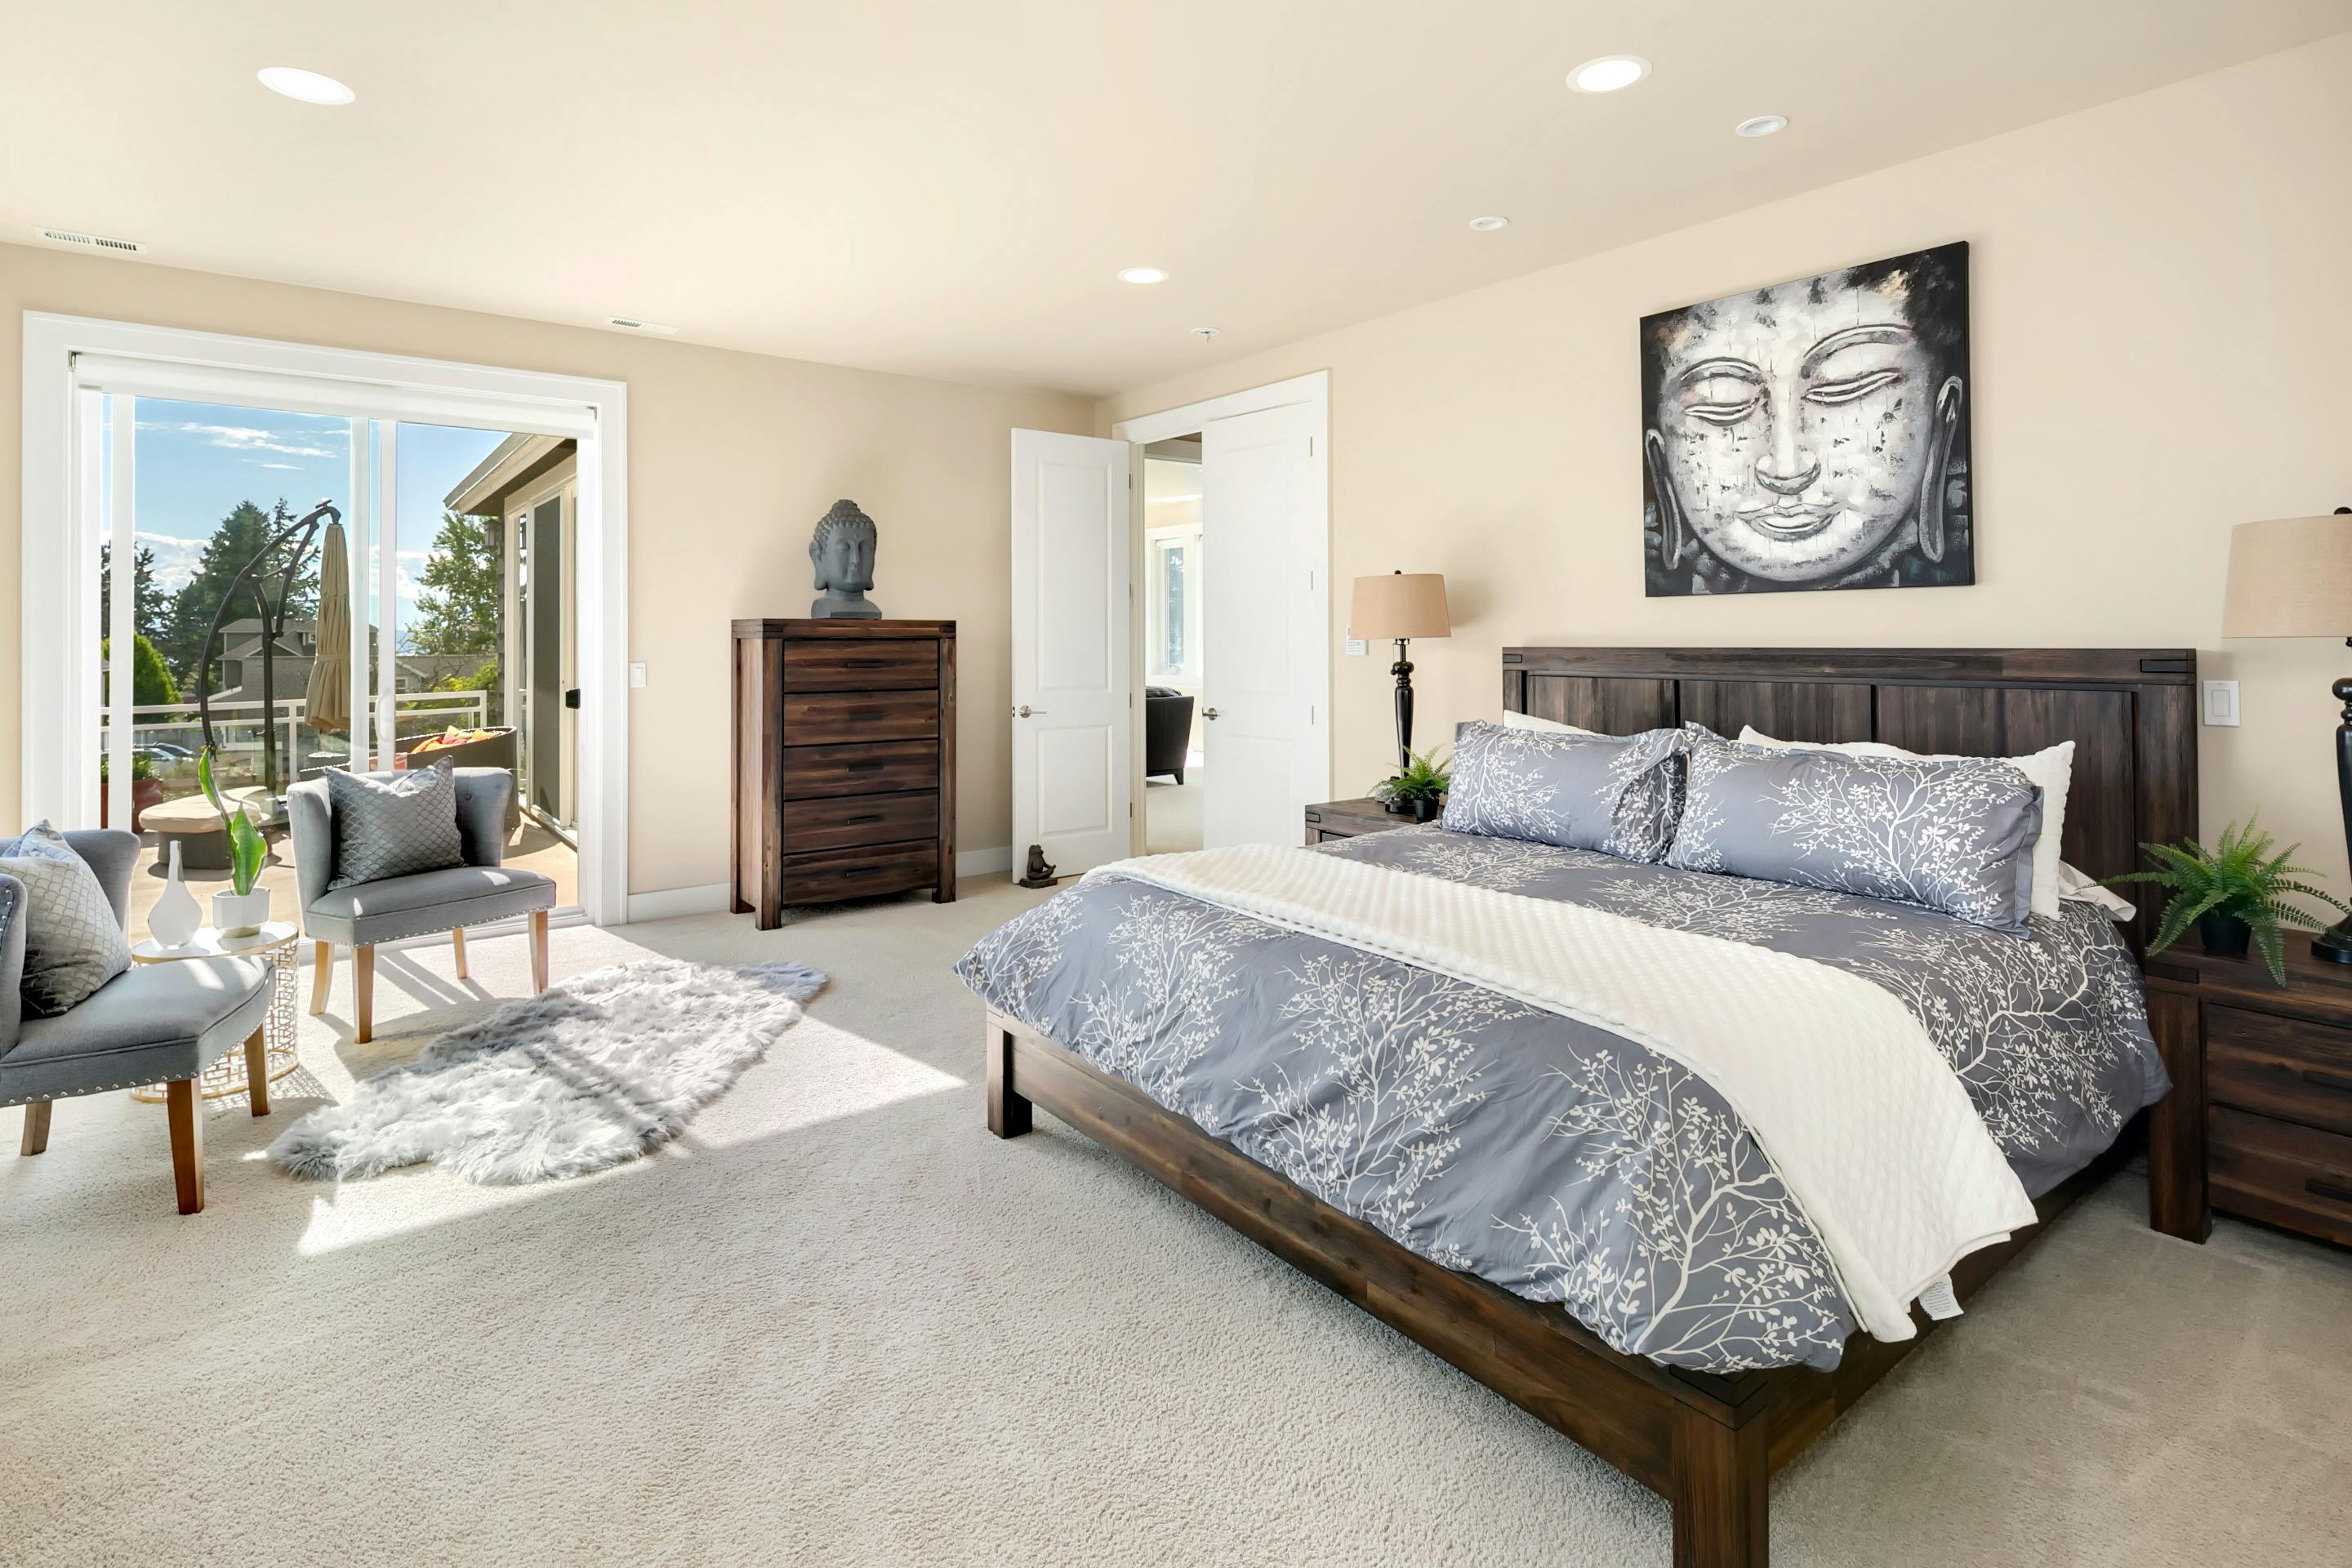
Photography has never been more important to real estate than it is these days. This is the reason why photography markets are always in demand. Photo editing, as we know, can recreate ordinary pictures to look more appealing and attractive. It helps increase the aesthetic beauty of properties by the enhancement images.

With proper knowledge, it is essential in creating profits out of photo editing. Photo editing is valuable to portraits for personal representation of pictures. Promoting products online is very important. You can consider designing your own website by improving your skills in mastering photo editing. In this way, you can also apply for freelancer jobs related to graphics, arts and designs.

basic color correction tutorial

Techniques in Color Correction using Photoshop: A Tutorial

1. For color correction, add the Threshold Adjustment and Curves

  • If you want to some of your images to look black and white, click Image and go to Adjustment. You may choose Threshold and a curve dialog will pop out. Dragging the dialog box level will turn the image darker, going to the left, lighter in color.

Threshold Tool PSD

  • You also have the option to choose Layer then New Adjustment Layer the select Threshold. Observe that the same dialog box will show up. Instead, you may switch to the Burn tool and arrange to Midtones and adjust the exposure to only 10% then you can pick the Eyedropper tool while at the same time holding down the Shift button.

New Adjustment Layer the select Threshold 1

  • To add definition to the image, you can hold the Optional Outkey to either darken or adding exposure.
  • To adjust the white balance of the image, you need to pick any white object and apply color grading. To do this, make sure you are on Curves.
  • Click the area of concerned and a 4-point curve will show. This time, make sure that all color points are on the same horizontal line. This can be done by clicking the color buttons and pull each color either up or down to position it to the same horizontal line.

Video Credit to 2 Minute Photoshop

2. Adjust the Skin Color

• To make the skin color perfect, you need to pull this one up by breaking down the White, Black, Latin, and Asian skin color.
• Balance the primary color of magenta, yellow, black and cyan.
• To do this, use Gradient Maps to upgrade skin color and tones. You also have the option to choose Layer then New Adjustment Layer the select Gradient Maps then click OK.
• Click the color gradient map icon and click the Brush pre-sets and come down to Photographic Toning then OK.
• This is now the time for you to select the tone of what you think best works for you.
• You can change the blend mode to soft light and everything is up to you to adjust the Opacity percentage.
• Selecting the Blend Option merely adjusts the shadows of your image.

Video Credit to Prince Meyson

3. Use the Camera Raw Editor for White Balance adjustment

• To adjust the white balance of the image, you can open the image in the Camera RAW editor to transform the image to a smart object
• Proceed to Filter then click Camera Raw Filter
• Select the White Balance tool and choose As Shot to automatically make the white balance corrected
• You the Eyedropper and drag it to choose the part that you wanted to fix.
• It will automatically crack the color of the image to give you a White Balance

Video Credit to Pink Flower Photography

4. Correct the Hue and Saturation Layer

• You can mimic the functions of Curves with Hue and Saturation
• Hue and Saturation is significant to augment color correction.
• After getting your image opened, choose Layer then New Adjustment Layer the select Hue and Saturation.
• A Properties dialog box will pop up
• Adjust the Hue level to your preference and it will change the colors of all the objects in the image.
• Saturation, on the other hand, will either add or remove all the colors of the object in the photo. You can easily do Saturation jobs by clicking the ‘Little Finger’ in the box and choose from the photo what part you wanted to edit. By dragging to the right, the image increases saturation and left, decreases.
• Adjusting the Lightness can make the image very light or very dark. This will definitely affect the contrast of the image.
• You can also use the range of colors at the bottom of the dialog box. It specifies the range and focus to be used.
• If you want to add or diminish color, you can initially click the Eyedropper then click it to the selected part to be edited. To add colors, select the Eyedropper with the plus (+) sign. To decrease colors, use the Eyedropper with minus (-) sign.

Video Credit to tutvid

Complete Solution

Ready to work with us?

Send us your photos and let our expert real estate photo editors handle the editing — fast, accurate, and ready for publishing.

Contact Sales