Are you trying to add fire to your real estate images?
Well, it sounds a bit odd but not impossible. With some properties with a built-in fireplace, it is never an issue to have a real fire in photos.
But what if it is not the case?
Do not worry! Your expert real estate photo editors can definitely help you add that specific detail in your images.
Why should you make use of the fireplace?
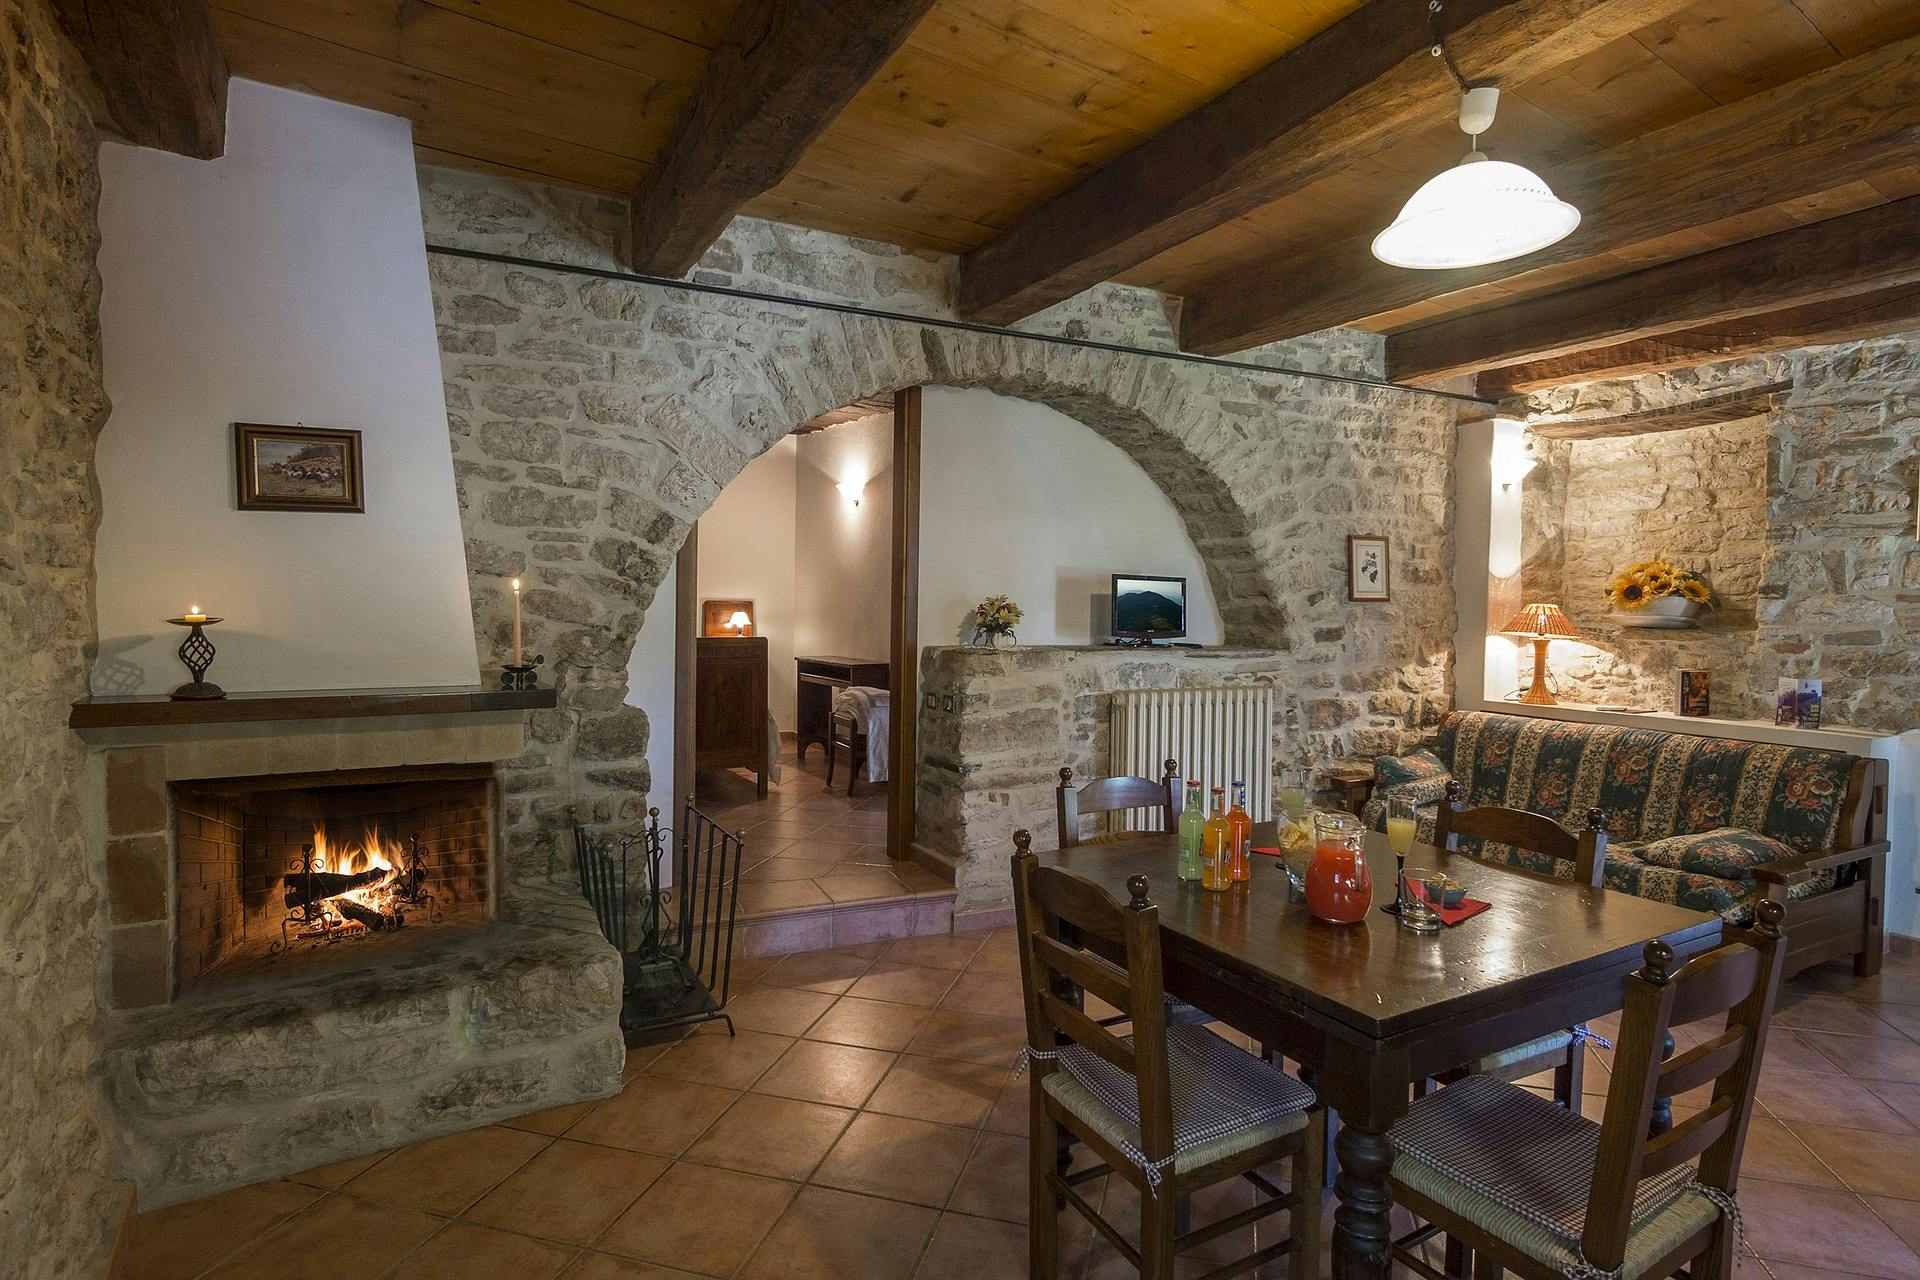
For sure, your real estate photos should convey the warmth and coziness of the place.
Your clients should get this feeling at a glance. Many home sellers want to light up the fireplace because it makes the images look real and appeal to a buyer’s decision.
In this case, it is best to seek the help of your trusted real estate photo editor and photoshop fire in your real estate photos.
Here are three proven and tested steps that work well when modifying images to add that iconic fire beneath a chimney.
Step 1: Prepare the Materials
The very first thing you need to secure is a high quality image of the fireplace.
You need this picture so that your real estate photo editor will not have a hard time polishing pixelated parts of the photo.
Moreover, you need to secure a high-resolution image of flames that you can easily get online on stock photos website.
It is best to choose a fire image that looks natural and not photoshopped.
Step 2: Open Adobe Photoshop
When it comes to photo manipulation, Photoshop is a known tool.
However, you can use any software you like. There is no rule of thumb that it should be Photoshop all the time.
Then, open both photos in Photoshop. On the photo with the fireplace, start creating an outline for the fire by using the Pen Tool.
Then, copy the fire flame photo you want to add in the existing picture by using the shortcuts Ctrl +A and Ctrl + C.
On the interior photo, use Alt + Shift + Ctrl V or choose Paste Special to place the image in the frame.
Now, your fireplace has a visible fire already! All you need to do is to resize it properly so it will appear natural.
Here is a quick way to fir the flame in the fireplace: use Ctrl + T, right mouse, and then choose Distort.
It will drag the flame to fit the fireplace.
Step 3: Use Screen Effect
At this point, he flame should be visible in the fireplace already.
The next thing you need to do is create screen effect by changing the blending mode.
You should choose Normal to Screen and have an 80% capacity.
If you want to make the flame more natural, get rid of the fire’s sharp edges by utilizing the Brush Tool.
Are you able to follow everything?
If yes, great! You should now have an enticing fireplace image.
Bonus Tip
Here is one more photo manipulation tip for you – replacing a TV’s LCD.
You may think that this is a tedious work to follow but it is similar to the process mentioned in this article with the exceptions of the kind of images to use.
It is quite simple and easy. Just continue to practice the skills everyday.
So, what do you think?
Is this something that you can pull off? If yes, then go ahead and start creating that wonderful fireplace image.
Remember to include a fireplace photo in your listing, especially if the property you are trying to sell or advertise has one.
Doing this can help you attract more buyers and close a deal successfully.