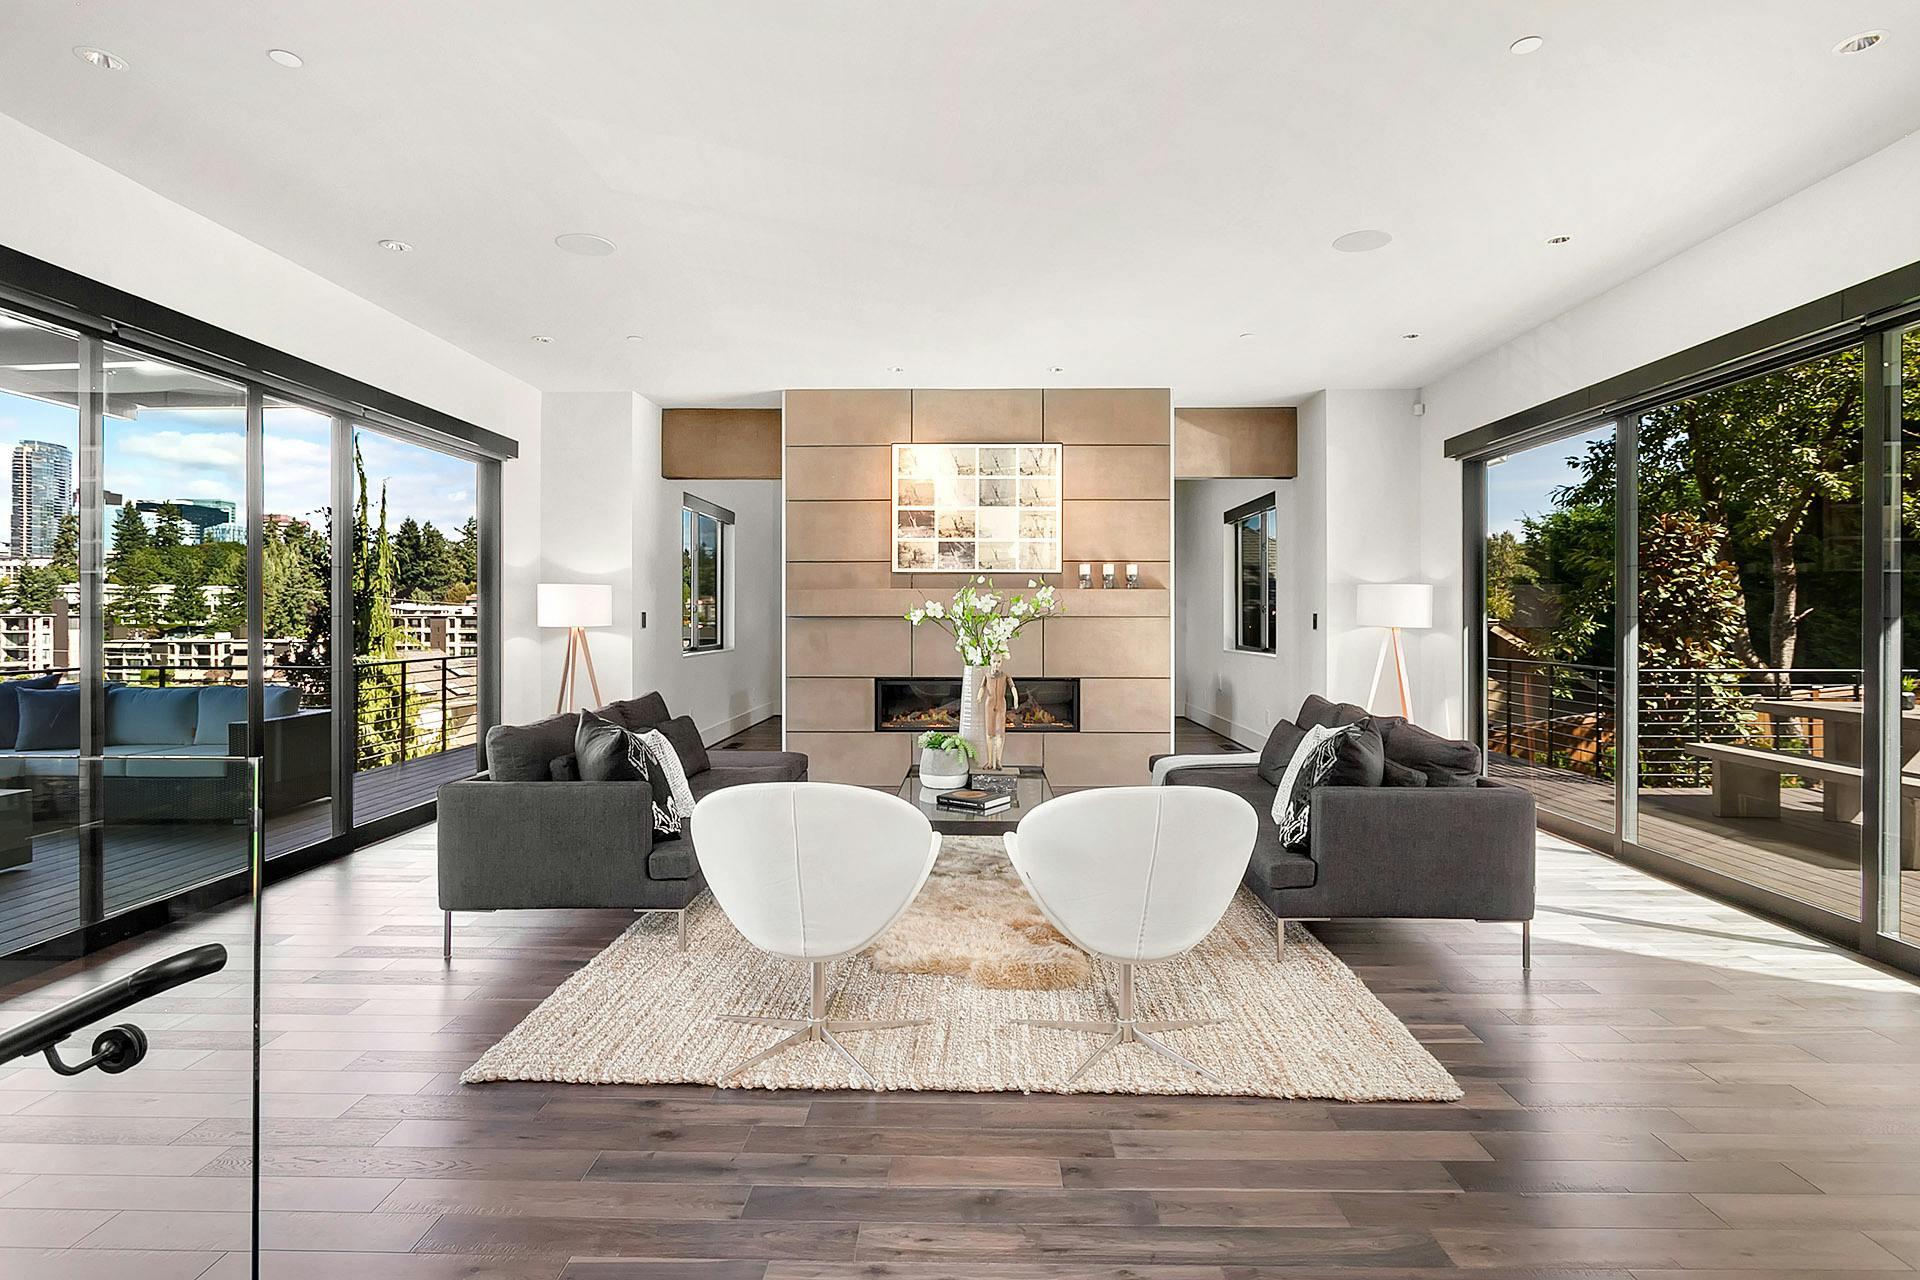
It’s no secret that Real Estate is a photo-driven industry. According the to the National Association of Realtors, 9 out of 10 home buyers today use the internet as their go-to source when searching for a property, meaning, your listing photos can determine whether or not your property is worth a walk-through. It’s 2018, having a really great photo makes all the difference in the world.
If you’re adamant to take the photos by yourself (instead of hiring a professional real estate photographer), here are 7 fail-proof tips to make your real estate photos noteworthy.
Find the best angle of your property

Surprise! Getting “the best angle” is not only useful when taking selfies, this also applies with real estate photography. With today’s technology, a single photo can reveal almost everything in a single room, it’s best to know at what angle your living room will look stellar. Take a lot of test shots, find the things that are complimentary to your property and accentuate it.
Avoid taking photos of the interior from the corner

This is a common rookie mistake. Sitting tight in one corner while trying to capture the other three corners is just wrong. and boring. You really don’t need to show everything, the viewer’s eyes and brains will fill in the gaps. Get around, and again find the best angle of your property.
Keep the straight lines straight

When taking interior photos, the images will show various objects ie, stairs, wall lines, furniture. If your lens is slightly tilted, the lines will be going diagonally. This is a distraction you don’t want. Make sure to keep those lines straight to keep the viewer’s orientation of the photo simple.
Make use of props

Props will add color and life to any shoot. Add features to a room to create this certain mood or atmosphere. Before you shoot, walk around your room and get a feel for it. Be careful not to overdo it though, a pop of color here and there is enough. Proper styling will make your photos look professional.
Lighting is everything

It cannot be emphasized more how natural light can make all the difference. Find out at what time the lighting falls perfectly in your property, and take advantage of it. You want to make sure that you have the ideal lighting in your photos to keep it crisp and bright. If you think the existing light in your space is not enough,
Get rid of dirt & clutter, old & damaged furniture

This one is a no-brainer. If you want the best results, everything has to be squeaky clean, from the windows & tables, to countertops & floors. Potential aesthetic hazards, such as worn-out furniture or damaged blinds, should be dealt with in advance. Remove anything that can compromise a good-looking photo, and add objects which you think will add charm.
Make friends with post-shoot editing

While it’s important to get good raw photos, it’s rare that those will come out exactly as you like. Colors have to balanced, menacing shadows have to be taken out, lines have to straightened out…the list can go on. There are several tools available that can help you with that; make your research. If the thought of editing makes your shudder, experts are more than willing to help you with that.
