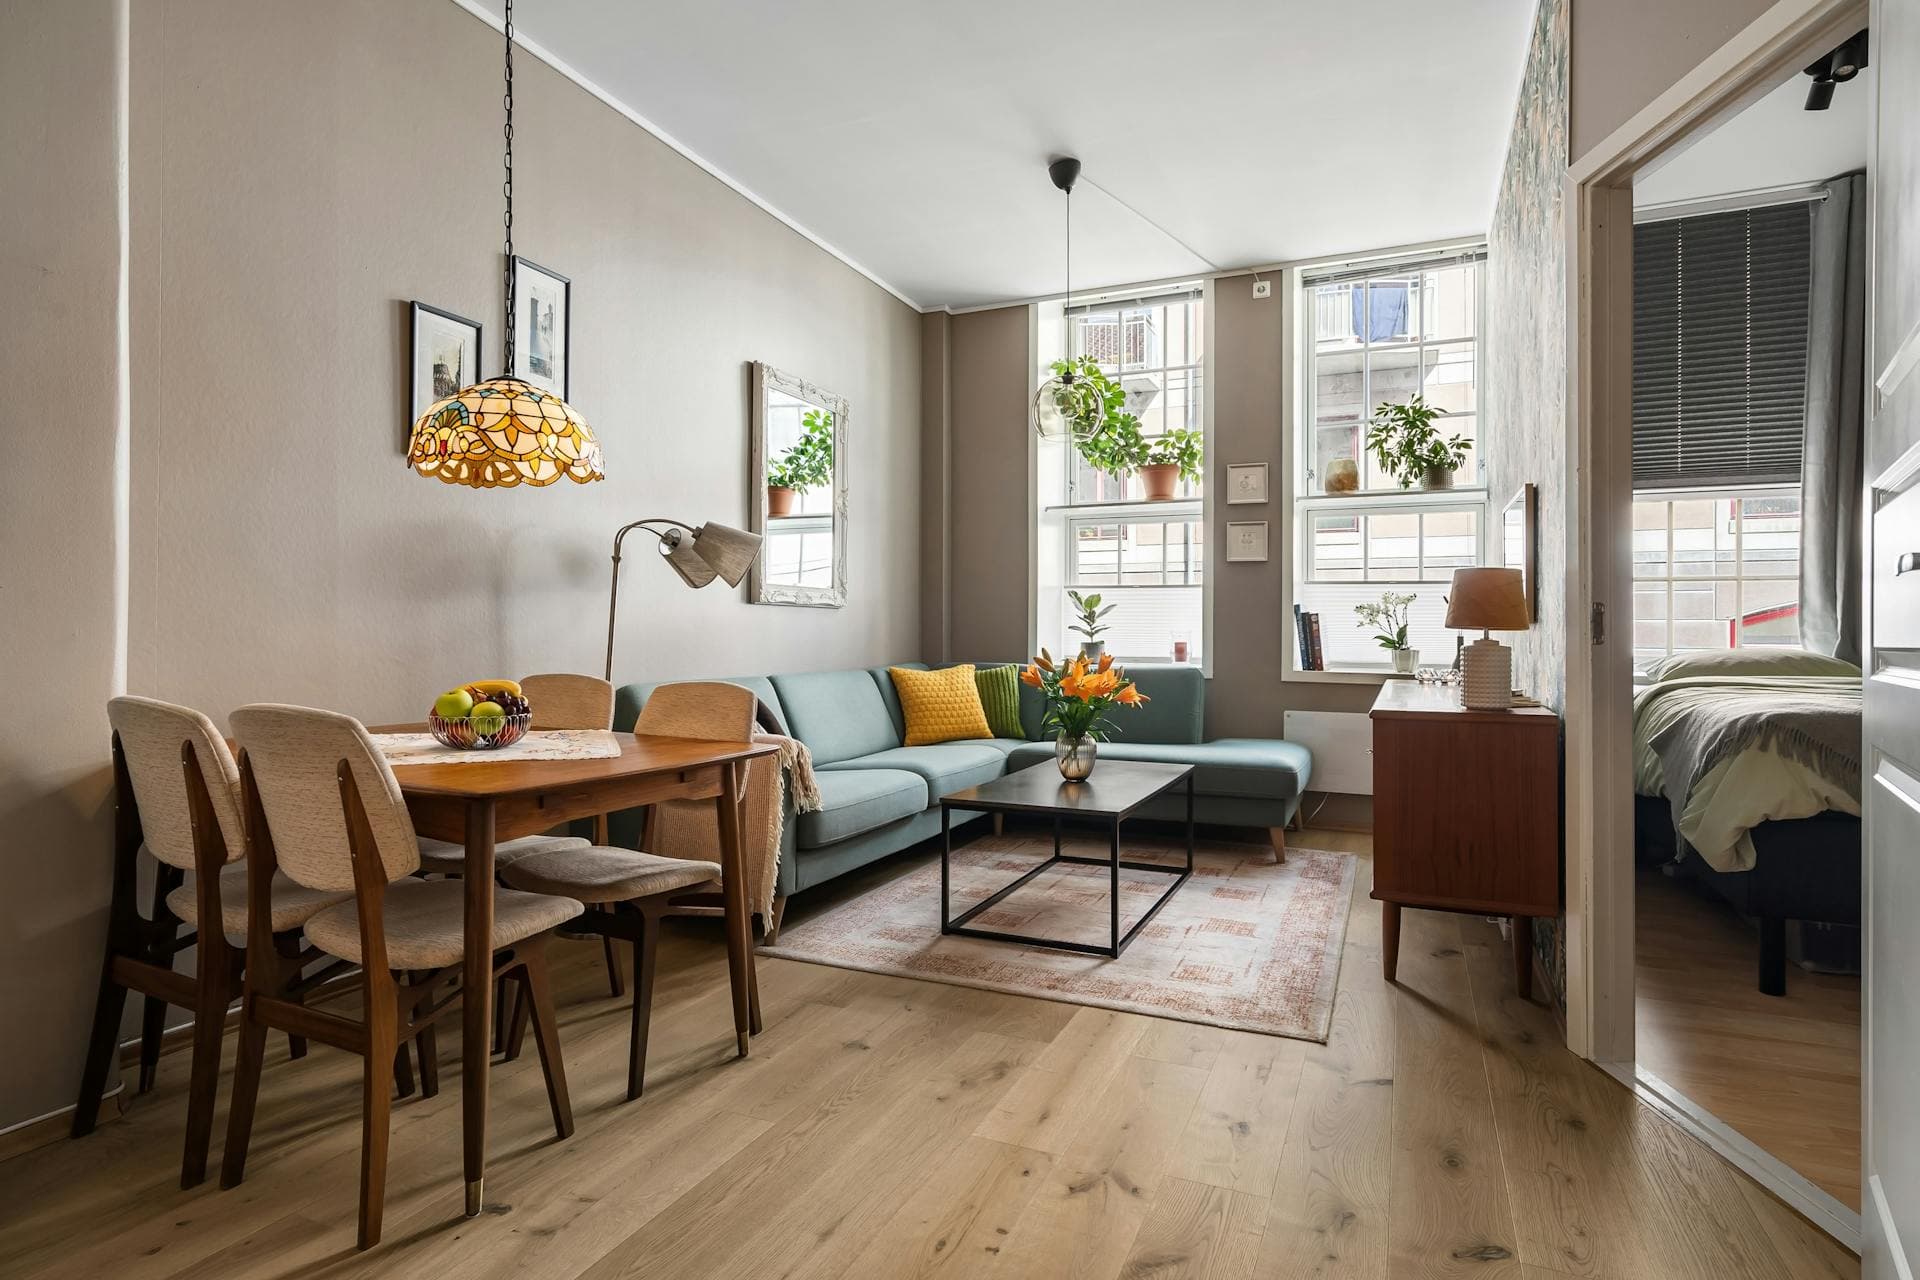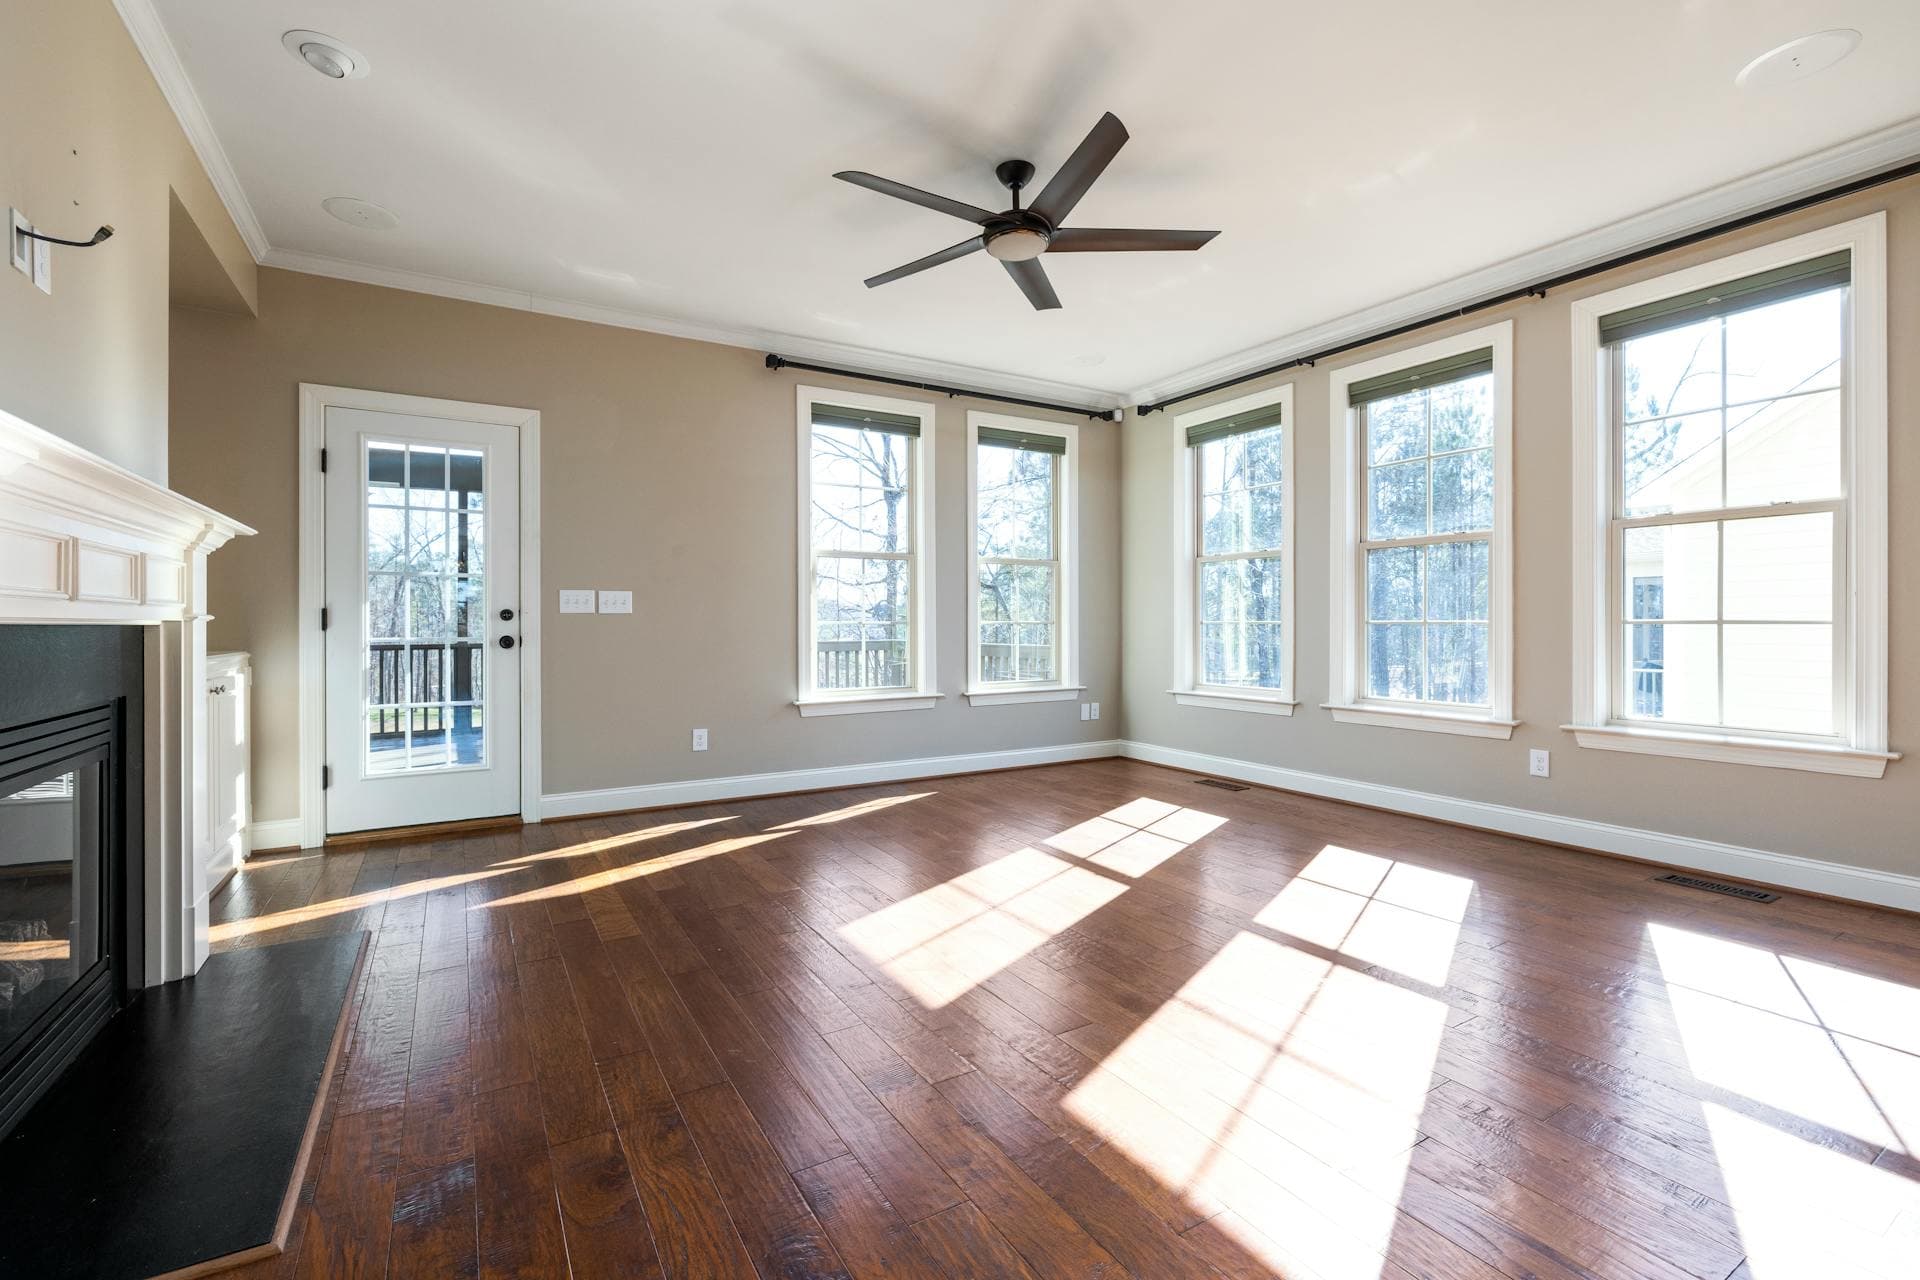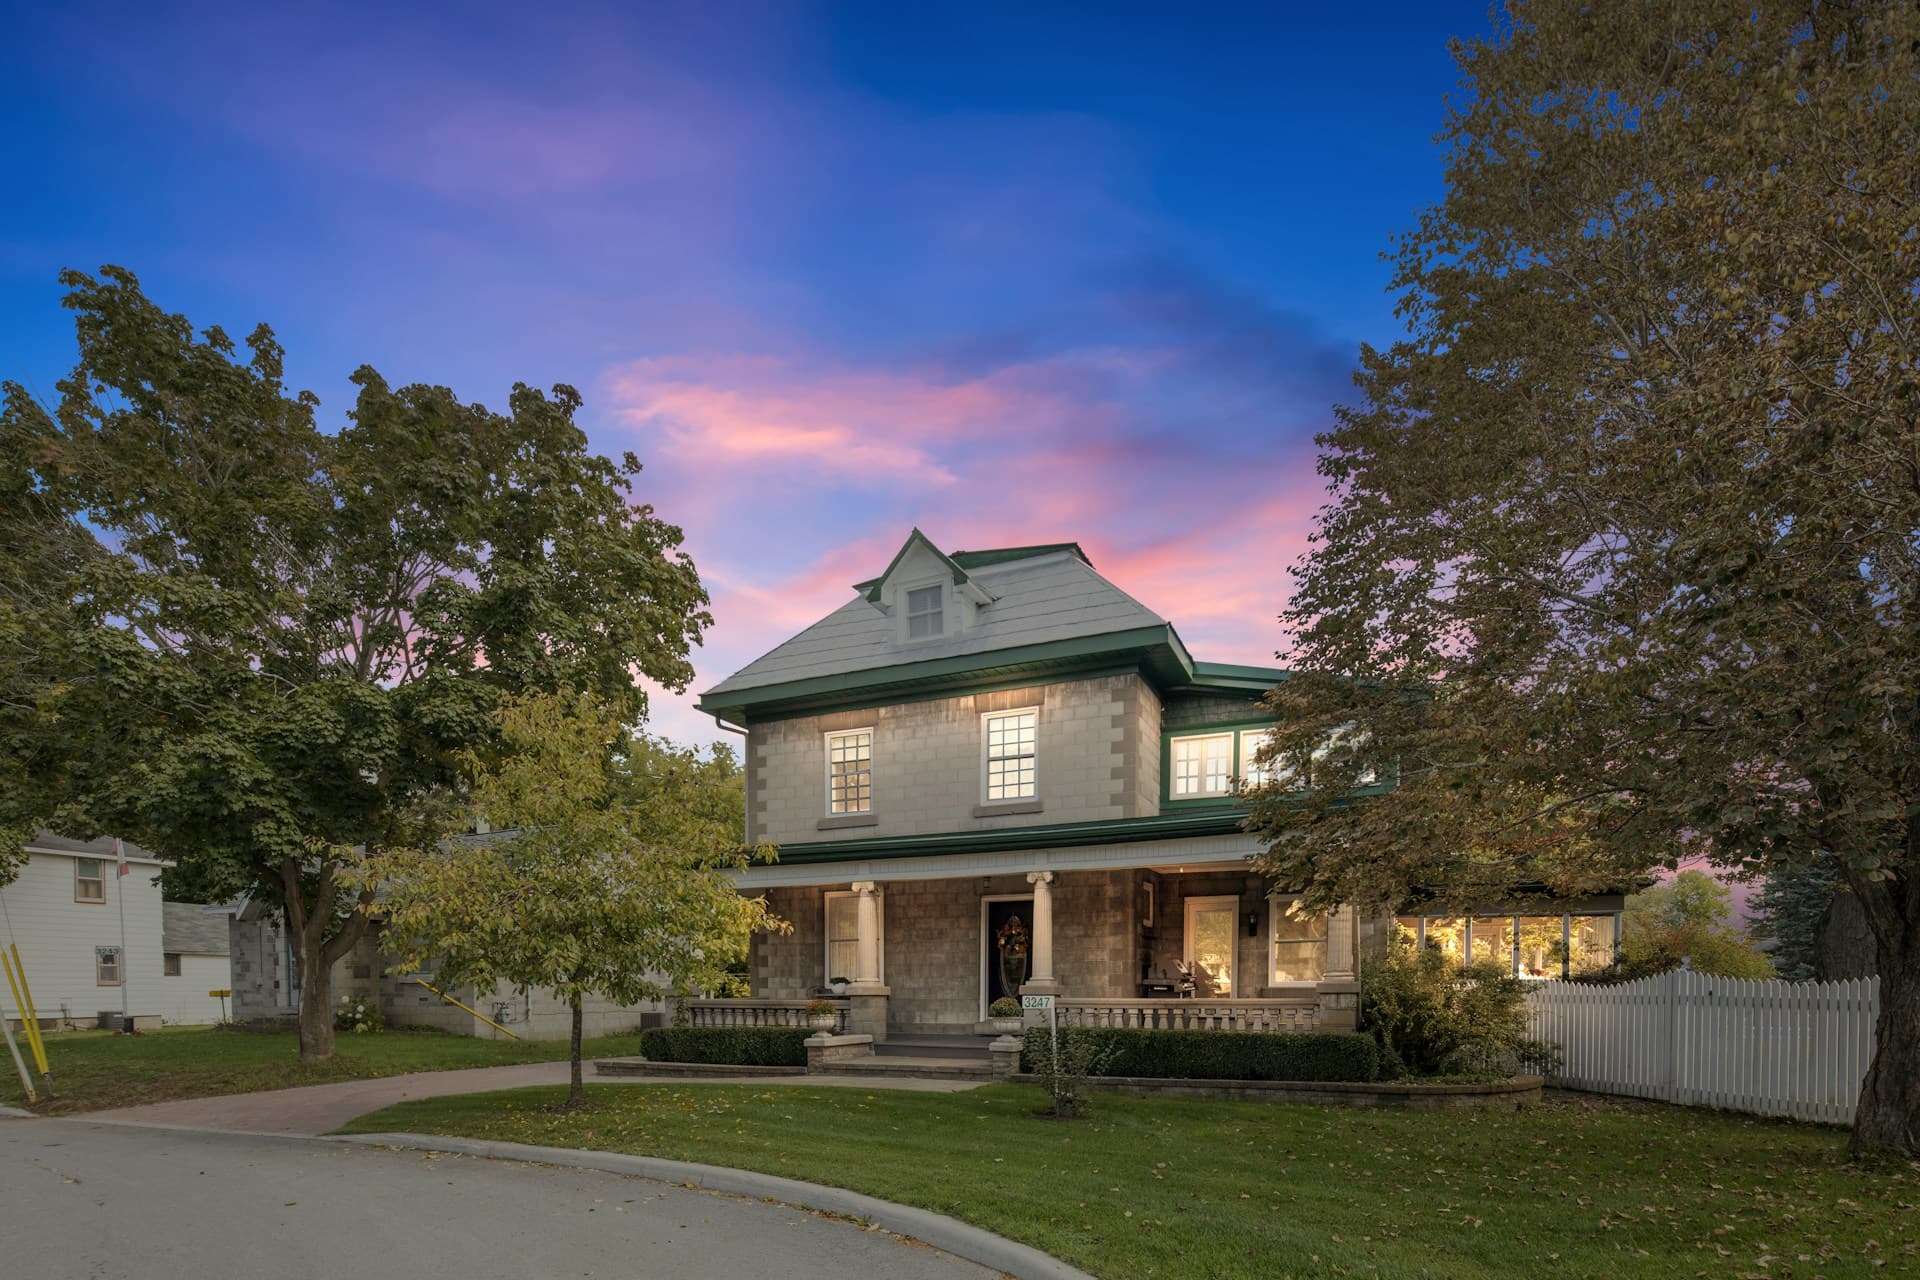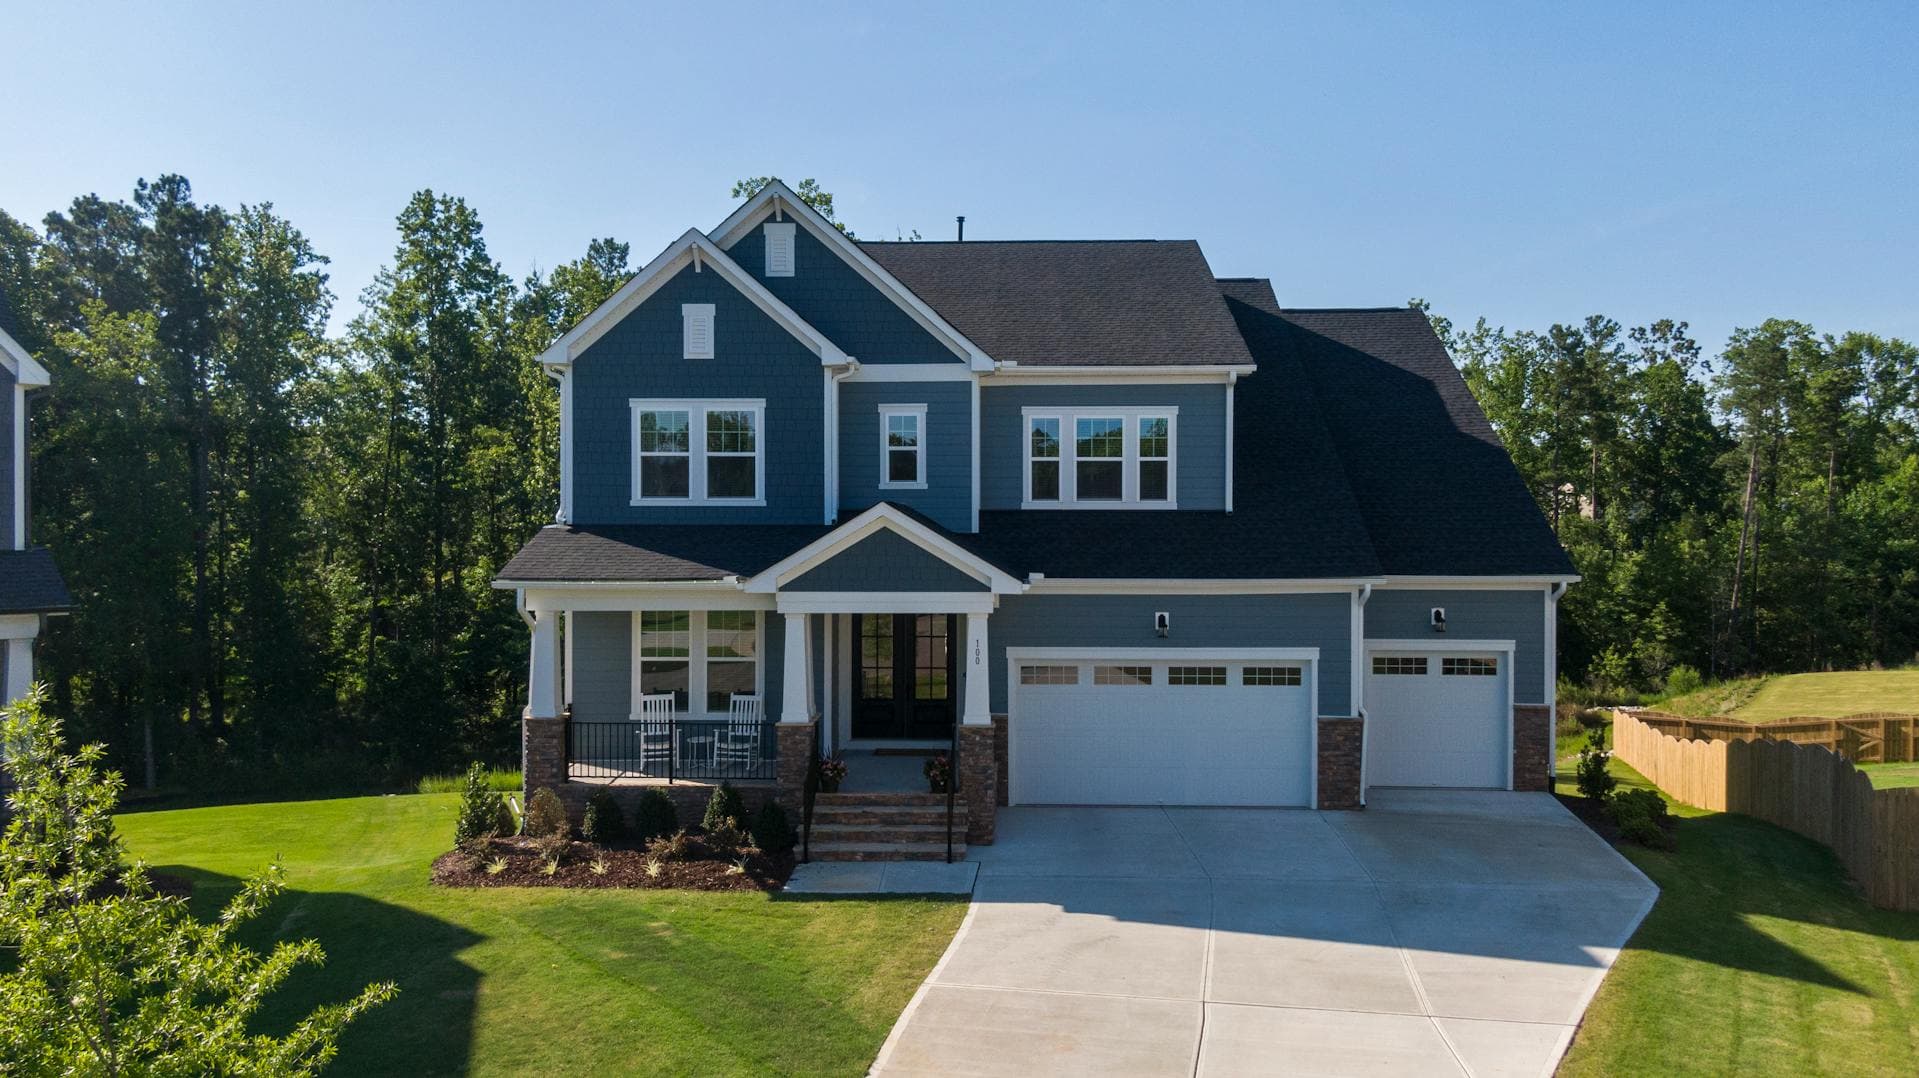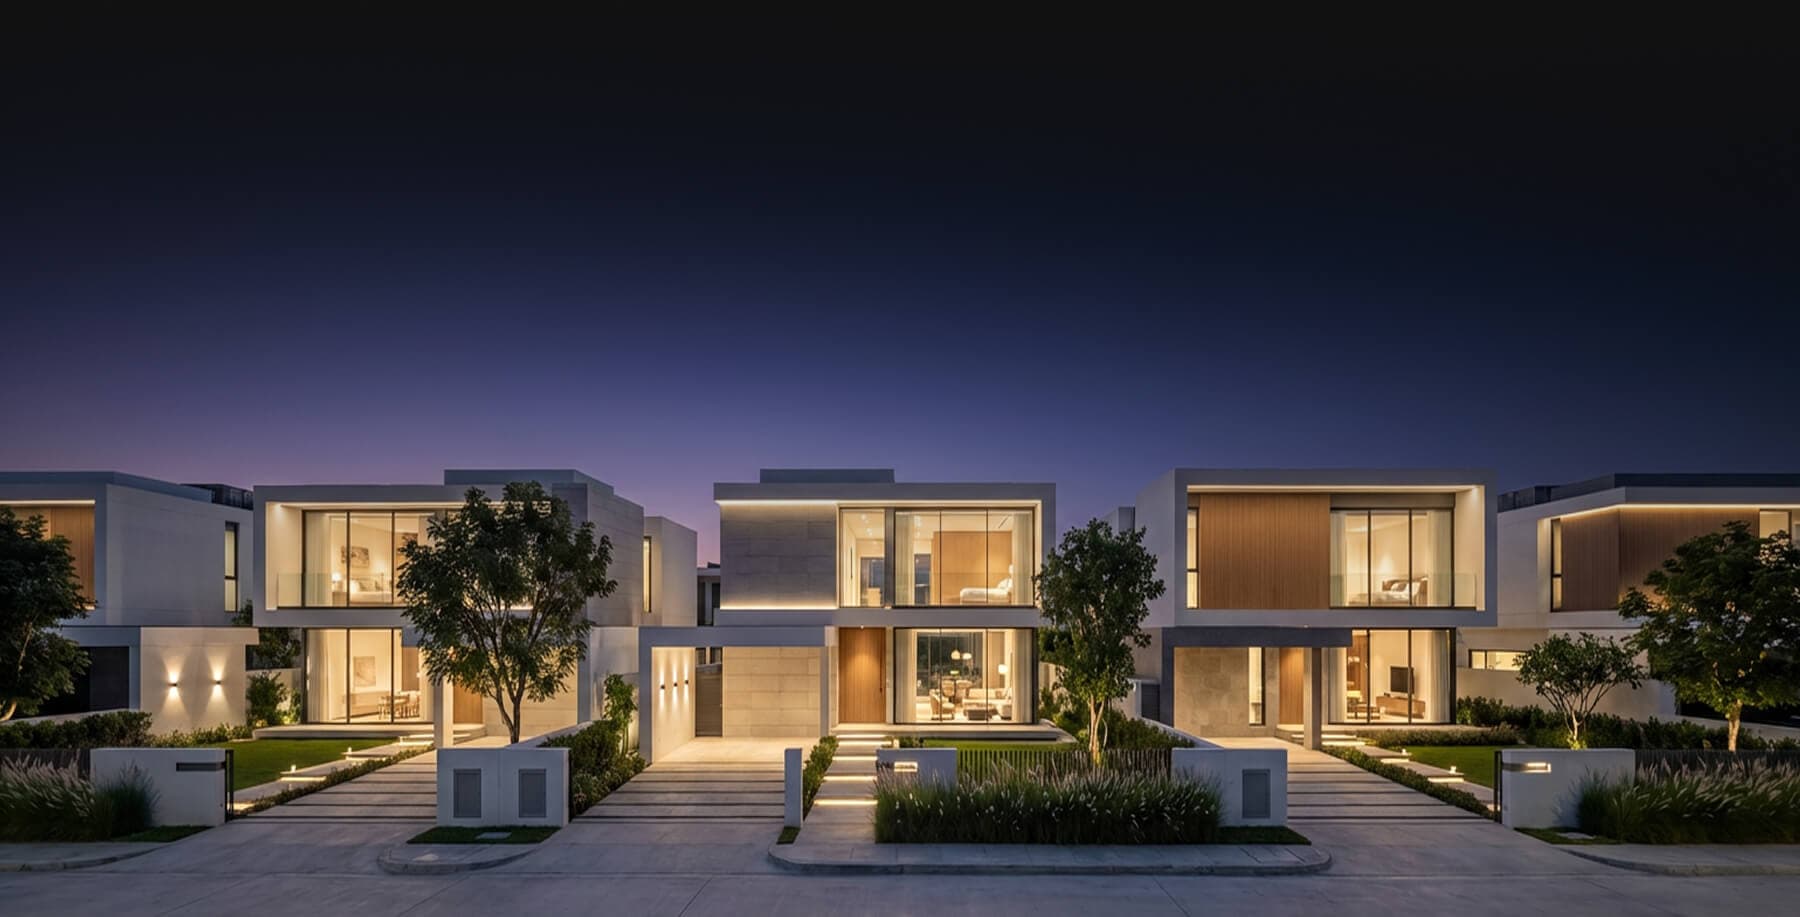
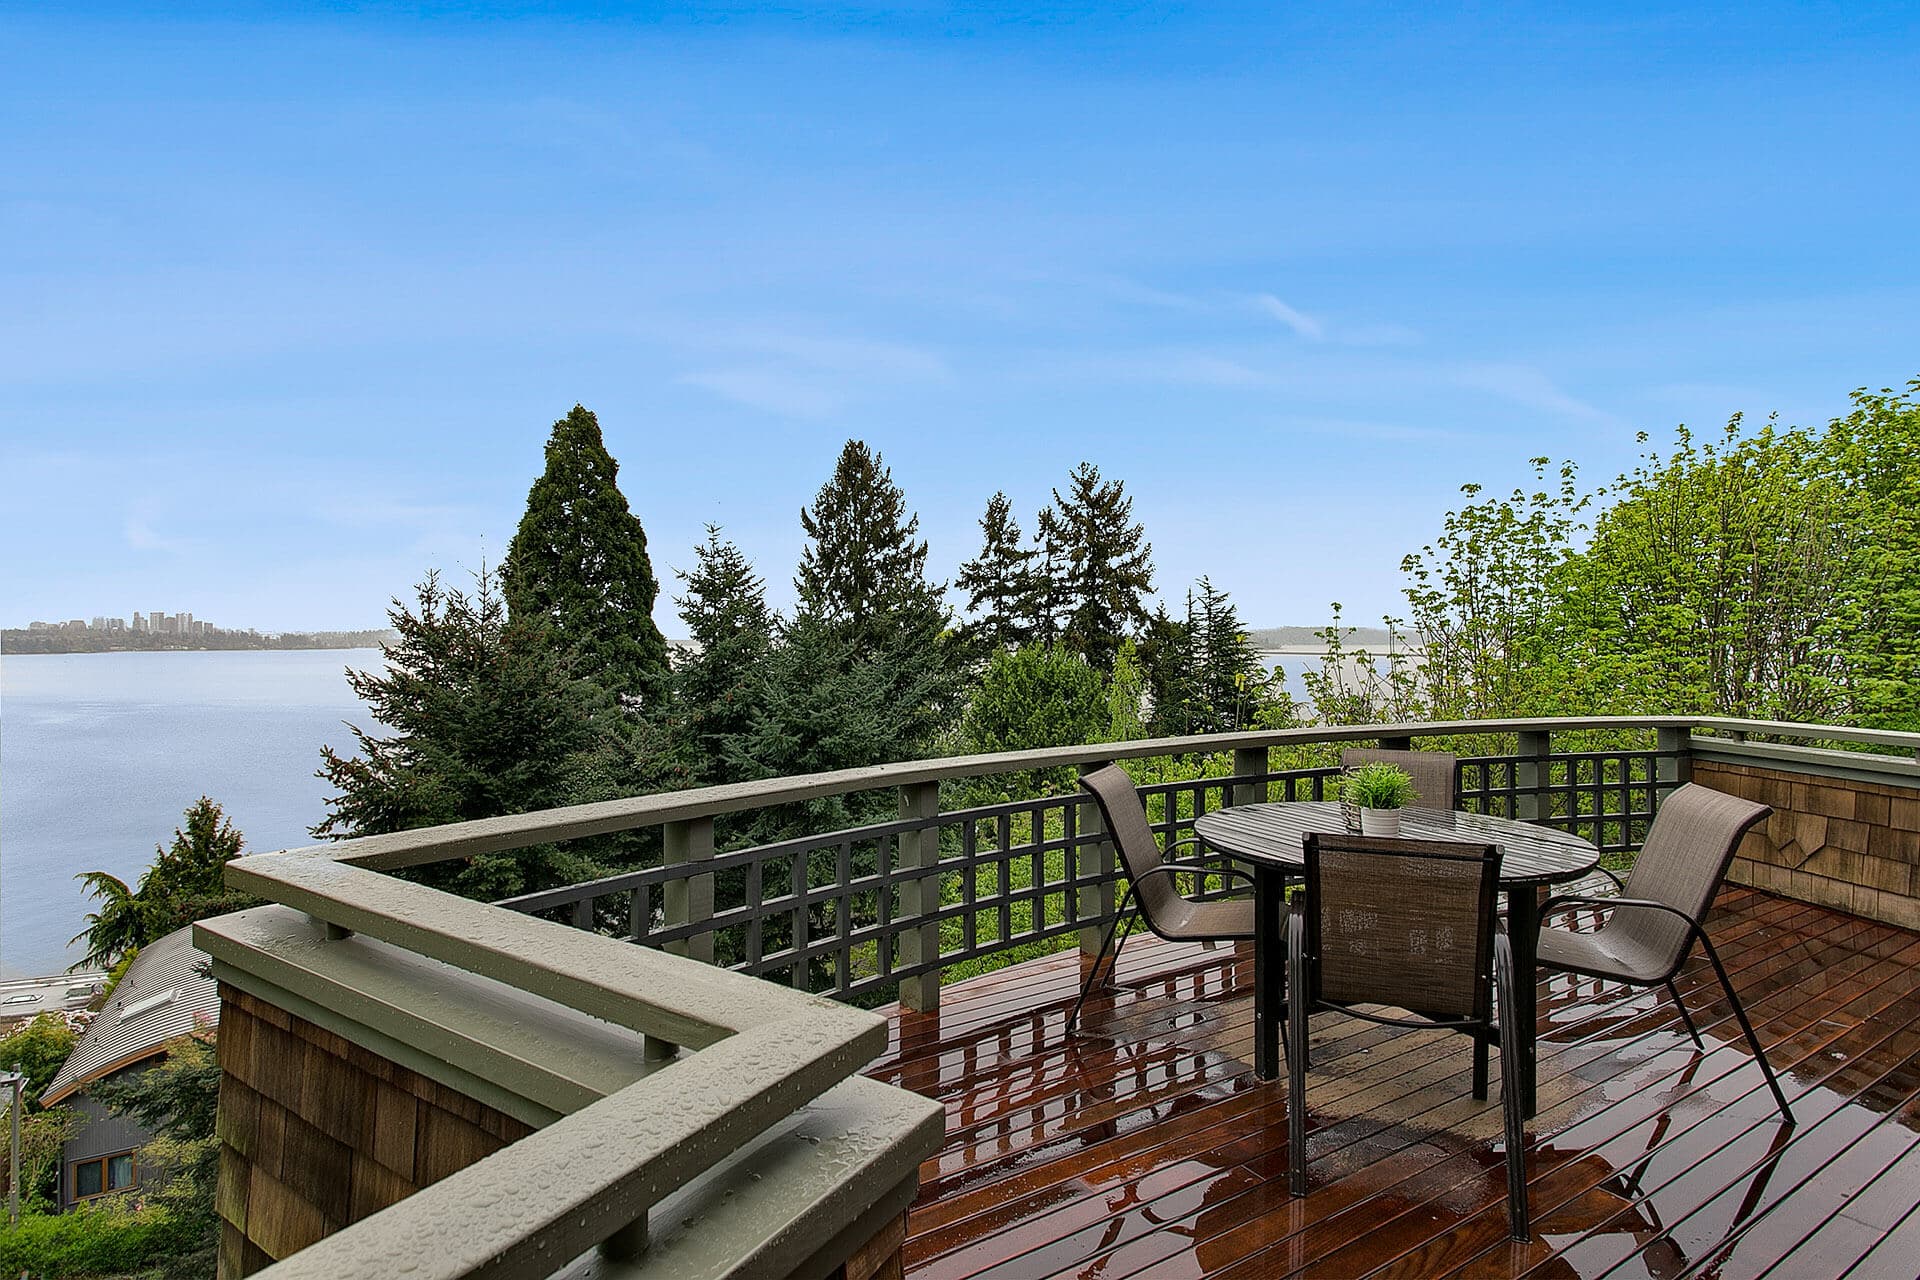
As a real estate photographer, there is a lot that goes on a day of photo shoot. Finding the right time of the day, good lighting, and good angle are all necessary to create great photos. In addition to that, the right gears are also important. However, most of the work goes beyond the shoot. Real estate photography editing and retouching take a lot of time to enhance real estate photography.
Retouching skills are necessary in order to beautify and create amazing photos that make potential buyers interested in the property.
Here are some tips for using Photoshop to enhance real estate photography:
Using Hue and Saturation

Hue and Saturation is a great Photoshop tool to correct colors. It has different options that you can play around with. One of the typical color errors in real estate photography has to do with adjusting the greens. Capturing the vibrant exteriors, like the grass and trees can be challenging for newbies. To accentuate the greenery follow these steps:
1. Open your image in Photoshop and select Image menu. Choose Adjustments and click on Hue and Saturation.
2. Select Yellow from the drop-down menu on the dialog window.
3. You can adjust the Hue to +15, drag down the Saturation to -5, and the Lightness to -5.
4. Select Green from the drop-down menu and make the same adjustments to Hue, Saturation, and Lightness.
5. Click OK.
With this technique, the changes are usually subtle. However, you’ll notice more vibrancy in the grass and make it stand out more in the photo.
Adjusting the brightness

When shooting exteriors of properties, getting a balanced light can be a challenge especially if you’re working with direct sunlight. There will be dark and shaded areas and brighter areas. Editing the photo in Photoshop might be the best solution for this issue.
1. Go to the Image menu. Then, choose Adjustments and Click on Levels.
2. Drag the center bar to the right in order to tone down the super bright areas.
3. Click OK.
This will add more contrast to the image. This tones down a lot of the brightness in the photo.
Darkening the grass color

If you see the grass a bit brighter than it should be, do a little retouching.
1. Go to the Toolbar and right click on Burn tool.
2. Select the right size of your brush. Go for a larger brush if you’re working on a larger area and a smaller brush for some details. Drag over your brush to the grass. This darkens some of the grass and leaves.
3. Stop only when you get the contrast that you want.
Straightening the home or property

Having straight lines on your image is important to make the property look its best. Often when the camera is not angled correctly, you might have slanting lines. To correct this, follow these steps:
1. Click on the Rectangular Marquee tool from the Toolbar.
2. Select the entire image.
3. Click on the Edit menu and choose Transform.
4. Click the Skew option from the drop-down menu.
5. Drag the corner of the photo to the left, if the house or property is leaning to the right. You might also need to pull the right corner a bit to balance it out. Make sure that you do not pull too far as this goes way past realistic. Make sure that the edges are aligned and are straight.
6. Once you’re done click on the check button.
This technique also works in straightening up the edges for interior shots.
Evening out the lighting in the interior

For interior shots, there might be instances when either half of the photo is darker than the other half. Lighting up every corner of the interior can be a challenge.
1. Go to the Dodge tool and choose the right size of the brush to work with.
2. Drag the Dodge tool over the darker areas to add a bit of brightness.
3. Go to the Filter menu, choose Sharpen, and click on Unsharpen Mask.
4. Raise the amount in order to get clearer details. Click OK.