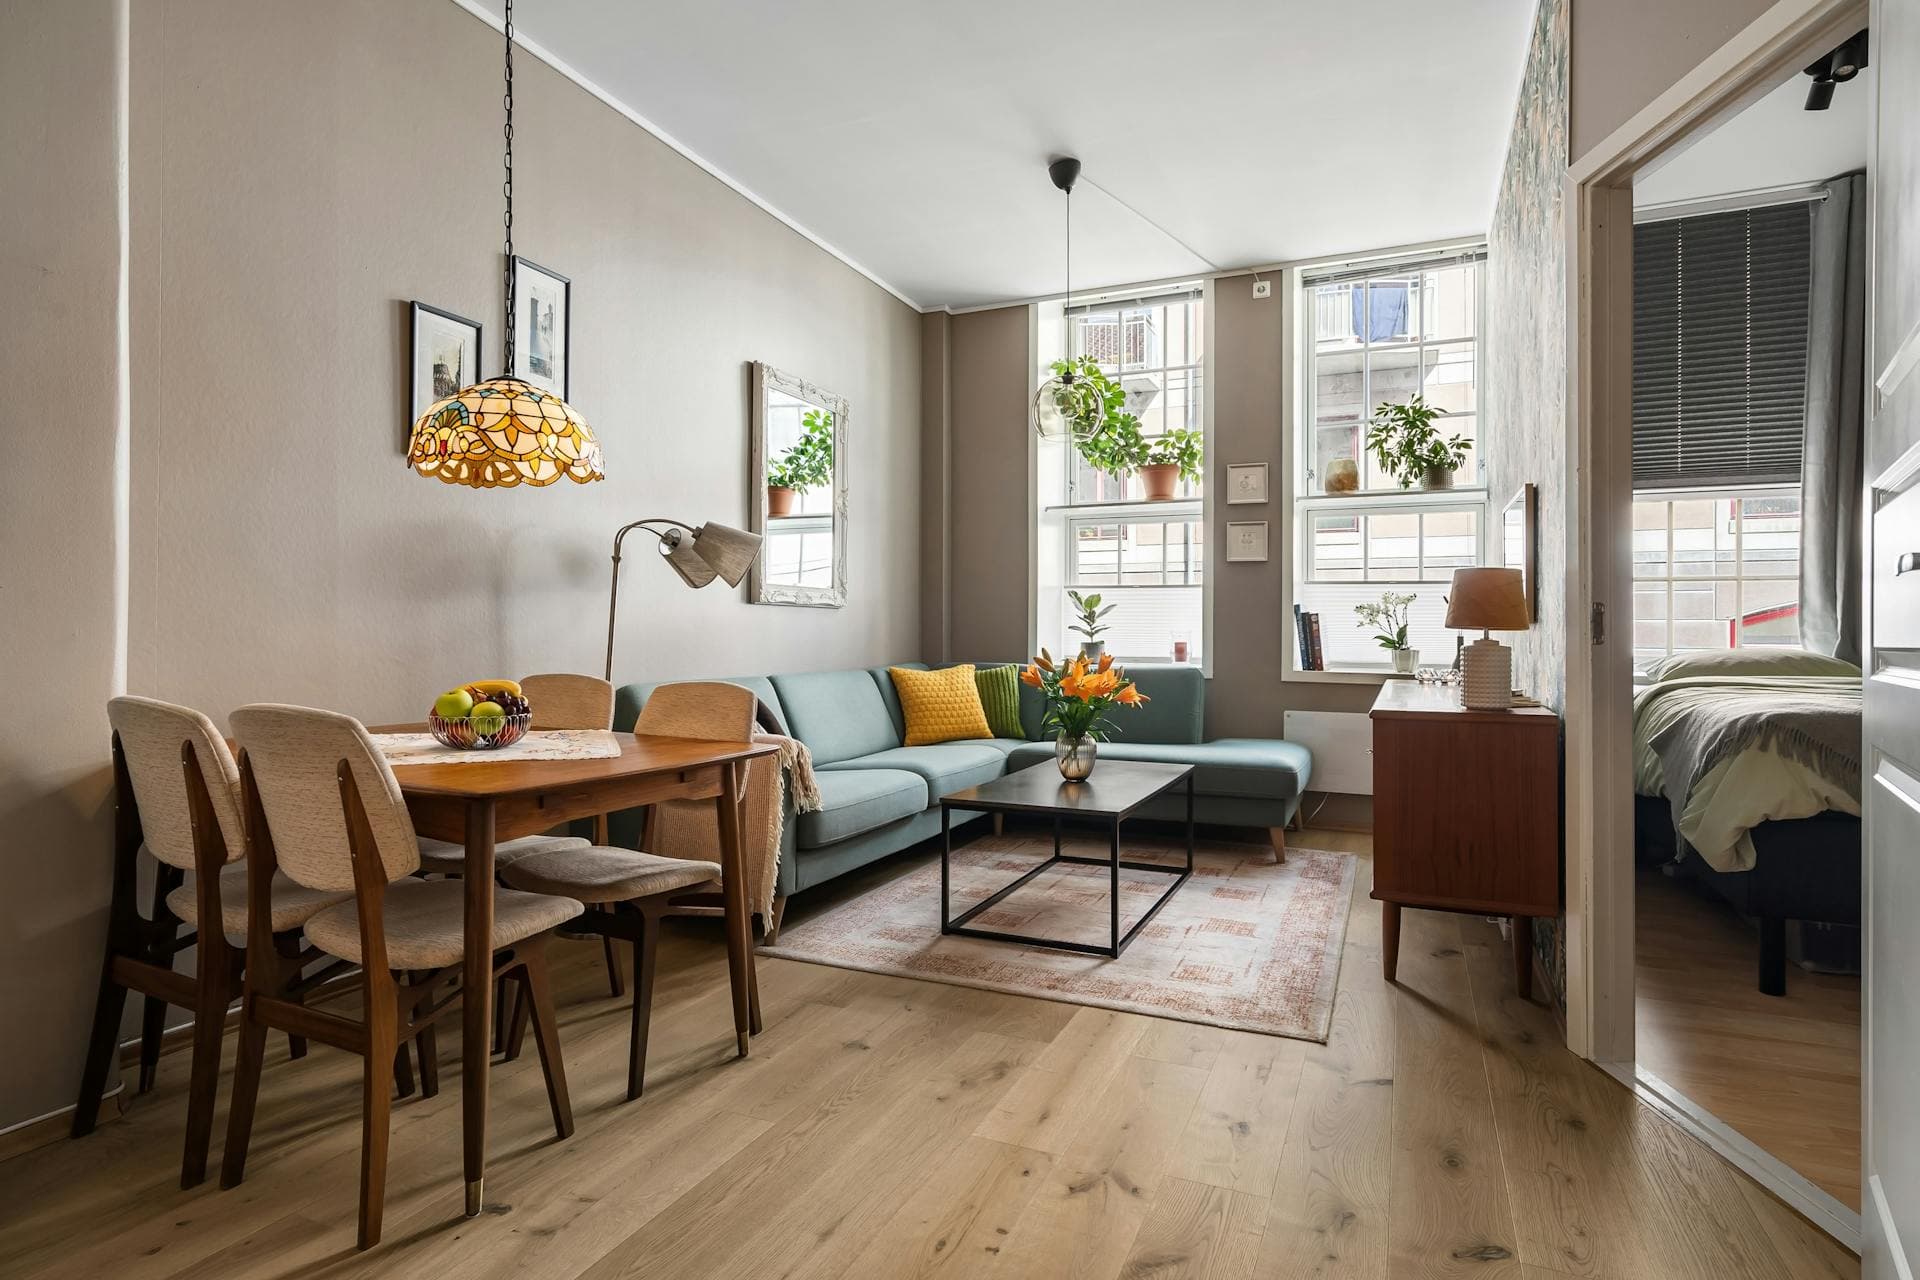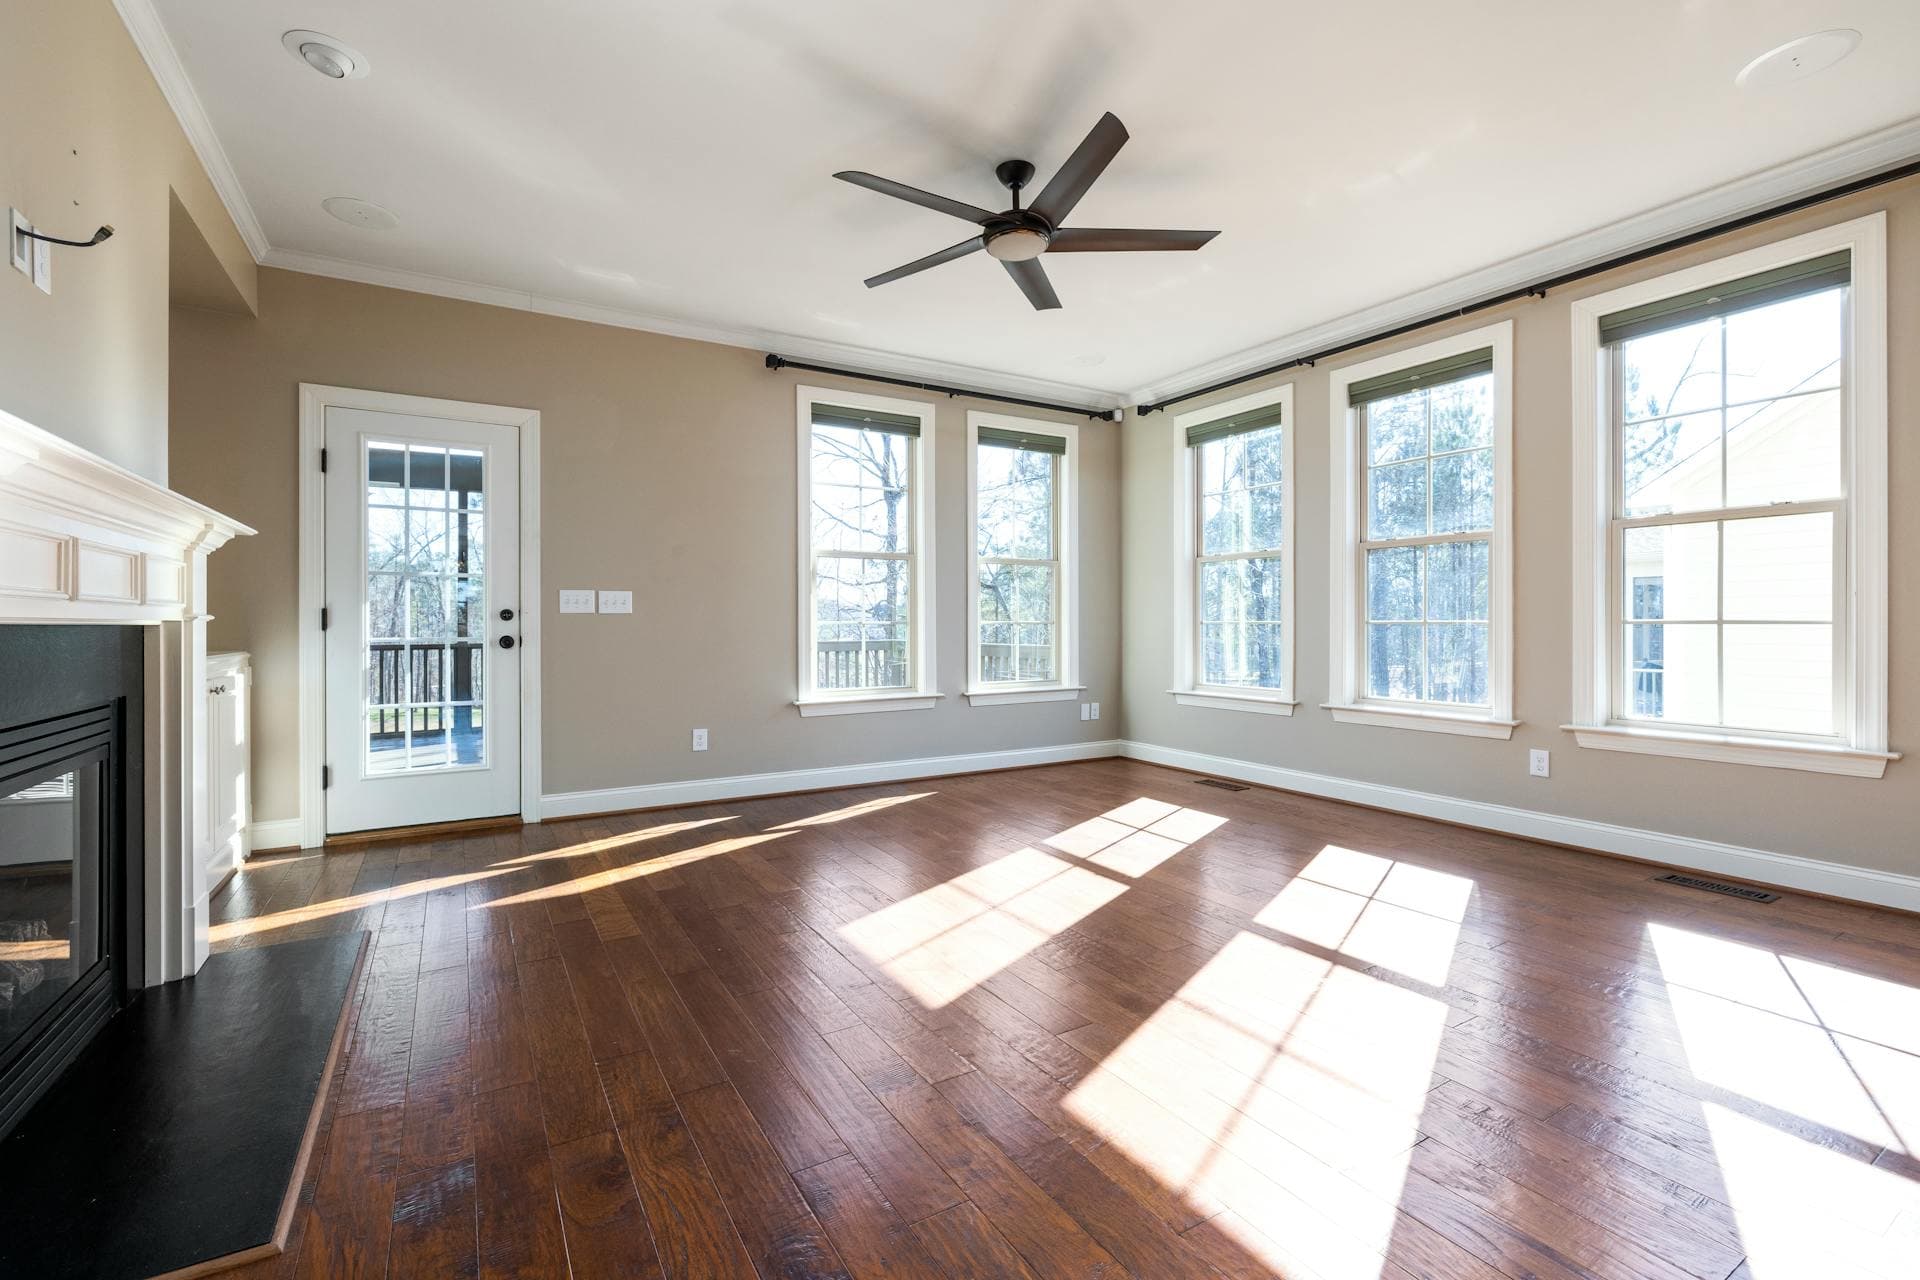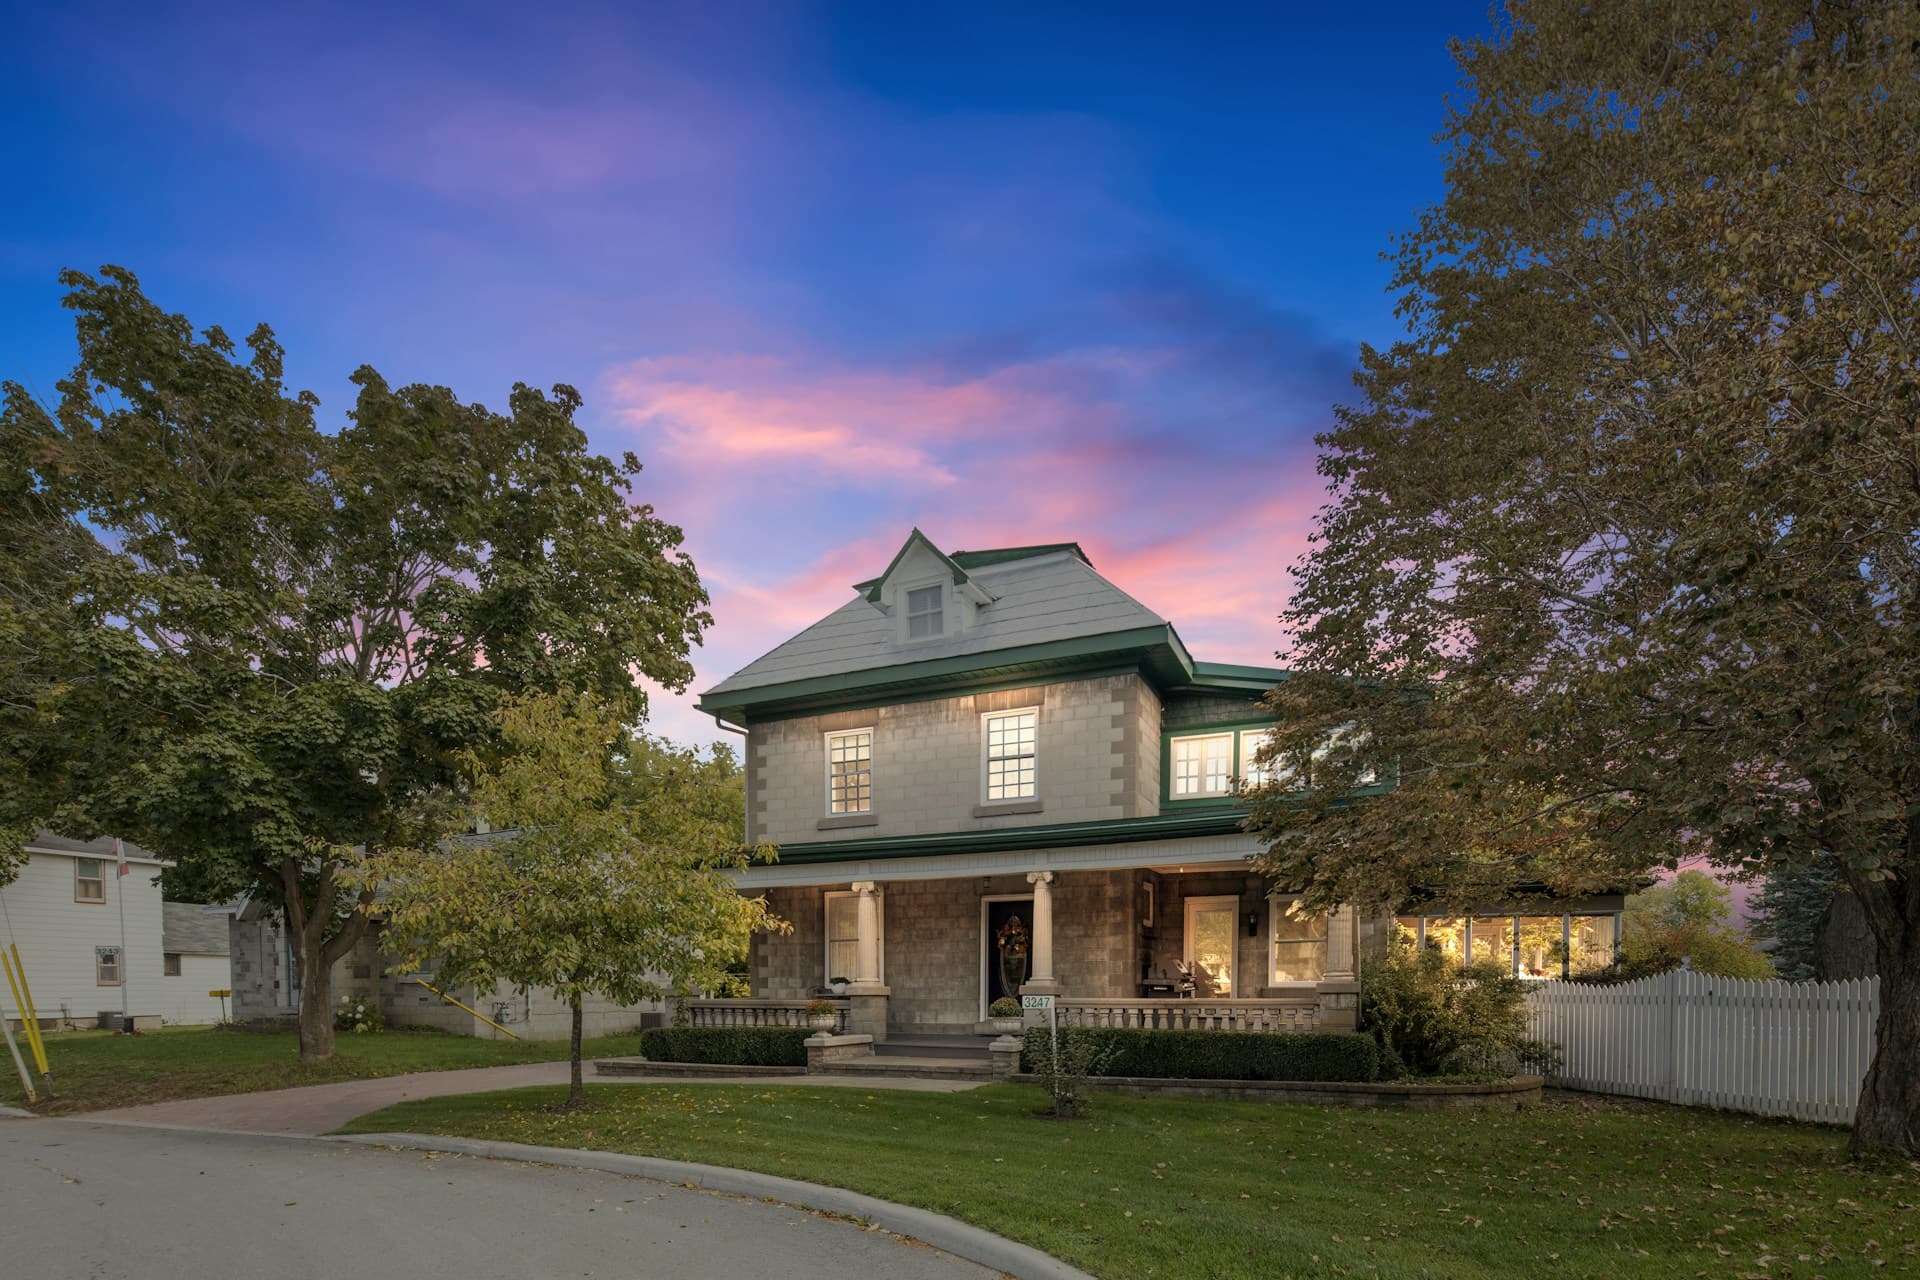

When it comes to retouching images, real estate photo editors use various software and apps to do the magic.
In line with this, real estate photo editors should have a flexible skill set to use whatever tool is available.
One of the known editing tools in the industry today is Adobe Lightroom.
Perhaps, you already have an idea about how this software works, and that is great.
But, if you can master all the functionalities of this tool, nothing can stop you from producing the best real estate images.
First, let us define what Lightroom is.
[lwptoc]Adobe Lightroom Defined
They say you are missing many opportunities already if you are a photographer but never used Lightroom.
Somehow, it is true. But it is never too late to learn new things.
Just like Photoshop, Lightroom is a product developed by Adobe Systems. Both are editing software.
However, unlike Photoshop, Lightroom is a non-destructive software – meaning it separates the original image from any other in-program edits.
Simplified, Lightroom is a RAW converter.
Hence, when you add images, it manages the file type in the background, unlike other software, wherein you need to use another program to edit and convert.
Lightroom supports images in all kinds of formats, aside from being versatile to use.
It has a simple interface for easy processing and editing of images. Moreover, you can use presets with this software, making it more appealing for editors.
TL;DR: Now, it is time to learn how to use this tool like a pro. Check out these five practical steps below.
Always Shoot Images in RAW Files
RAW files are uncompressed files.
Unlike JPEG, PNG, and other formats. RAW files give you more options and fewer restrictions when editing the images.
When you process RAW images, the images are usually darker than the usual. And this is where this tool becomes more useful.
When the image is uncompressed, editing the image is much more comfortable. You can correctly check out hues and contrast without worrying about overdoing it, aside from applying other available image manipulation options.
Learn How to Use the Develop Module
The “develop” module in Lightroom is the best for editing. As you see, this has the most options available in experimenting with all images.
To try this, find the module first, then select the image you want to edit.
From there, you can see preset edits on the right side of the screen, while on the left part are more detailed editing options to try, such as the histogram.
Make Friends with the Presence
Aside from the module, you need to familiarize yourself with “presence.”
- You can find this under the “Develop” section and has a wide array of editing options.
- Here are the things you need to consider:
- Clarity increases your image’s contrast, but it doesn’t affect the black tones or white tones. It only affects the gray tones in the image.
- Dehaze – after clarity, the next thing to check the dehaze option. It is an editing slider that helps outside photos as it removes the fog covering up images.
- Vibrance – you should also not forget the vibrance slider that affects the sharpness, intensity of colors.
- Saturation – the saturation slider increases the color intensity of the image.
Editing with Tone
The tone is a vital editing tool that makes a massive difference to the quality of images.
In photography, it refers to the lightest range to the darkest in an image or the “tonal range.”
Here, you will deal with exposure, contrast, brightness, and white balance. These are only a few of the editing tools in Lightroom.
Of course, if you have the time, you can always use the advanced settings to mess more with the tonal range or hues of the images.
Export the Image
Finally, you need to export the edited photos.
In Lightroom, the process is a bit different but not challenging.
Begin by switching your screen to the Library tab. Then, click on each photo that’s ready to export.
After that, choose the “File” option on the Lightroom screen and click on the “Export” option. A window will pop-up with options that allow you to choose where to export the image and what file format to use.
Alright!
These are the five pro tips you must follow to achieve those captivating and professional-looking real estate images. We hope that this can help you a lot in your career as a photo editor.