A gimbal works as a cinematographic assistant device that helps you stabilize your video footage. It’s an essential tool if you’re an aspiring blogger or cinematographer.
What is a gimbal?
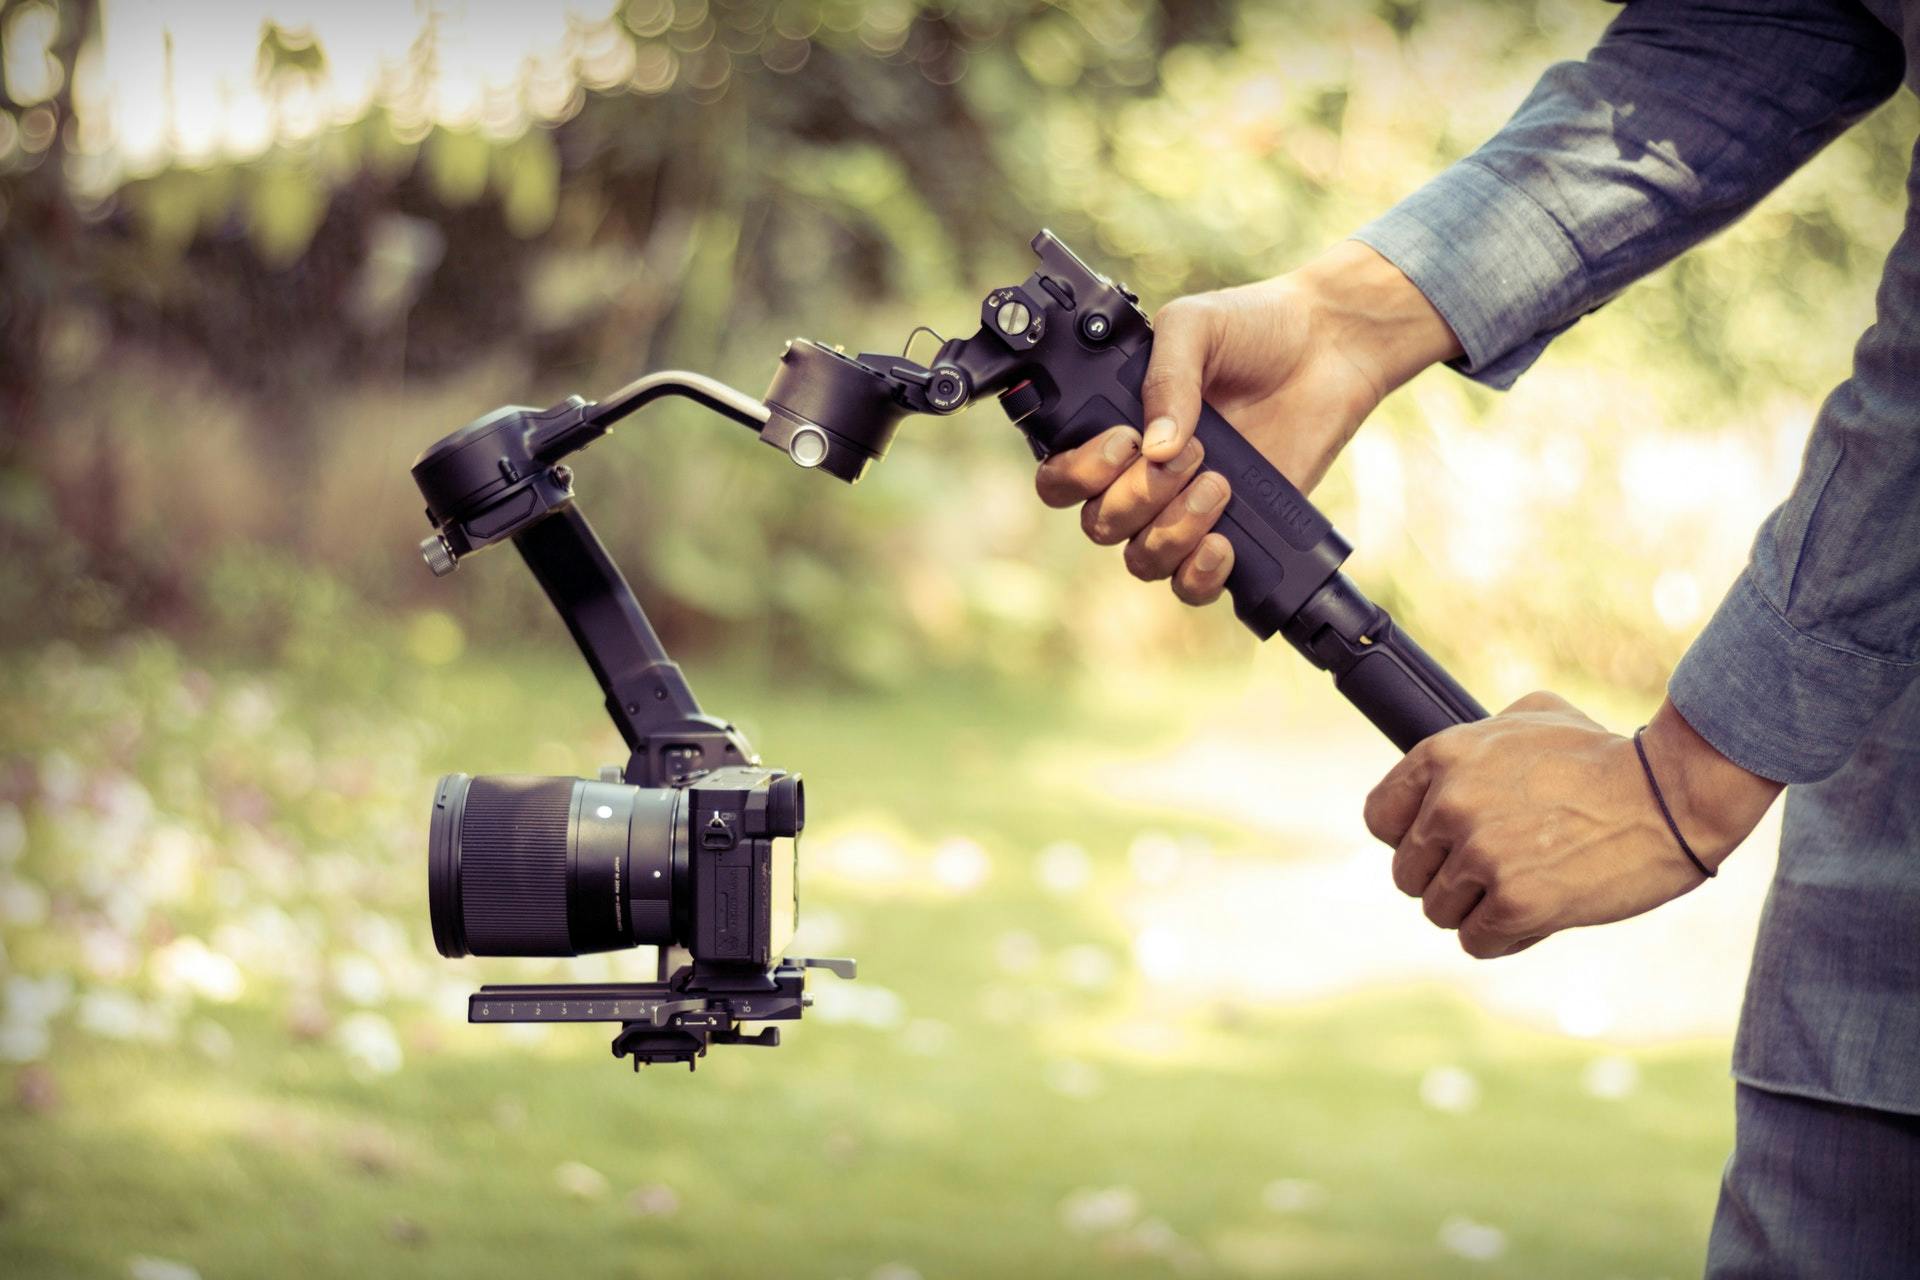
A gimbal is a tool that provides support to stabilize the video footage in any desired angles. It has 3 common motors/axis, which allows you to mount the camera, and it helps you to record footage from different angles while moving or standing still.
Sounds simple enough, right? However, it’s more complex than it sounds. And if you used it then you’re already aware of it. No worries, we got your back. As we’ll share several essential tips.
[lwptoc]How Does A Gimbal Work?

As we mentioned earlier, the gimbal is consist of 3 motors such as:
- Pan motor/axis. (goes Left to right)
- Roll motor/axis. (goes side to side)
- Tilt motor/axis. ( goes Up and down)
Each of these motors helps you get different angles for your footage. They’re controlled by the gimbal’s inbuilt settings. Now, how does it work? Simply put, a gimbal helps to keep your camera steady while shooting.
In other words, when you’re capturing footage, the gimbal helps you keep the focus steady and allows you to shoot from different angles with the help of the different angular motors.
Take a Sony camera for example. Suppose you’ve got a Sony a7iii. Sometimes no matter how good the camera is you can’t get the right footage from the correct angle, right? For such cases alone, you can use a gimbal for sony a7iii to get the desired footage.
What Makes A Gimbal Better Than A Handheld Stabilizer?
In many ways, a gimbal is much better than your regular old handheld stabilizer. As you know, a handheld stabilizer is great for getting steady footage.
However, it doesn’t provide any support to keep the shoot steady, you need to hold the stand in a stable manner to get the right footage. Honestly, sometimes it gets irritating, also it’s not always possible to keep it in a stable place.
On the contrary, with a gimbal, you get support from three different motors. They not only just keep the footage steady but also, get it from your desired angle with ease. This alone makes the gimbal more reliable than a handheld stabilizer.
Essential Tips To Use A Gimbal Correctly

As you know by now, the gimbal is an essential tool for any cinematographer/ videographer. However, it can be overwhelming the first time, and it’s for good reasons. Because needless to say, the gimbal is a serious upgrade from your handheld stabilizer.
Although it’s for the same purpose, to get steady footage. However, its functionality is completely different. One of the reasons is it has 3 different axis motors. So here we’ve shared several tips below, that will help build a core foundation and a basic understanding of using a gimbal. This will help get some dope content.
Let’s get started.
Set The Balance
Getting your camera balanced in the gimbal is the most crucial point of using it. First, you need to attach your camera to the gimbal mount, you’ll find all the necessary tools inside the box. After that, remember you shouldn’t turn on the gimbal before balancing the camera manually.
Otherwise, the gimbal motor has to work harder than it needs to, which drains its battery fast and might cause problems with motors as well. Now to balance it, you should consider the weight of the camera. Try using a tripod while balancing the gimbal.
Finding the right balance on tilt motors is the crucial point. When you’re done mounting the camera see which way it tilts first, front or back. Either way, it falls means that the side is heavier.
Try to adjust the tilt motor so that your camera doesn’t fall to either side. Then rotate it upwards to see if it can hold the camera in one place or not. If it does fall to either side adjust it a bit more. If not then your camera is perfectly balanced on the gimbal mount.
Note– always buy a gimbal according to your camera’s weight. If the gimbal can’t take the weight of your camera then it might cause you more harm than good.
Autotune
After balancing the camera on your gimbal mount, you can turn it on. As a new gimbal user, we recommend you try using the autotune settings. It provides additional support for users.
To activate it, just go to the gimbal settings, scroll down and you’ll find the motors settings. In there just turn on the autotune. Then the gimbal will auto-correct the mount’s weight to the motors. And it’ll automatically use the right amount of force while operating the gimbal.
It’s only to get used to the gimbal first. After you get used to it. You can use custom settings that suit your needs. You can set a custom motor layout from the motor settings.
Doing so you can provide much more power to the motor while working. It’s much more efficient. Whenever you need your switch between autotune and custom layouts.
Practice with Freestyle Shots
If you have any idea about cinematography, then you know that it’s not an easy job. You need to be creative and have a good imagination, which isn’t developed in a day. You need to give it time.
For beginner level, you can start by taking freestyle shots. It’s great practice for you. It will give you the freedom to do as you please. Just walk around places holding the gimbal in hand, and take shots of things you like.
Don’t worry about the footage quality, just try to get a better angle as much as possible. Because when you get used to finding the right angle, you’ll automatically develop taking quality footage.
After that, you can move on to the next level. Always remember, everyone has their own pace of learning things. Don’t rush it, take your own time to get to the next level.
Plan Your Shots
To develop your videography, you can try to plan out your shots. That doesn’t mean you’ve to plan like making a blueprint and thinking through every outcome.
It’s for a much later time. But you must start from somewhere, right? You can’t just wander around places which thing what footage to take or not. It won’t do you any good. So must have a plan of action before your recording.
To do that you can try selecting a specific subject. Try recording the subject from different angles. Try out different subjects like humans, nature, and different objects. It will give you a general sense of shooting, and with time you’ll know which angle will be better for one specific subject.
Get Close
When you’re new to a gimbal, you feel hesitant to take close-up shots. You might think it won’t be as good as a long-angle shot. But if you don’t try, how will you ever know, right?
No matter how fresh or old you’re at cinematography/photography, if you don’t try you’ll never succeed. So don’t be scared while shooting close-up shots. Get as close as you need to be.
But be mindful of personal space. Otherwise, you might make the subject uncomfortable.
How To Get Good At Gimbal Shoots

If you’re using the gimbal to get good content for videography or cinematography, it’s natural you want to get good at shooting. But as a beginner you don’t know which direction to go with it exactly, right?
In that case, you might find the next bit really useful, as we share a few styles of gimbal usage. It will surely help you shoot like a pro. However, you might or might already know about these just didn’t know the technique’s name that’s all.
Let’s begin, shall we?
Push-In Shots
The first one here is the push-in shot, it’s where you’re pushing through something or towards something while moving with the gimbal. If you want to take footage for real estate, you can use the push-in shot technique.
While taking a push-in shot, remember to measure the distance first. It gives you an idea about the way you need to push in towards or through the footage.
Follow Shots
The next one is the follow-shot, where you follow your subjects while moving forward or backward. But while taking a backward follow-shot, be mindful of your surroundings.
Otherwise, you might trip over and not only ruin your work but also cause damage to yourself and your camera & gimbal. However, it’s a simple move to do, where all you have to do is move while capturing the subject’s backside or front side.
Dolly/Tracking Shots
The dolly/tracking shot is pretty similar to the follow-shots. All you have to do is rotate the tilt to 90 degrees and move along with the subject and film it from the side. This technique is largely seen in production houses.
Parallax Shots
The parallax shot is by far the coolest technique on our list. With this technique, you can make your subject look cool while the world is moving around them. All you have to do is, keep the subject in the frame and move sideways around the subject.
It gives the shot an illusion that the subject is standing still while the world is moving around. This technique is mostly used in action films.
Note- while taking any footage, keep in mind if you want to take slow-motion shots, always keep the FPS at least 60. Otherwise, the footage will feel laggy.
Last Views
After going through the above segment, surely you’ve understood the value of the gimbal. If you want to become a great content creator or cinematographer, you really need to get the hang of it and to have a best video output.
Remember you won’t become a pro on the first day, it might seem easy but it’s not. Having to operate the gimbal with perfection takes practice and time.
Good luck, stay creative and if possible go out and shoot some dope footage.