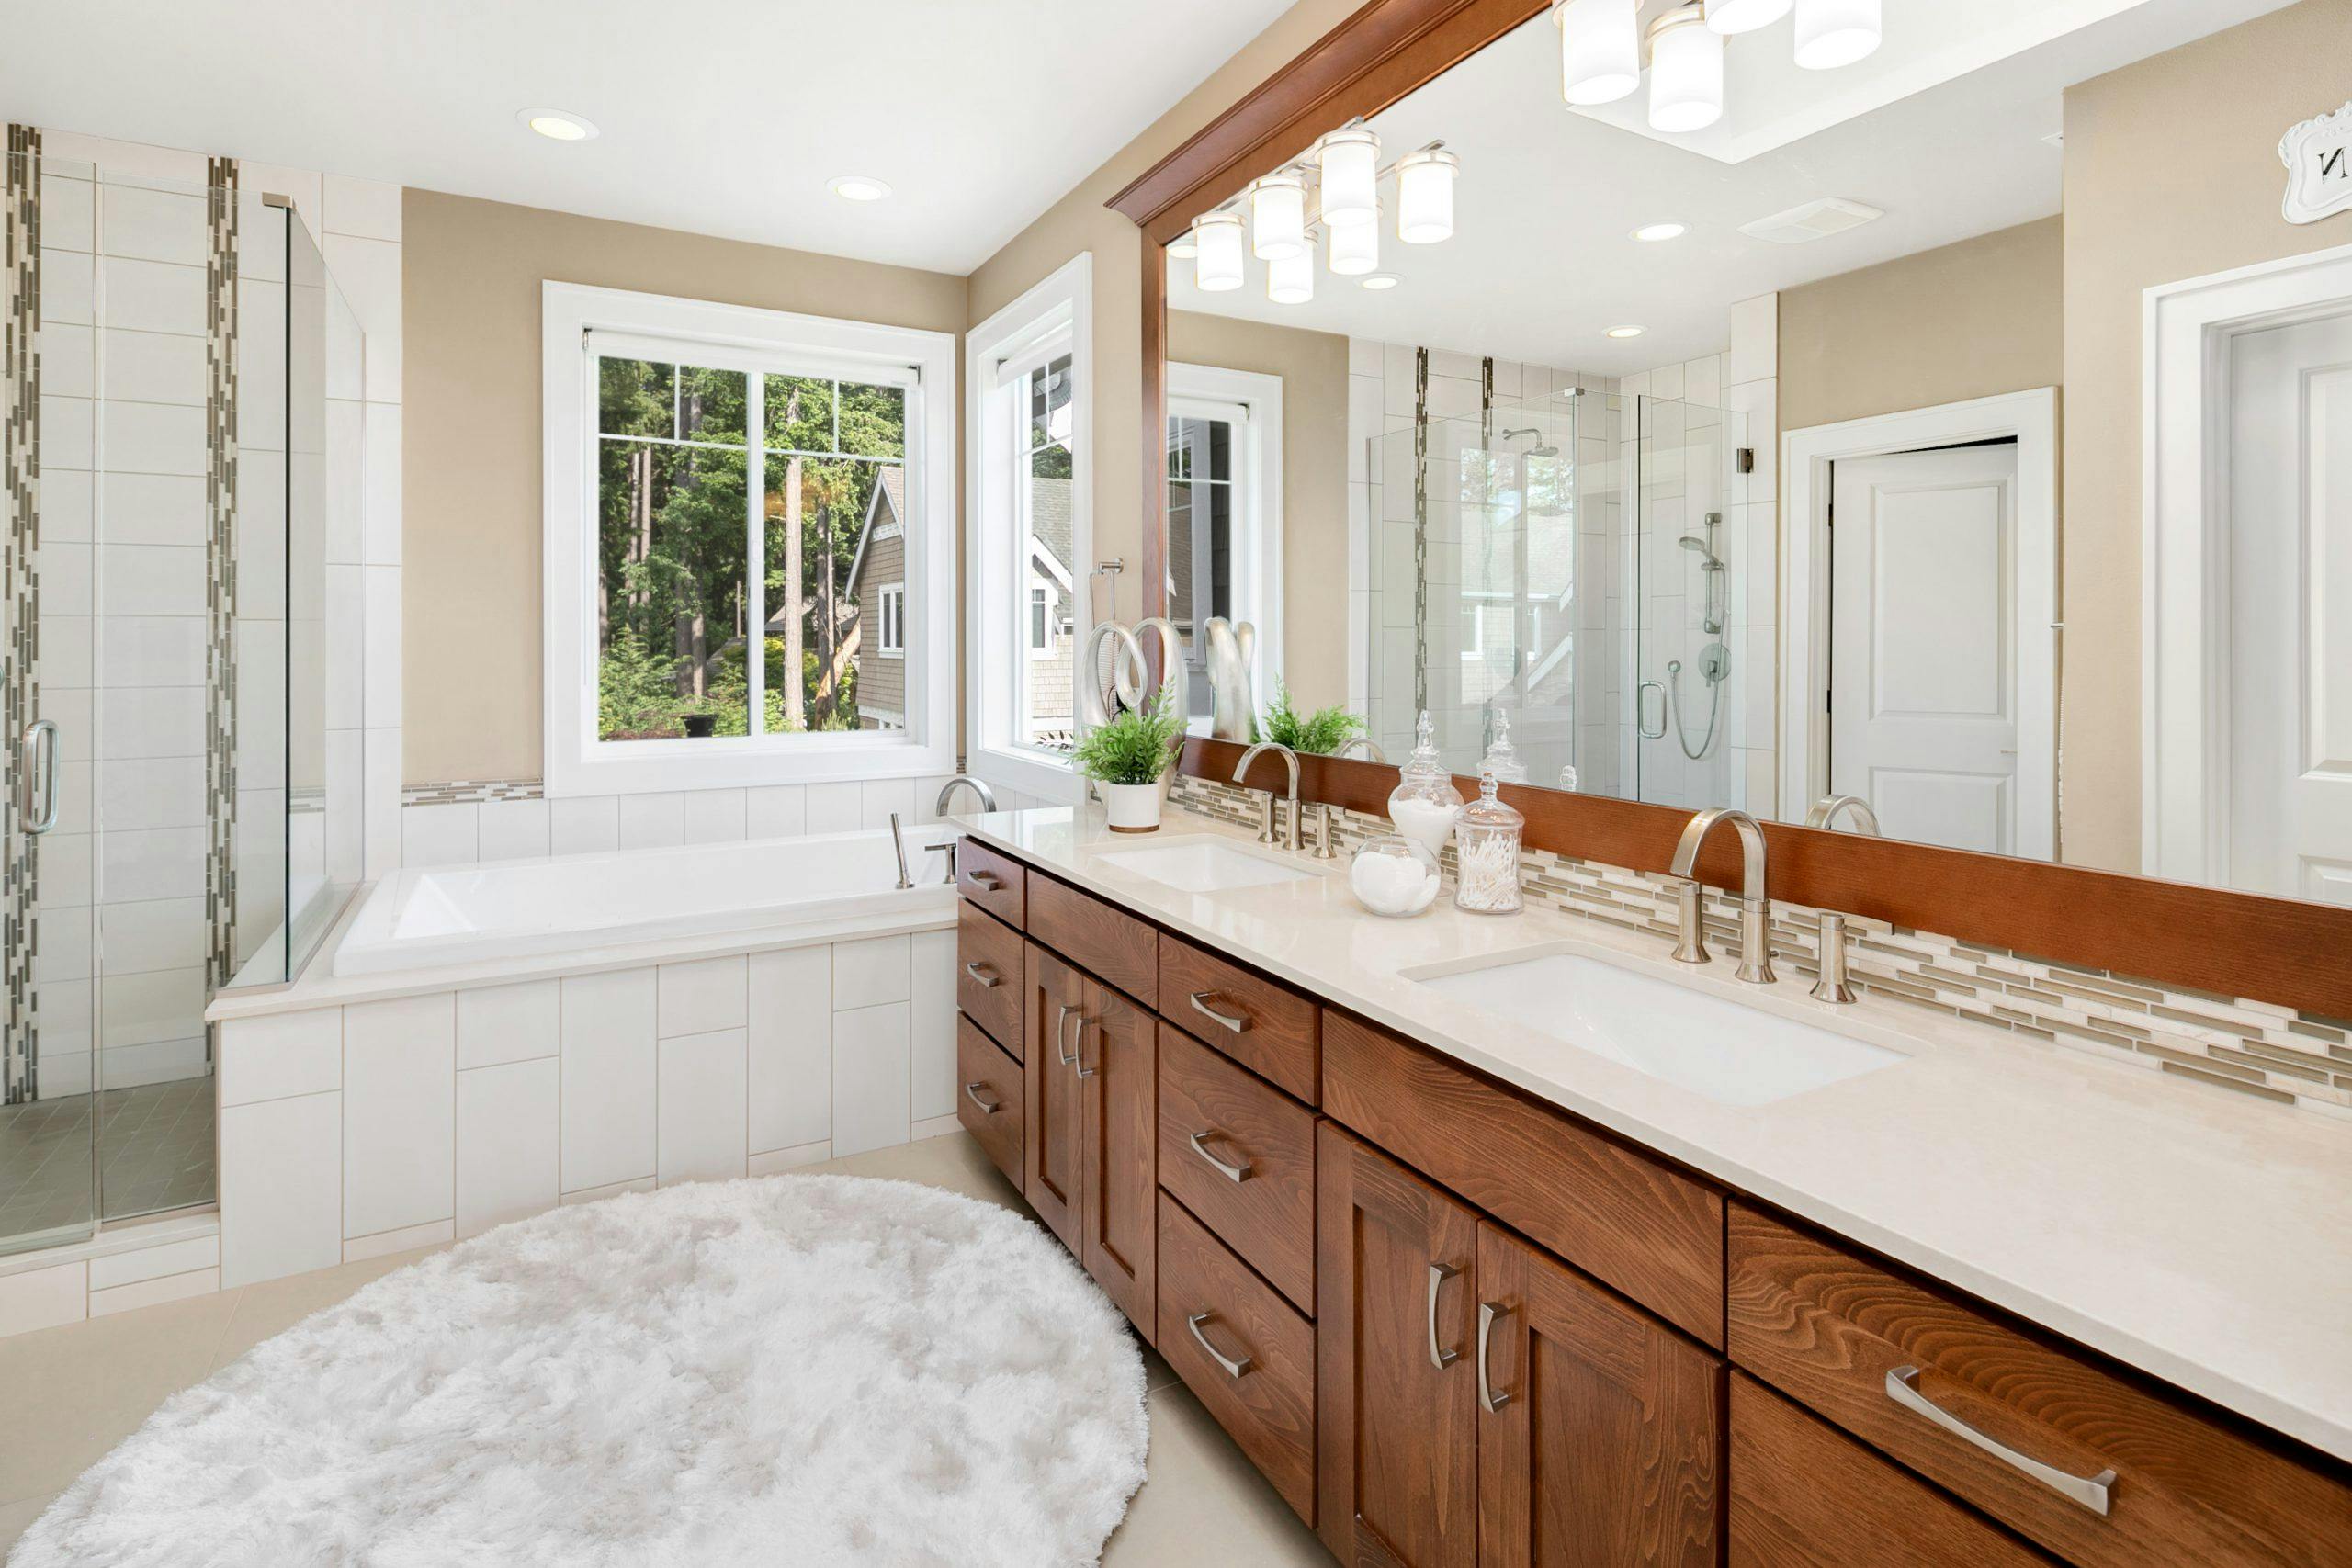
Post-processing of real estate photos usually takes a lot of time. Photographers spend hours in enhancing photos of a property through editing and retouching in order to produce amazing yet realistic images that are sure to attract potential buyers of the listing, and convert them to customers.
When it comes to editing real estate photos, Adobe Photoshop comes first on the list of preferred and standard image editing software available in the market. Whether you’re a professional or a rookie in the world of real estate photography, it is likely that you make use of Photoshop in editing your images. The software’s steady rise over the years is because of the exceptional standards and variety of tools it offers its users.
However, with the many tools that Photoshop has made available to its thousands of users, you might be at a loss in deciding what tools to use and to incorporate in your workflow in improving the quality of your real estate photos through post-processing.
Worry no more for here are 4 Photoshop tools that you can always utilize to produce incredible real estate images:
• Curves tool
You can effectively and smoothly improve the coloration of your images through these simple steps. First, open the photo in Photoshop and select ‘Photo’, then ‘Adjustments’ and then, ‘Curves’. Next, click ‘Auto’ on the dialog box that will pop up. You will see a diagonal line—by dragging it up, the image will brighten; and by dragging it down, the image will darken. Drag this diagonal line as you see fit and once you have achieved your desired result, click ‘OK’ to apply the effect.
• Hue and Saturation
You can accentuate the greenery by following these steps. Open your desired photo in Photoshop and select ‘Image’. Choose ‘Adjustments’ and click on ‘Hue and Saturation’. From the dialog box that pops up, select ‘Yellow’ from the drop-down menu. Adjust the Lightness to -5, Saturation to -5, and the Hue to +15. Then, select ‘Green’ from the drop-down menu and once again, make the same adjustments to Lightness, Saturation, and Hue. Lastly, click ‘OK’ for the effect to take place.
• Clone Stamp tool
Sometimes, you will find that there is dirt or blemish that may be obscuring your image, making it less attractive for potential buyers. You can eliminate these by using the Clone Stamp tool. With this, you can efficiently remove unwanted details on your photos while exercising good control over the brush, creating a cloning effect that appears natural.
You can utilize this tool by selecting the ‘Clone Stamp tool’ in the tool bar. Next, choose the source area by positioning the cursor over the area that you intend to duplicate, and Alt+click (Windows) or Option+click (Mac). Then, you can start painting over the detail that you want to remove.
• Image processor tool
To use the Image Processor tool, select File menu, and click on ‘Image Processor’. Choose ‘Select Folder’ from the dialog box that pops up, and save it in the same location. Then, choose the file type as ‘JPEG’ and click on ‘Resize to fit’ then, put in your desired dimensions. Make sure to select ‘Include ICC Profile’ and click on ‘Run’.
By simply employing these tools, you can create remarkable real estate photos easily and competently. Remember to practice using these tools every time you edit your images for you to develop an efficient workflow. This will help you have a quick turnaround that can certainly become your edge among thousands of real estate photographers in the industry.