Phixer
PortfolioAbout Us
Tutorials

Learn how to get the most out of Phixer's editing services.

Blog

Tips, trends, and insights for real estate marketing success.

FAQ

Quick answers to common questions about our services.

Latest Tutorial & Blog

Introduction for Real Estate Photography

Introduction for Real Estate Photography

Hi my name is Alex and I will be taking you through a photographer training tutorial where you learn the principles and techniques of real estate photography. Make sure you have your camera and tripod on hand so you can change settings accordingly and experiment with some of the techniques intermittently as we go through different processes and ideas.<br/><br/><h2>Before we get started on the photography side of the job, we need to do a basic overview of best practices once you arrive at a property.</h2><br/>Firstly, it's important to remember that though there are formulas and rules of real estate photography that you'll be thinking about every shoot, every agent and broker has different preferences and goals, depending on their taste and the distinctive characteristics of the listing. Therefore after you've met the agent and gone through baseline introductions, ask them to give you a tour of the property so they can voice any specific shot ideas,angles are elements of the property they especially want to capture.<br/><br/>This will give you a good sense of their marketing goal and the layout of the house so you can mentally prepare for the forthcoming shoot. Don't hesitate to respectfully raise concerns if agent has a poor shot idea that you know won't work. In these situations you may want to take the shot and show them it's a bad idea rather than trying to describe why. Nonetheless, the ultimate goal is to give the agent what they want, so be compliant and experiment with bizarre ideas if necessary.<br/><br/>Sometimes you may even be surprised. After you've gotten a tour from the agent, start prepping the house for photos. This means turning on all light fixtures and lamps, pulling up blinds and hiding remote controls, Kleenex boxes, sponges and any other items inside that will show poorly in photos and make it difficult on your <a href="https://www.phixer.net/">real estate image retouching company</a>. For staged houses, you probably won't have to move anything out of the way but in properties where the homeowners are still living there, you may have to hide some personal items and declutter a bit. Remember you have a limited amount of time to finish the shoot, so if the house is overly cluttered or unprepared for shooting, ask the agent whether you should reschedule or if they're comfortable shooting the property in its present condition. There's only so much you can do and you're a photographer not a home cleaner/stager.<br/><br/><h2>Do not spend more than 15 minutes prepping the property.</h2><br/>Do what you can within that limit, however moving heavy furniture, decluttering every room, sweeping etc are not your responsibilities. If you have time, avoid including the following items in your shots; bath mats, small carpets or mats on the kitchen floor, modems and bundles of cords, the homeowner's personal photos, toothbrushes, shampoo bottles and personal toiletries in general, trash cans, bedside alarm clocks, home phones, dog beds, litter boxes and anything else that will negatively affect the marketability of the listing. Usually these items can be gently move to the outside of the frame of the photo, then returned once you finish capturing the space. A note on blinds, in general all window blinds should be pulled up there are few exceptions to this rule, so leave the blinds up if;<br/><br/>A. The view outside is really unpleasant, for example there's a dumpster and industrial refinery, a chaotic construction site or anything else that would devalue the listing.<br/><br/>B. If the agent and insists for whatever reason, on leaving them down, you are after all working for them.<br/><br/>And lastly:<br/><br/>C. If the blinds are broken and won't stay level or pull up entirely. Sometimes excessively heavy blinds can be problematic and it's best not to risk pulling them off the wall. Leave the blinds down and twist them open so light can come through the windows. Other notes on prepping the house; make sure you remove security signs from the front yard before taking exterior shots, also hoses should be either coiled or removed from view.<br/><br/>Garage doors should be closed and garbage cans either moved into the garage or out of view. In kitchen's especially, make sure you double check for cabinet under lighting and turn the stove lights on. Dining room and breakfast table chairs should be tucked in even and orderly. Fans, fireplaces, TVs in any other kinetic features of the listing should be turned off. These objects will appear blurry and disorienting once the disparate exposures are fused by your real estate photo retoucher into an HDR composite.

Read More ↗

What's New?

AI Real Estate Photo Editing

AIPhixer AIReal Estate Photo Editing

Instant, professional-quality edits powered by AI technology—perfect for tight deadlines.

Read More ↗
Photo Editing

Professional editing that makes properties shine.

Declutter

Remove unwanted objects for clean, distraction-free images.

Video Editing

Cinematic property tours that captivate and convert buyers.

Virtual Twilight

Convert daytime shots into dramatic dusk photography.

Virtual Staging

Add designer furniture to showcase a property's full potential.

AI Editing New

Lightning-fast edits powered by advanced AI technology.

Lawn Replacement

Transform dull lawns into lush, vibrant green instantly.

AI Website Builder

Build stunning listing websites in minutes, no coding needed.

LoginGet in touch
Phixer

© 2026 Phixer, Inc. All Rights Reserved

Trusted editing partner for real estate professionals since 2009.

Expert editors, proven quality, 24/7 support.

+1 206-934-1858

155 NE 100th St., #309, Seattle WA 98125

support@phixer.net

Community

  • About Us
  • Portfolio
  • Tutorials
  • Blog
  • FAQ

Services

  • Photo Editing
  • Video Editing
  • Virtual Staging
  • Lawn Replacement
  • Declutter
  • Virtual Twilight
  • AI Editing
  • Website Builder

Legal

  • Privacy Policy
  • Terms of Use
Banner

Lawn Replacement for Exterior Balance

Exterior corrections that restore landscape balance and reinforce a property's first impression.

Context

Uneven Landscapes Distort First Impressions

“Curb appeal isn't cosmetic. It's the first signal of how a home has been cared for.”

Ryan Serhant

Real Estate Broker & Author

In real estate imagery, exterior condition is read instantly. Patchy grass, worn soil, discoloration, and seasonal damage signal neglect before architectural details have a chance to register. Even well-designed homes can appear unfinished when the landscape fails to support the structure.

This issue is amplified in listing photography. Lawns are affected by weather, maintenance cycles, and time of year. Shoots may occur during drought, dormancy, construction recovery, or seasonal transition, none of which reflect the property's long-term condition. Once captured, those inconsistencies become permanent in the listing.

Lawn replacement addresses this imbalance at the image level. It restores continuity between architecture and landscape by correcting irregular ground coverage, color variation, and texture breakdown. The goal is not to embellish the property, but to remove visual signals that undermine care, stability, and value.

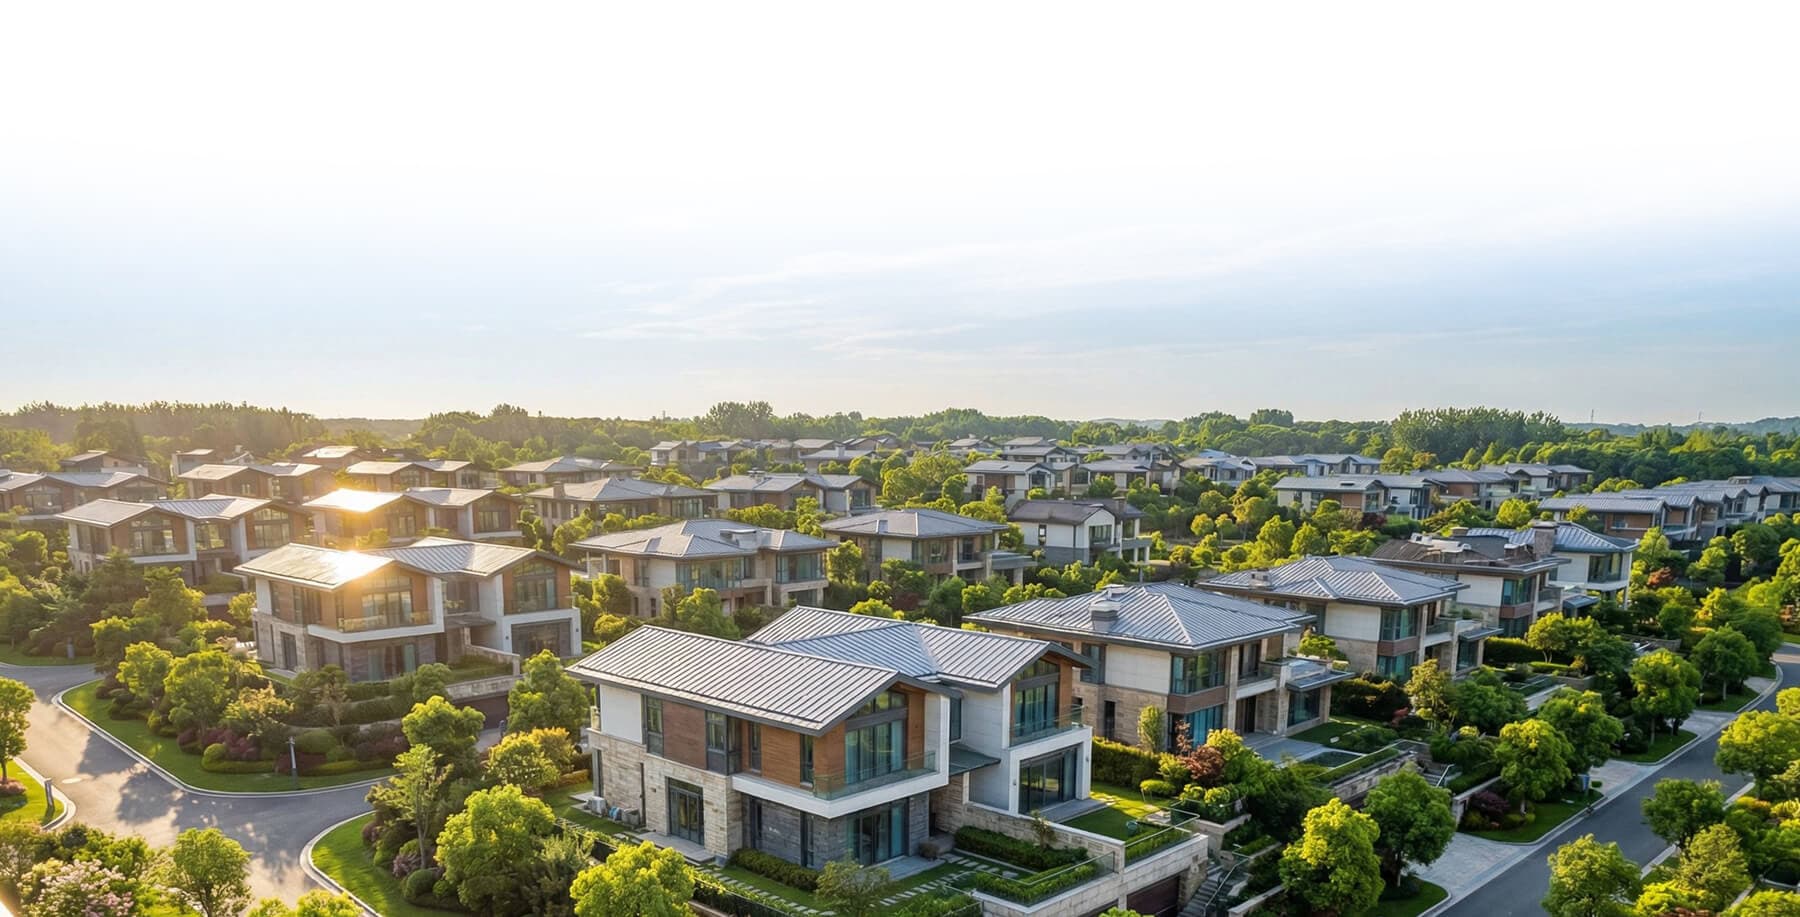
At scale, exterior consistency matters as much as interior presentation. A strong façade paired with degraded landscaping creates visual contradiction. When lawns vary dramatically across images, the property feels unresolved. Lawn replacement reestablishes a stable baseline, allowing the exterior to support the listing rather than distract from it.

That's the role photo editing plays at scale. Quiet, precise, and dependable.

BeforeAfter
After

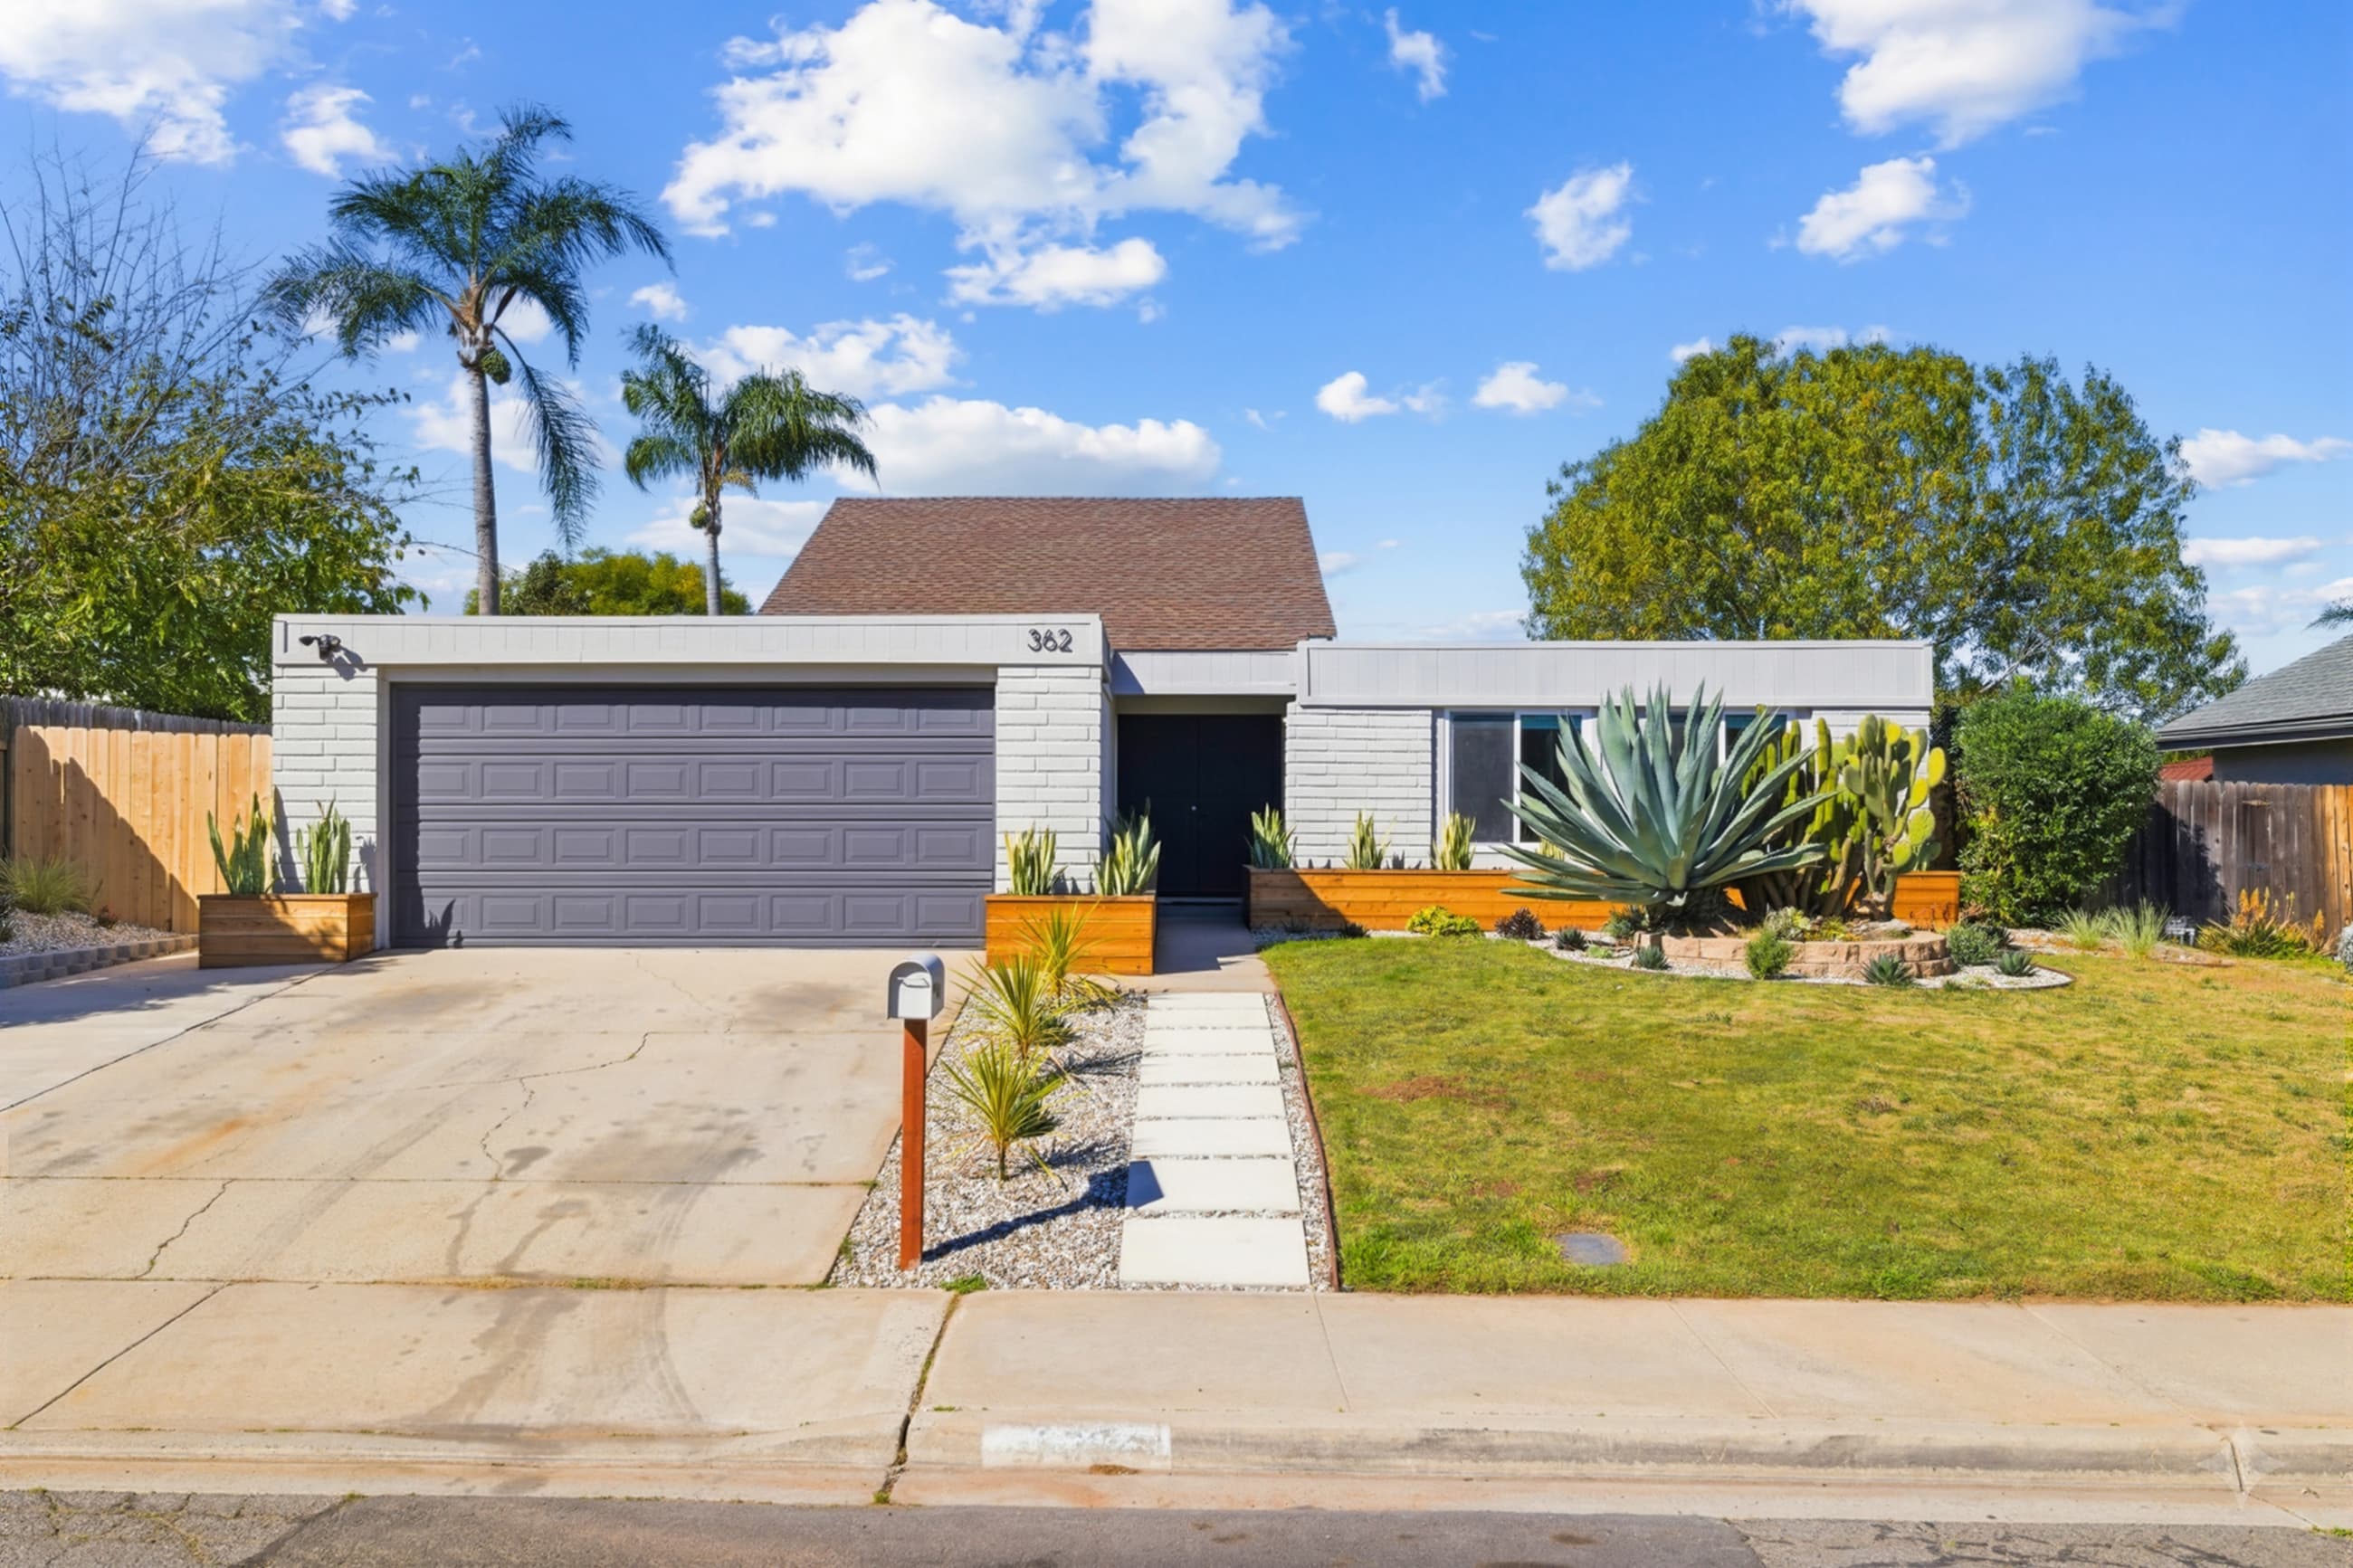
Grass coverage was replaced to create a uniform lawn surface, restoring continuity across the yard while preserving natural shadows and terrain variation.

BeforeAfter
After

Lawn replacement was applied evenly to establish a cohesive foreground, improving curb presence without altering surrounding landscaping or scale.

BeforeAfter
After

Uneven grass was corrected to achieve consistent coverage across the exterior, helping the property read cleaner and more maintained from the street.

BeforeAfter
After

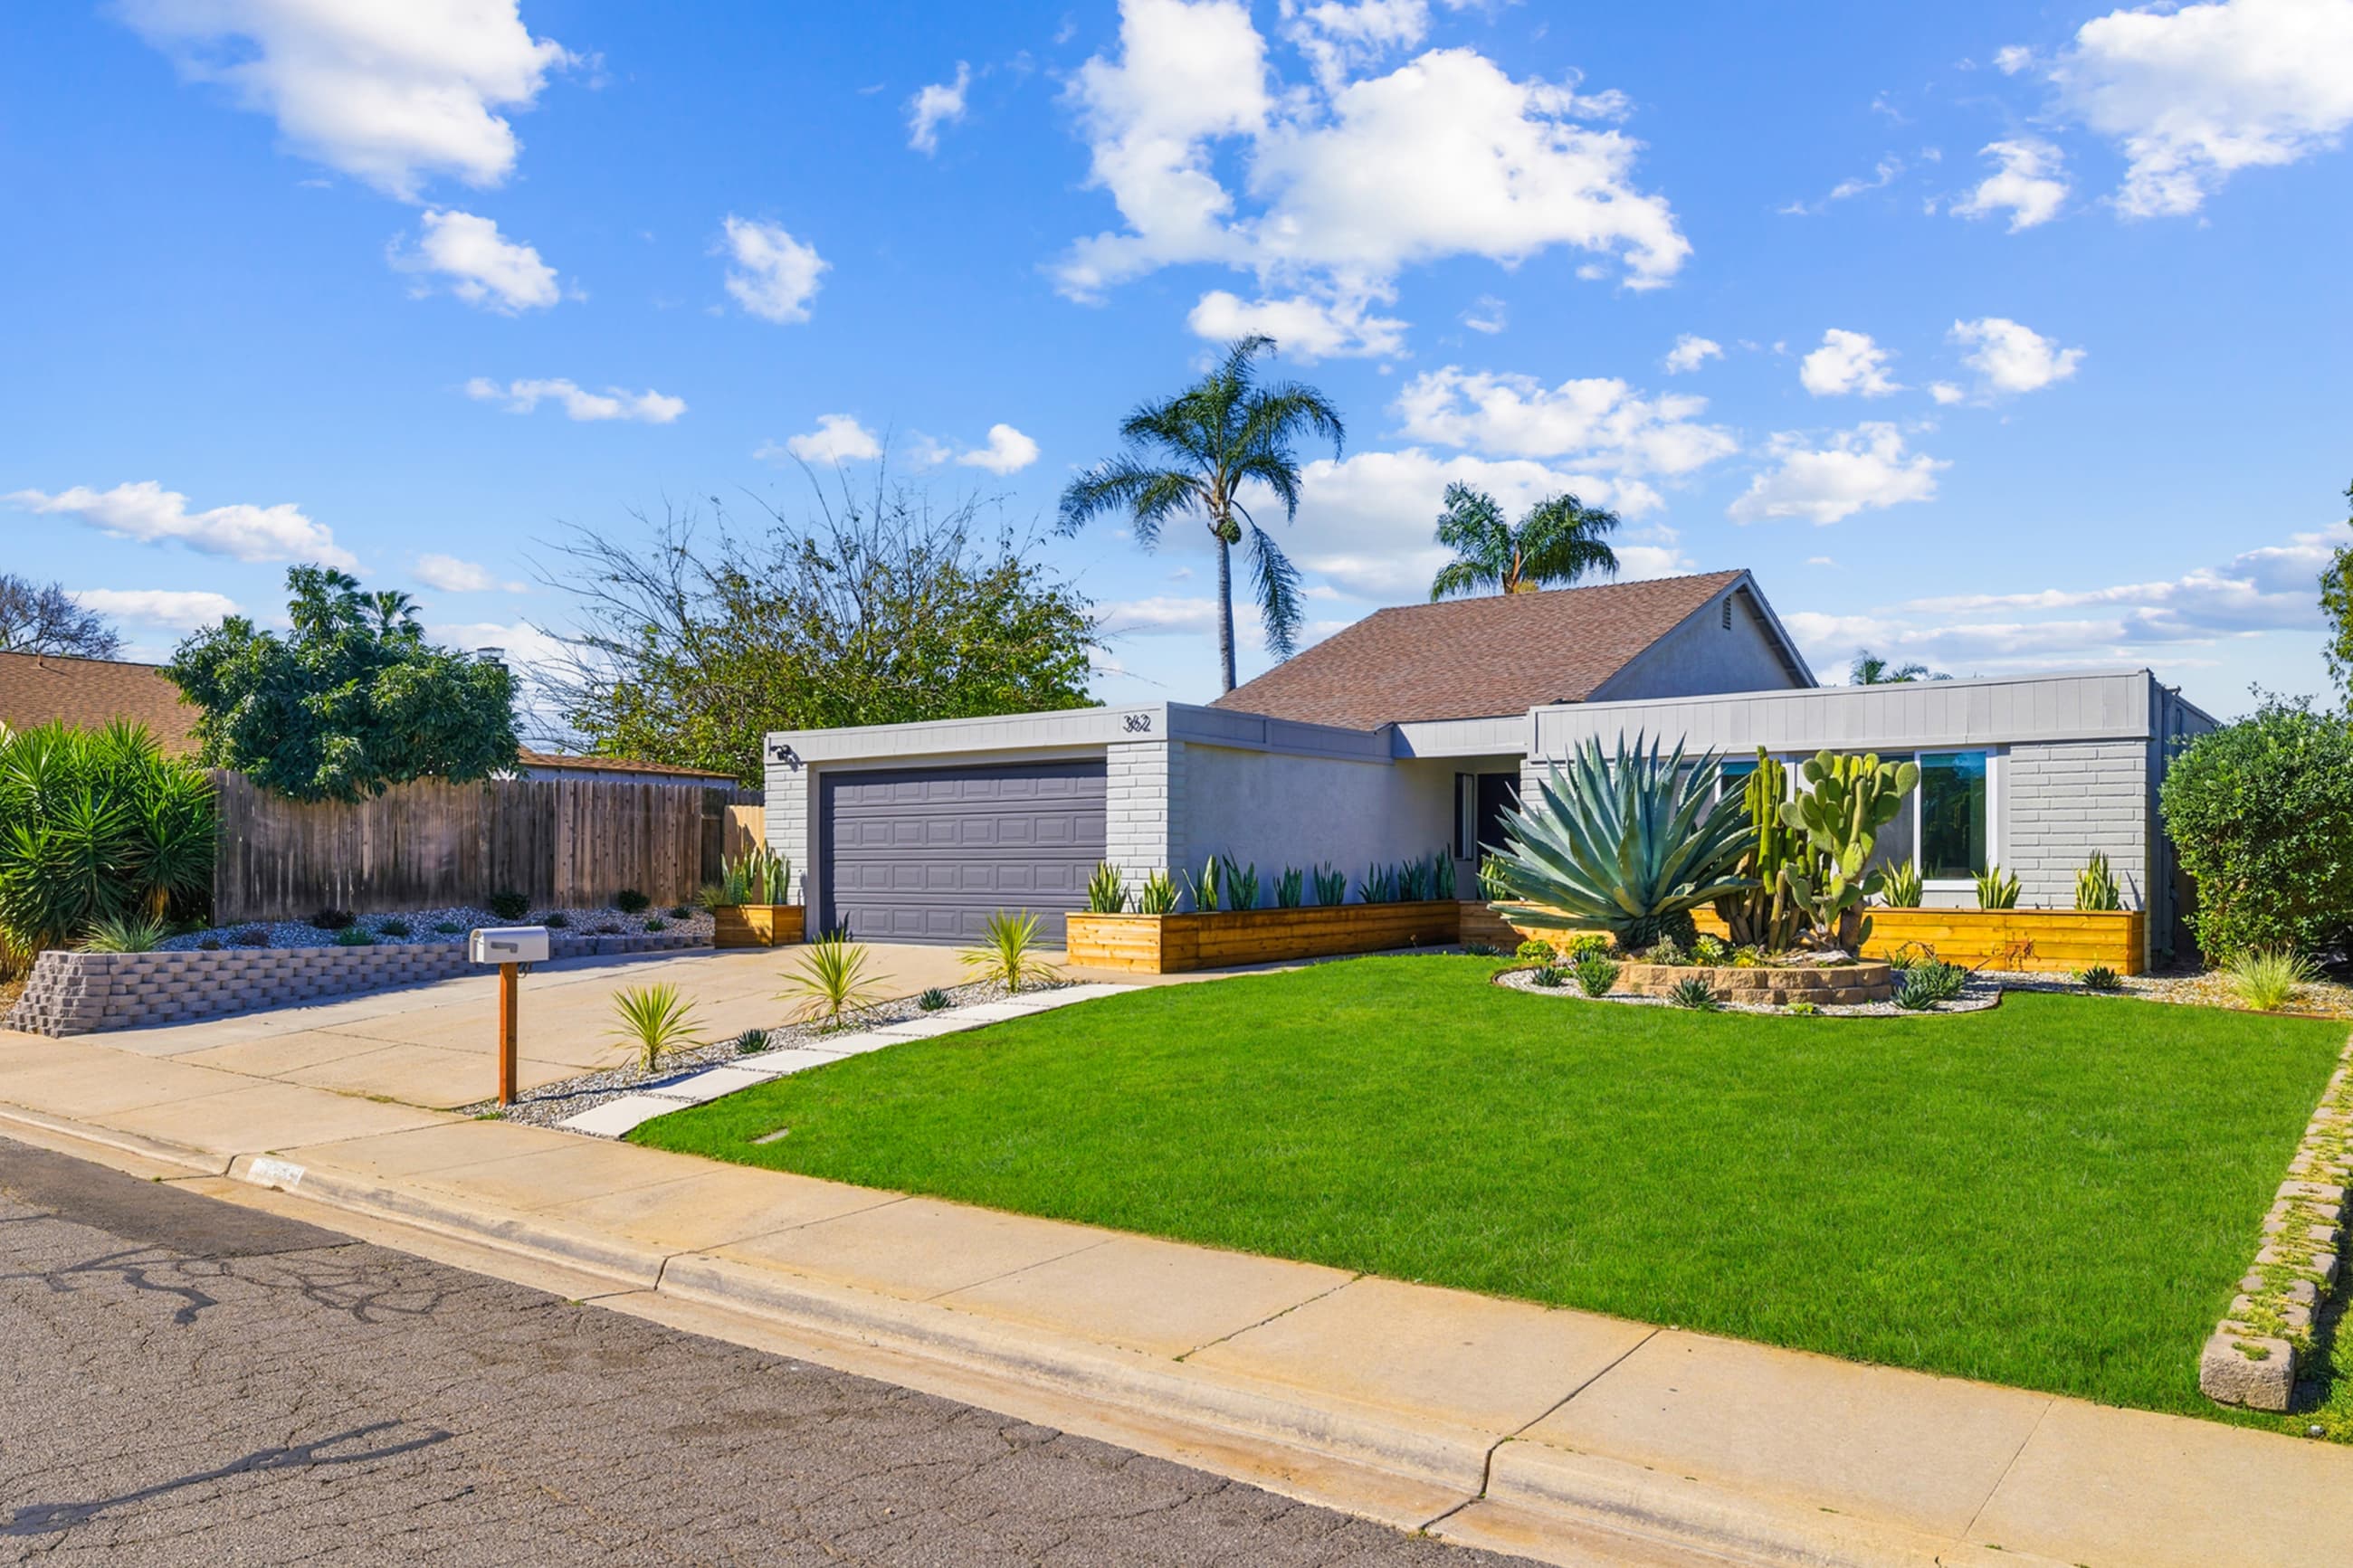
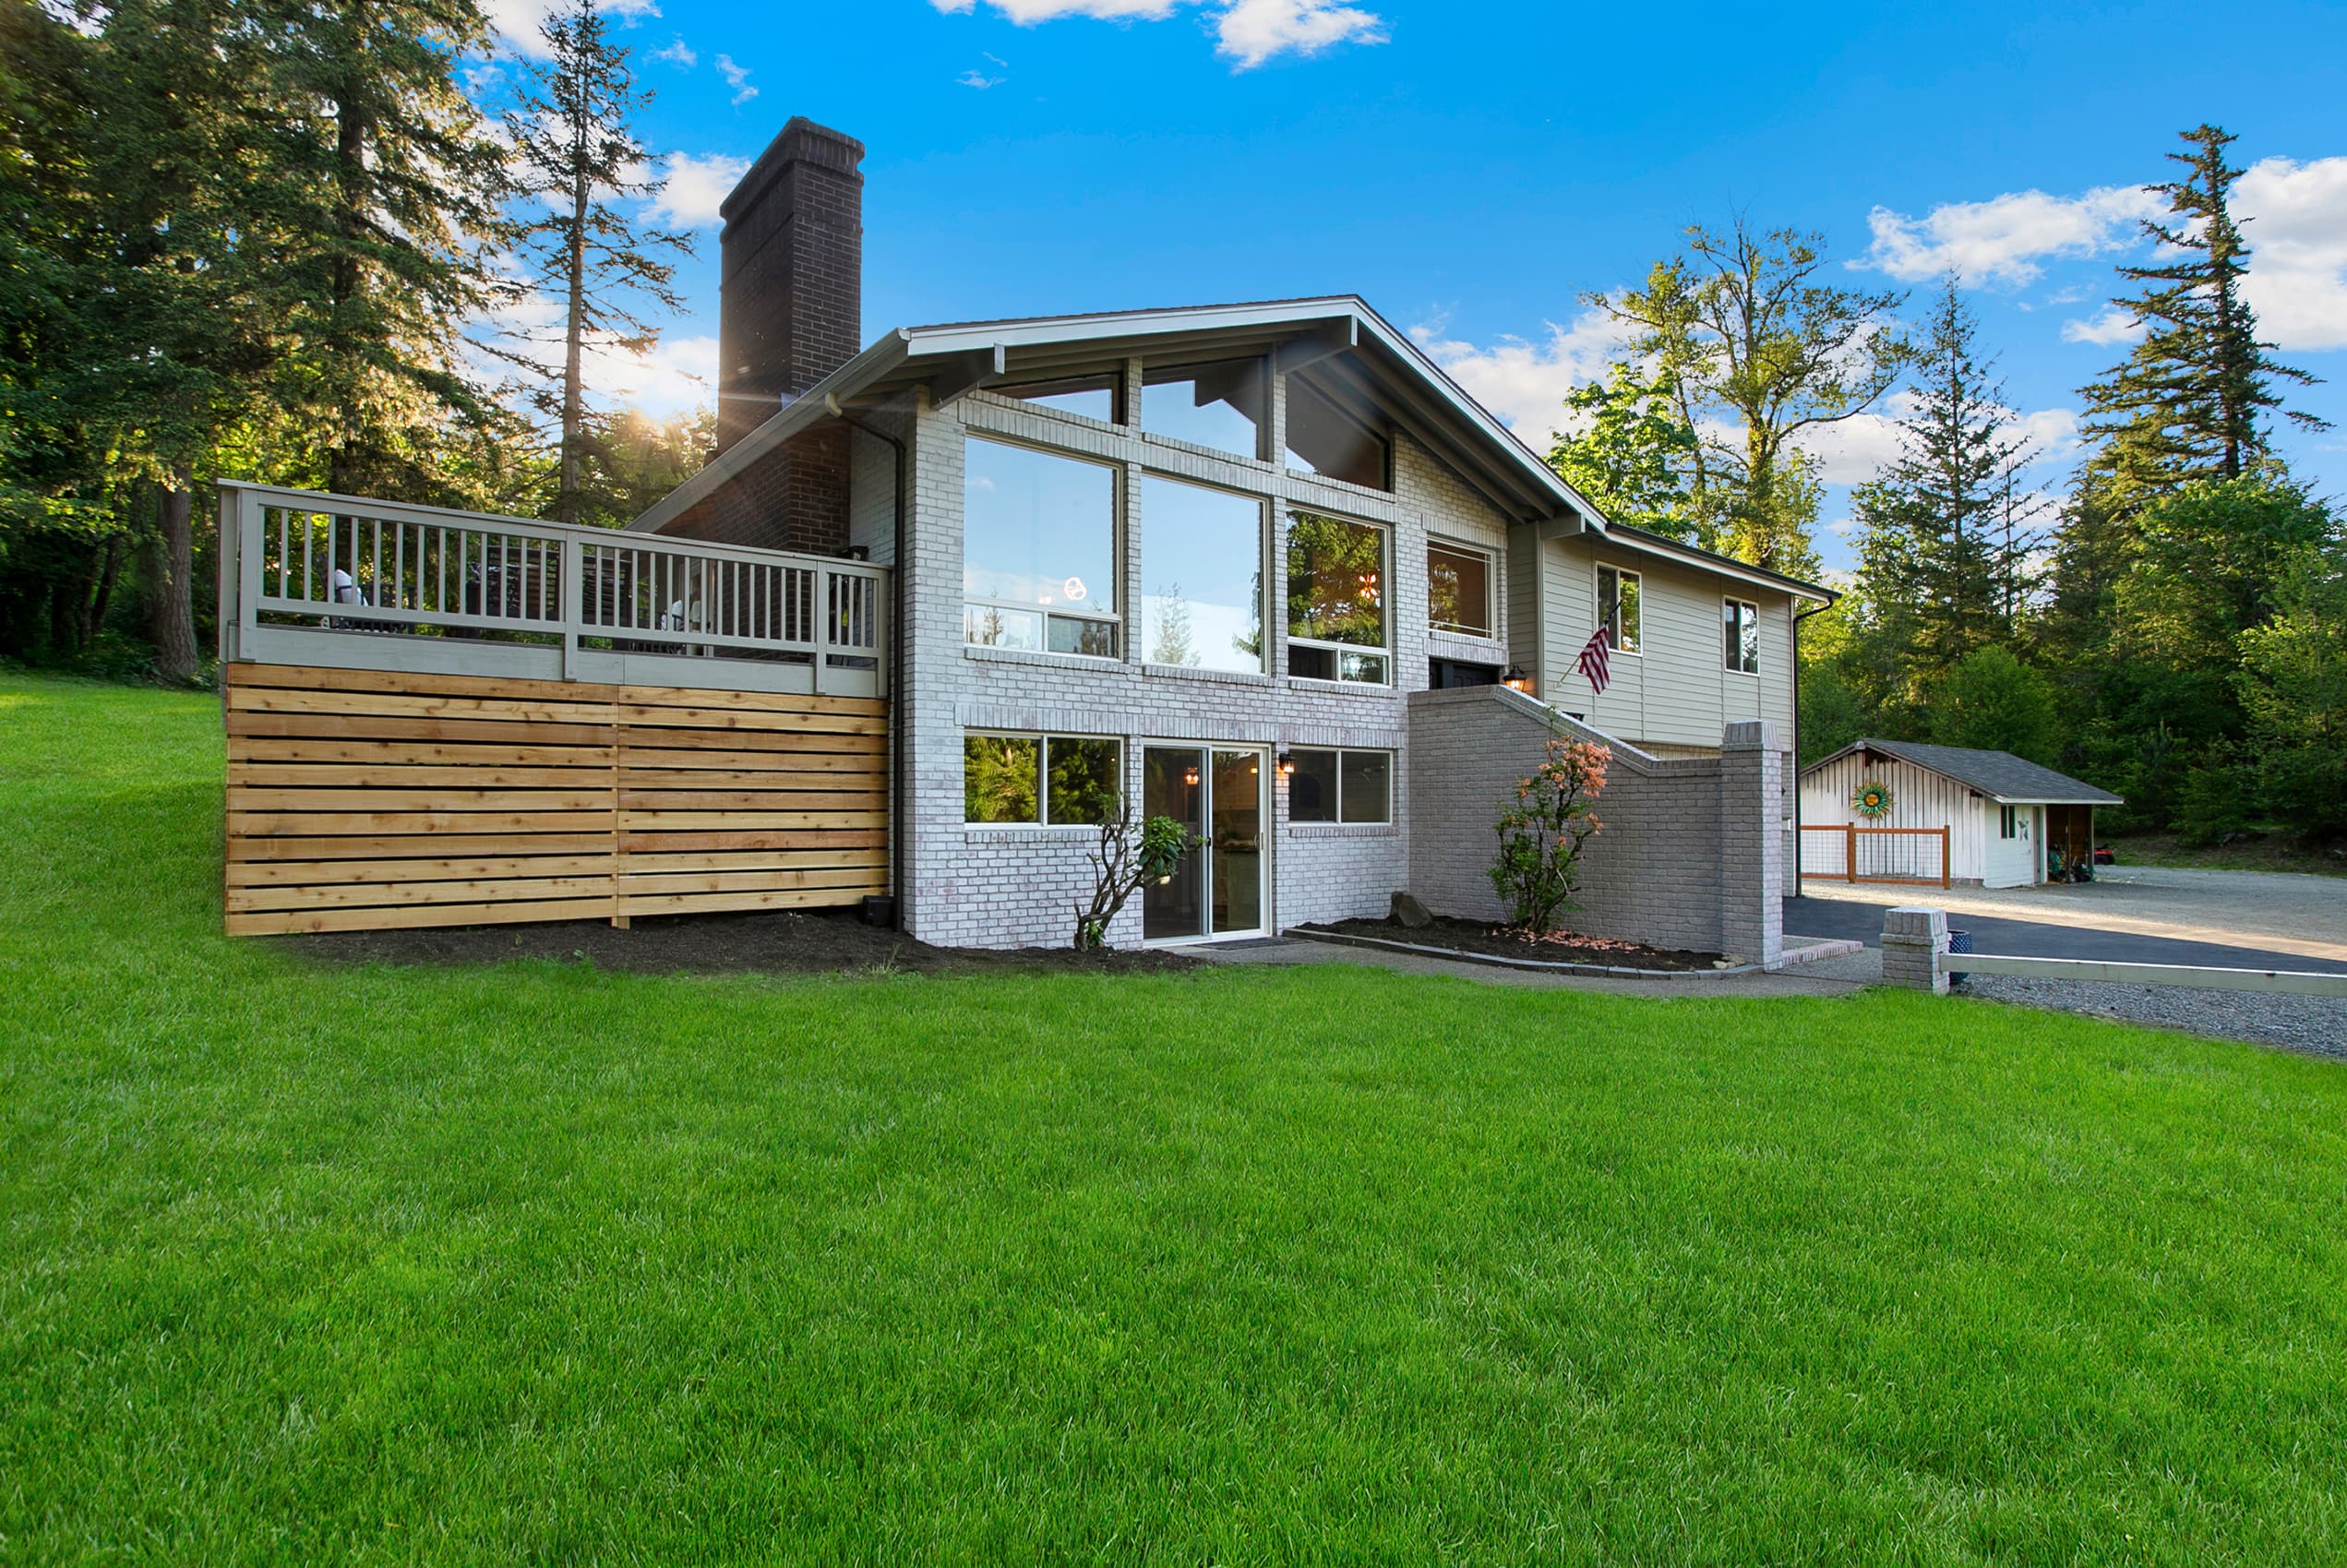
Replacement integrated seamlessly with existing hardscapes and planting edges, maintaining realistic texture and natural transitions throughout the scene.

Interpretation

Grounding the Structure

What lawn replacement clarifies is not greenery, but proportion. When the ground plane is uneven or degraded, the entire structure feels unsettled. Edges lose definition. Scale becomes harder to read. The property's mass appears less intentional.

Corrected lawns restore visual order. Clean edges re-anchor pathways, façades, and entrances. Even coverage establishes continuity between built and natural elements, allowing architectural lines to sit confidently within the frame. The home reads as grounded rather than floating against visual noise.

Poorly executed lawn edits can feel artificial, flattening texture or introducing unnatural color. Precision is critical. Shadows must align. Transitions must remain organic. Surface variation must feel plausible within the environment. When handled correctly, the intervention disappears.

Across a full listing, consistency again becomes the deciding factor. If exterior shots vary in lawn quality, the property feels fragmented. Uniform replacement restores rhythm and coherence, allowing the listing to communicate care, permanence, and readiness.

The result is not an idealized landscape, but a resolved one. The lawn stops competing for attention and starts doing its job. Supporting the home.

Portfolio preview

Explore our full portfolio to see how this approach scales across listings.

View Portfolio
Key Differentiator

Editing Built for Exterior Balance

Uniform Coverage
Across Exterior Views

Grass replacement is applied consistently so lawns read as cohesive rather than uneven.

Natural Texture
Preservation

Consistent tone and density is maintained to avoid flat color fills or synthetic-looking lawn.

Edge and Boundary
Accuracy

Replacement follows paths, foundations, and landscape borders to keep edges clean.

Season-Neutral
Presentation

Greenery is corrected to reflect ideal conditions without conflicting with lighting or surroundings.

Seamless Integration with
Existing Landscaping

Replacements respect shadows, terrain, and nearby elements so edits remain visually undetectable.

Frequently Asked Questions

Common Questions Answered

Does lawn replacement change the actual condition of the property?

No. It corrects how exterior ground coverage is presented in images, not the physical landscape.

Can lawn replacement be applied to specific damaged areas only?

Yes. Adjustments can target patchy or worn sections while preserving surrounding terrain.

Will the lawn look natural at full resolution?

Yes. Texture, tone variation, and lighting are preserved to maintain realism.

Is lawn replacement suitable for all seasons?

Yes. It is commonly used to neutralize seasonal discoloration or dormancy.

Can lawn replacement be combined with other exterior edits?

Yes. It is often paired with sky replacement, lighting correction, and exterior cleanup.
More FAQ
Complete Solution

Ready to work with us?

Send us your photos and let our expert real estate photo editors handle the editing — fast, accurate, and ready for publishing.

Contact Sales