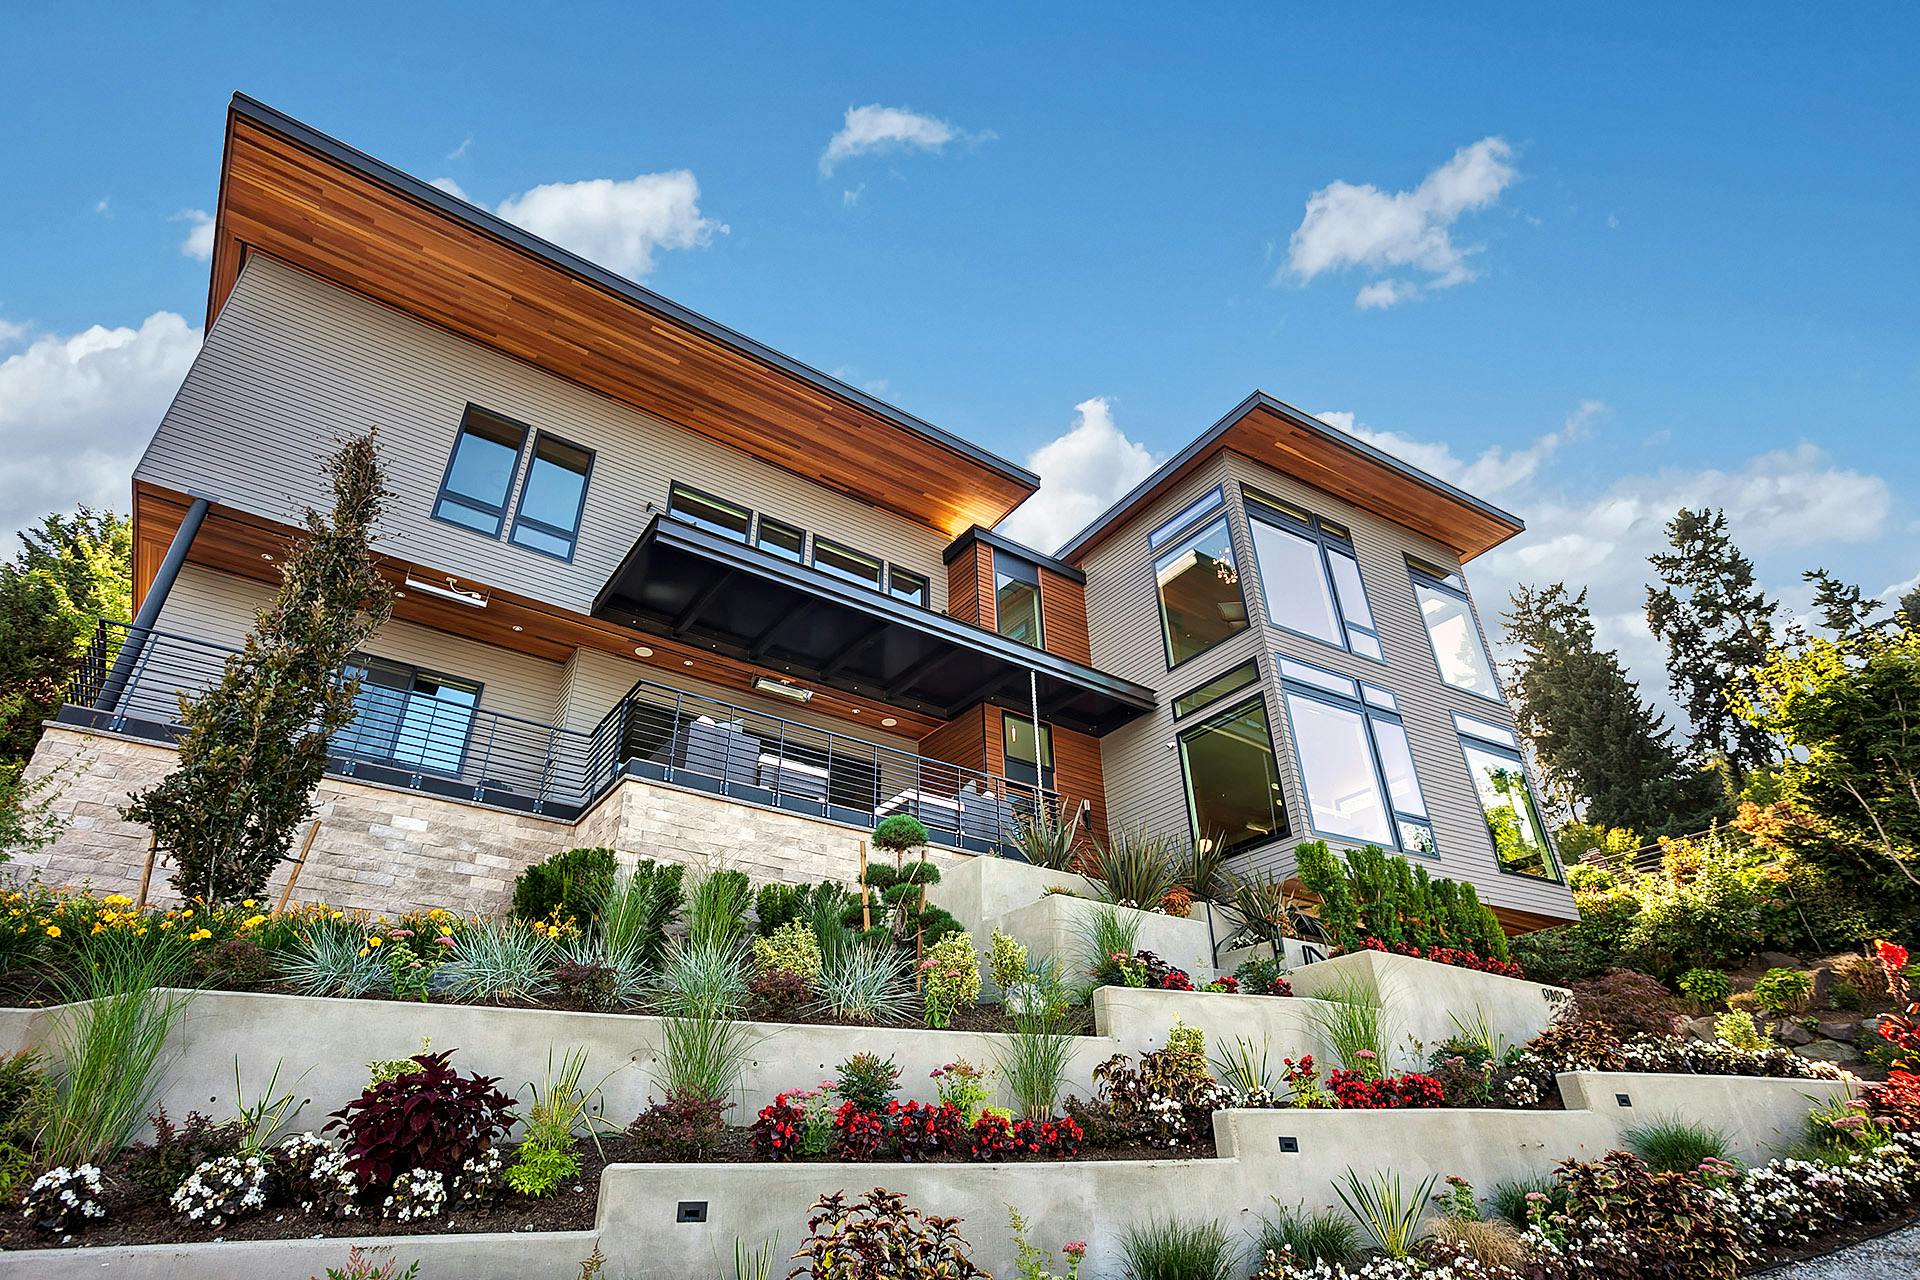
Adobe Photoshop is an excellent digital image editing software that lets you create a magnificent image into another level. Web designers, graphic artists, layout artists, photographers, real estate artists and other professionals in the field of arts and design prefer this user-friendly software in their crafts.
Learning to identify the problem in an image is a primary requirement in enhancing a photograph. Knowing what to edit, refine, recolor, add, or remove gives you the edge in achieving a better product compared to the image that was captured fresh from the camera. After identifying what’s faulty in an image, work on a copy of the image.
Start editing with adjustment layers and think the best to integrate on it. Changing or enhancing a photograph’s background is just another technique you can explore in Photoshop to improve its quality.
[lwptoc]Here are the steps you must follow in modifying or enhancing the background of an image using the software.
1. Add a Blank Layer
After opening the image in Photoshop, there is a single layer which is the Background. Add another blank layer above it by simply clicking on the New Layer icon at the bottom of the Layer options.

2. Set Background and Foreground Colors
Your foreground color must be set to black and your background must be set to white. In order to do this, press the letter D on your keyboard. You can see that it has been changed accordingly if you look at the bottom of the Tool options. The square strip in the top left shows the present Foreground color while the square strip in the bottom right shows the present Background color.

3. Grab the Gradient Tool
Select the Gradient tool in the Tool options or quickly grab it by pressing the letter G on the keyboard.

4. Assign the Foreground to Transparent Gradient
Right-click for (Windows) and Control-click for (Mac) anywhere inside the document window and select the Foreground to Transparent gradient from the Gradient selector that will appear. This is in the top row of gradients, second from the left. Click it to apply.
5. Stretch a Gradient Inside the Image
Create a neutral density filter by stretching a black-to-transparent gradient in the image. In doing this, Layer 1 must be selected then click somewhere in the background of the image and drag straight down the area where you intend to. While doing this, press the Shift key to assure that it goes straight to where you point it to. Move the gradient across the area of your choice.
6. Modify the Blend Mode of Layer 1 to Overlay
Proceed to the Blend Mode option in the top left corner of the Layer options. Layer 1 must be selected and click the Overlay option. This enhances the contrast by blending the black area into the image. You can see that your photograph background improves. But be careful not to include the foreground or subject in this process. You can use a layer mask.

7. Add a Layer Mask to Layer 1
Be sure you select Layer 1 before clicking the Layer Mask option at the bottom of the Layer options. It will be added to the gradient layer in the document.
8. Pick the Brush Tool
Paint black on the Layer Mask over the zone you want to protect to hide the effects of the gradient of the photo. Press B on your keyboard to grab the Brush Tool quickly.

9. Set Foreground Color to Black
Swap the background and foreground by pressing the letter X on the keyboard. You will notice the square strips of background and foreground colors switched.
10. Paint over the Zones to Protect from the Gradients
After switching the background and foreground colors, paint over the zones you want to protect using the Brush tool. If you want to change the size of your brush and make it smaller, press the left bracket key on the keyboard. On the other hand, press the right bracket key if you want to make it larger. The edges of the brush could either soft or hard. To make it soft, press down the Shift and left bracket key. Hold down Shift and right bracket key to make the edge harder. If you accidentally painted a portion of the photo which is unnecessary, simply press X on the keyboard to change the strips from background to foreground and vice versa.
11. Adjust Brightness and Contrast
After painting over the zones and enhancing the background, you might want to improve the brightness and contrast of the final product. You can do this by proceeding to the menu bar. Select Image then Adjustments and select Brightness/Contrast. Select the layer where you will adjust. Alter the buttons to the point that you desire. After the tunings, click OK.
