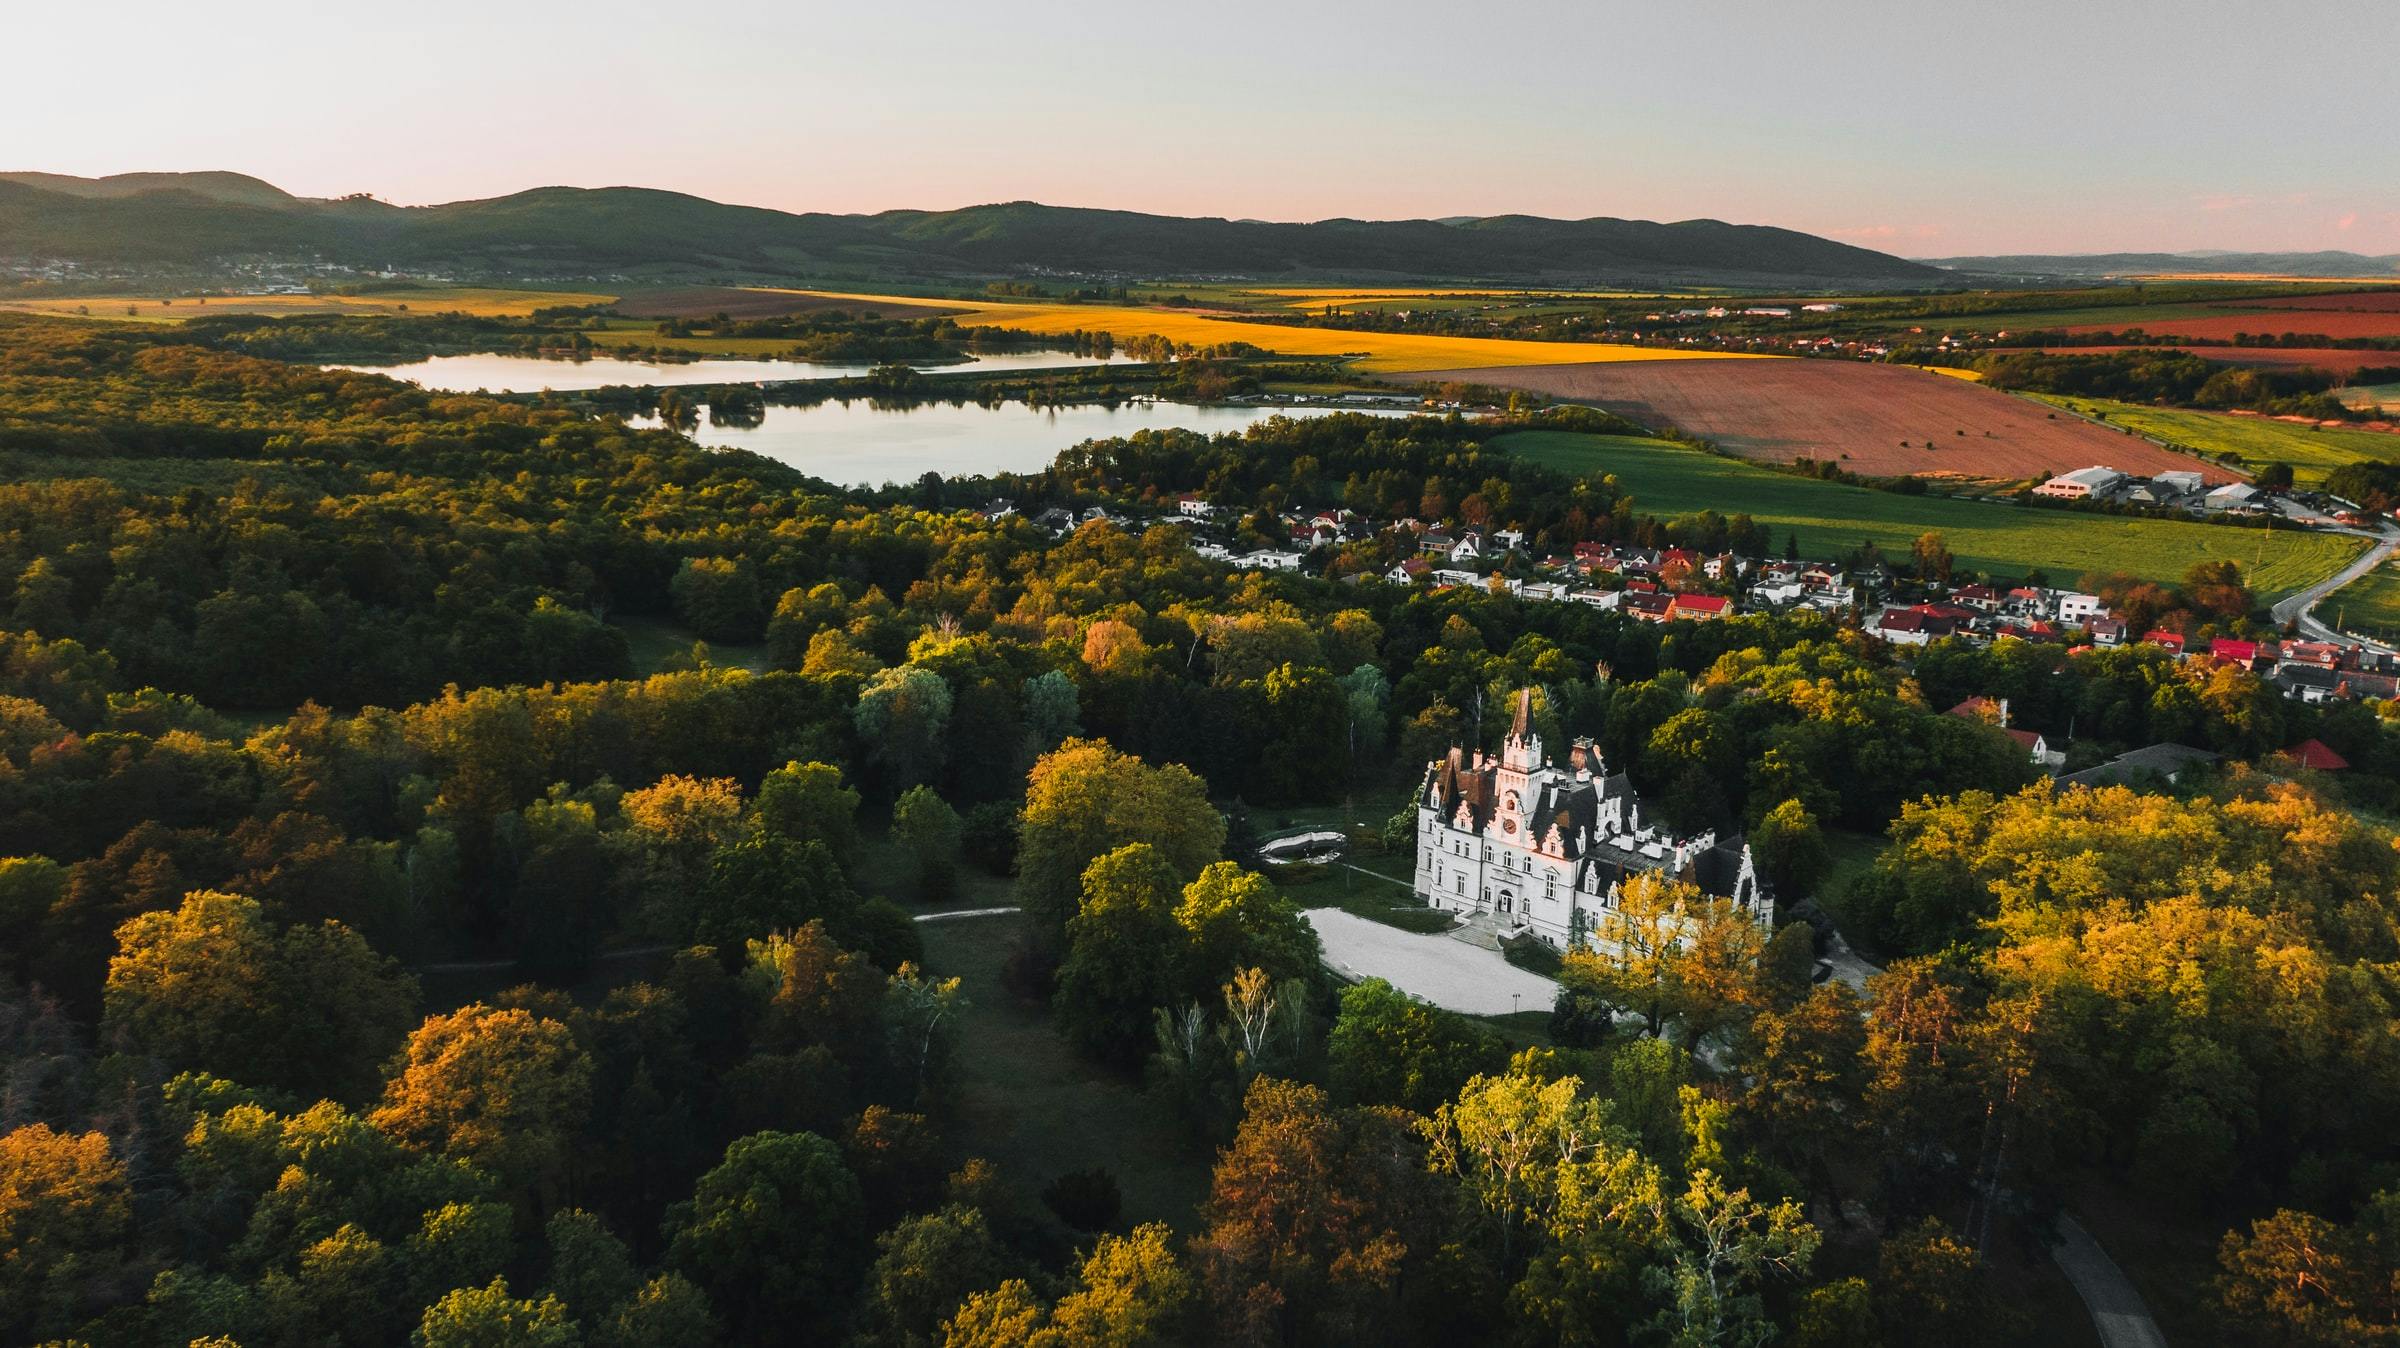
As aerial shots in real estate photography become more in-demand, the rising need for skilled real estate photo editors has increased over time since they can enhance drone images.
Using a high-end drone camera does not necessarily mean getting the best images right away. At times, your shots may seem okay, but if you take a closer look, you can notice that something is not right, or there are some lacking aspects that you want to see on the images.
[lwptoc]
These observations are standard and are part of the improvements you should focus on to have aesthetically presentable drone images of a property. TL;DR: Here are six proven editing tips for drone images that can improve your shots.
Crop the image properly
Regardless of the kind of property, it is part of photography basics to crop an image. Doing this can add a dramatic effect on the photo. It also emphasizes the subject of the picture. Make sure that your real estate photo editor knows the rule of thirds well, so the picture’s focal point will be along the vertical or horizontal line intersection.
Make use of the healing brush
When taking drone images, expect that there are some unnecessary things captured in the photos. However, you do not have to worry because eliminating these unuseful things is comfortable using the healing brush tool. This tool is standard in Adobe Photoshop and other photo editing software.
Balance the levels
One great key in editing drone images is to balance the photo elements accordingly. Being able to adjust the brightness, contrast, saturation, sharpness, and other aspects of the image grab people’s attention. The editors may not get it right the first try, but they can perfect the outputs by playing with the presets and the right levels of adjustments.
Tweak the saturation
As mentioned previously, saturation is part of an image’s elements that can bring tremendous changes to the photos, if used correctly. Saturation is responsible for getting those intense colors that add more vibrance to the images. However, be careful and remember that with color saturation, less is more. Please do not turn the photos into something so dark and dull, like the shots we had decades ago.
Sharpen the image
Since drone photos are taken from high altitude, sharpening them highlights the edges in your photos. This process also adds a little more contrast to your masterpiece. When using this feature, one pro advice is not to overdo it because it can make the images look unnatural, which is a big no for real estate images.
Don’t apply the same setting
In real estate photography, every photo captured by your camera is different. The same thing remains true in editing. What works on one image may not work with other pictures. Technically, this means editing the pictures from scratch and making manual adjustments that fit the photos well.
Do final touches
After following the first six steps, it is best to do the final touches to the images, ready them for printing (for magazines), save the soft copies right away, and use them for your online listings. It is best to recheck every picture and spot other parts of the photos that need enhancements during the final retouching stage. Once done, apply the necessary edits and save the images.
In the end, these seven editing tips should help you create the best real estate images that capture buyers’ attention and sell properties. It is best to use these pointers for aerial shots and the usual interior and exterior photography of the property. Above anything else, always look for the best photo editor to take care of your images, unless you have photo editing knowledge.