Phixer
PortfolioAbout Us
Tutorials

Learn how to get the most out of Phixer's editing services.

Blog

Tips, trends, and insights for real estate marketing success.

FAQ

Quick answers to common questions about our services.

Latest Tutorial & Blog

Introduction for Real Estate Photography

Introduction for Real Estate Photography

Hi my name is Alex and I will be taking you through a photographer training tutorial where you learn the principles and techniques of real estate photography. Make sure you have your camera and tripod on hand so you can change settings accordingly and experiment with some of the techniques intermittently as we go through different processes and ideas.<br/><br/><h2>Before we get started on the photography side of the job, we need to do a basic overview of best practices once you arrive at a property.</h2><br/>Firstly, it's important to remember that though there are formulas and rules of real estate photography that you'll be thinking about every shoot, every agent and broker has different preferences and goals, depending on their taste and the distinctive characteristics of the listing. Therefore after you've met the agent and gone through baseline introductions, ask them to give you a tour of the property so they can voice any specific shot ideas,angles are elements of the property they especially want to capture.<br/><br/>This will give you a good sense of their marketing goal and the layout of the house so you can mentally prepare for the forthcoming shoot. Don't hesitate to respectfully raise concerns if agent has a poor shot idea that you know won't work. In these situations you may want to take the shot and show them it's a bad idea rather than trying to describe why. Nonetheless, the ultimate goal is to give the agent what they want, so be compliant and experiment with bizarre ideas if necessary.<br/><br/>Sometimes you may even be surprised. After you've gotten a tour from the agent, start prepping the house for photos. This means turning on all light fixtures and lamps, pulling up blinds and hiding remote controls, Kleenex boxes, sponges and any other items inside that will show poorly in photos and make it difficult on your <a href="https://www.phixer.net/">real estate image retouching company</a>. For staged houses, you probably won't have to move anything out of the way but in properties where the homeowners are still living there, you may have to hide some personal items and declutter a bit. Remember you have a limited amount of time to finish the shoot, so if the house is overly cluttered or unprepared for shooting, ask the agent whether you should reschedule or if they're comfortable shooting the property in its present condition. There's only so much you can do and you're a photographer not a home cleaner/stager.<br/><br/><h2>Do not spend more than 15 minutes prepping the property.</h2><br/>Do what you can within that limit, however moving heavy furniture, decluttering every room, sweeping etc are not your responsibilities. If you have time, avoid including the following items in your shots; bath mats, small carpets or mats on the kitchen floor, modems and bundles of cords, the homeowner's personal photos, toothbrushes, shampoo bottles and personal toiletries in general, trash cans, bedside alarm clocks, home phones, dog beds, litter boxes and anything else that will negatively affect the marketability of the listing. Usually these items can be gently move to the outside of the frame of the photo, then returned once you finish capturing the space. A note on blinds, in general all window blinds should be pulled up there are few exceptions to this rule, so leave the blinds up if;<br/><br/>A. The view outside is really unpleasant, for example there's a dumpster and industrial refinery, a chaotic construction site or anything else that would devalue the listing.<br/><br/>B. If the agent and insists for whatever reason, on leaving them down, you are after all working for them.<br/><br/>And lastly:<br/><br/>C. If the blinds are broken and won't stay level or pull up entirely. Sometimes excessively heavy blinds can be problematic and it's best not to risk pulling them off the wall. Leave the blinds down and twist them open so light can come through the windows. Other notes on prepping the house; make sure you remove security signs from the front yard before taking exterior shots, also hoses should be either coiled or removed from view.<br/><br/>Garage doors should be closed and garbage cans either moved into the garage or out of view. In kitchen's especially, make sure you double check for cabinet under lighting and turn the stove lights on. Dining room and breakfast table chairs should be tucked in even and orderly. Fans, fireplaces, TVs in any other kinetic features of the listing should be turned off. These objects will appear blurry and disorienting once the disparate exposures are fused by your real estate photo retoucher into an HDR composite.

Read More ↗

What's New?

AI Real Estate Photo Editing

AIPhixer AIReal Estate Photo Editing

Instant, professional-quality edits powered by AI technology—perfect for tight deadlines.

Read More ↗
Photo Editing

Professional editing that makes properties shine.

Declutter

Remove unwanted objects for clean, distraction-free images.

Video Editing

Cinematic property tours that captivate and convert buyers.

Virtual Twilight

Convert daytime shots into dramatic dusk photography.

Virtual Staging

Add designer furniture to showcase a property's full potential.

AI Editing New

Lightning-fast edits powered by advanced AI technology.

Lawn Replacement

Transform dull lawns into lush, vibrant green instantly.

AI Website Builder

Build stunning listing websites in minutes, no coding needed.

LoginGet in touch
Phixer

© 2026 Phixer, Inc. All Rights Reserved

Trusted editing partner for real estate professionals since 2009.

Expert editors, proven quality, 24/7 support.

+1 206-934-1858

155 NE 100th St., #309, Seattle WA 98125

support@phixer.net

Community

  • About Us
  • Portfolio
  • Tutorials
  • Blog
  • FAQ

Services

  • Photo Editing
  • Video Editing
  • Virtual Staging
  • Lawn Replacement
  • Declutter
  • Virtual Twilight
  • AI Editing
  • Website Builder

Legal

  • Privacy Policy
  • Terms of Use

How to Stage Your Rooms for Amazing Virtual Staging Results

September 24, 2022

How to Stage Your Rooms for Amazing Virtual Staging Results
Real Estate Marketing, Real Estate Photo Editing

September 24, 2022

Real estate marketing is quickly evolving, with consumers finding multiple options with a few clicks and taps. Digital listings and social media platforms have made finding, buying, and selling real estate properties both easier and harder at the same time. More effortless due to the convenience of seeing all the offers without leaving your home, yet more challenging because several prospects are readily available.

Real estate agents compete on several listing websites and turn to experts for help. Virtual or digital home staging is one of the proven conversion methods of real estate marketing. This blog post will discuss virtual staging and how you can prepare your property for a photoshoot.

[lwptoc]


However, people ask how to do virtual staging without knowing why they have to do it. Before telling you how to set and style your home for a pre-virtual staging photoshoot, we’ll answer that question first.

Why You Need to Stage

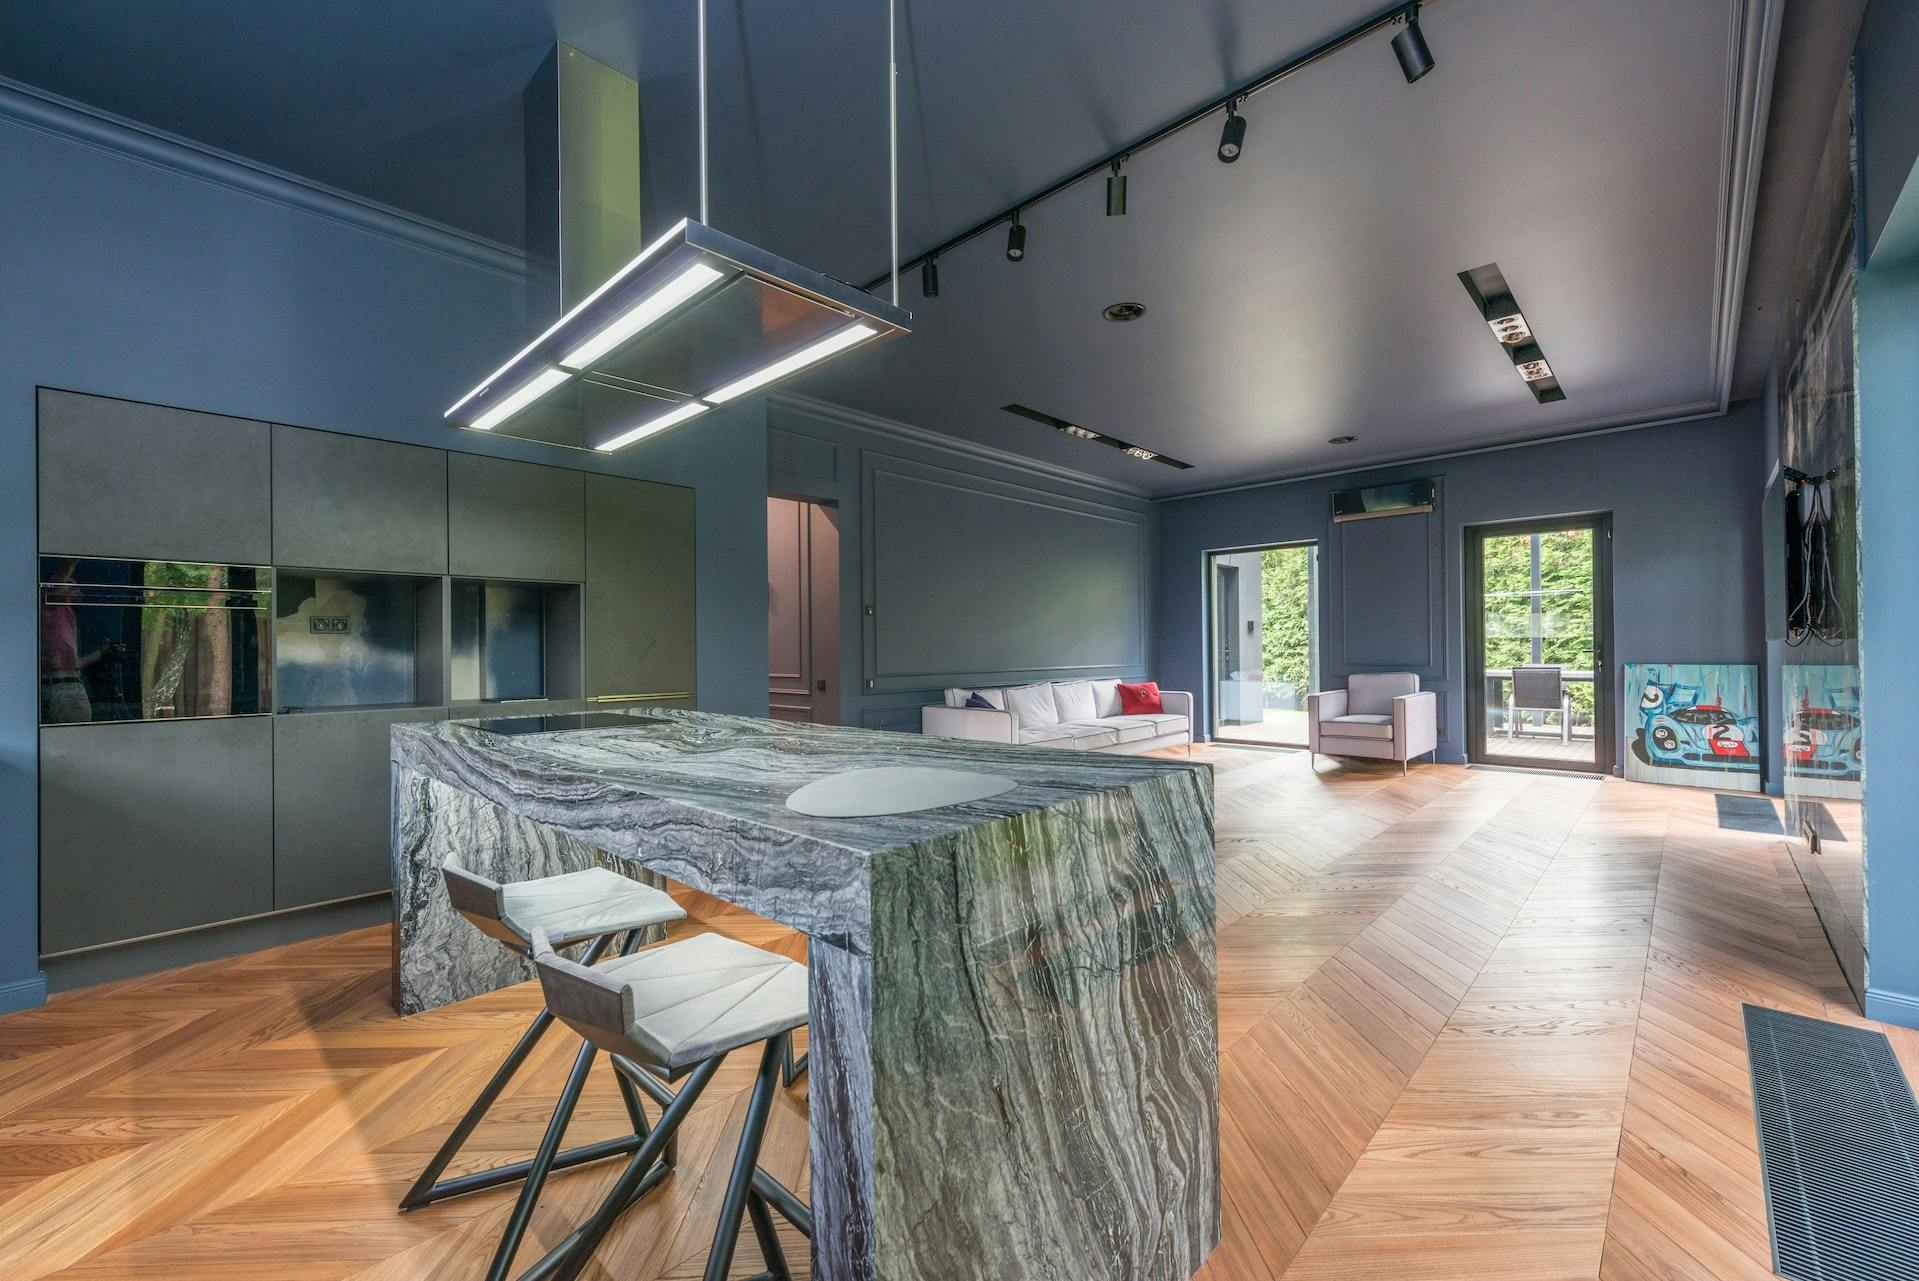
Virtual staging is one of the many creative ways to present your real estate property to potential customers or buyers. Similar to showroom techniques developed by real estate companies, virtual staging reimagines a room, home, or property according to the target audience or demographic.

Digital staging is more cost-efficient than showroom decorating or actual home staging because you don’t have to buy new furniture or remodel the rooms. The cost for virtual staging is merely a fraction of what developers used to spend for illustrative home constructions. The next question would be, “how do you do virtual staging effectively?”

There’s an art to perfecting virtual staging. For starters, you have to prepare the spaces for the shoot. After which, you must find the perfect editor, app, or software to bring your virtual staging fantasy to life.

Preparing for Virtual Staging

You should design the entire virtual staging look before you take photos of your property. You need to know how virtual staging could affect your target buyer markets. The guiding principle is to reduce the amount of editing on the digital stage.

Here are some ways to plan for virtual staging:

  • List down your property’s and neighborhood’s best features. Those qualities will be some of the many reasons your client will purchase that property. Those features will reflect the possible demographics, so ensure you take note of them before your virtual staging.
  • Set a target demographic and create a buyer profile. Would your potential buyers be male or female? Would they be living alone or with family? Would they need space for a home office? Would they prefer a furnished or unfurnished home?
  • Find inspiration online. It would help to know specific pegs before doing a photoshoot. This method would also improve your chances of getting the results you want when sending your raw images to professional real estate editors.
  • Suitable photography equipment. You may opt to hire a real estate photographer or do it yourself with proper guidance from the virtual stagers. Either way, you need to include equipment in your plan considerations.
  • Find a virtual staging company. You should know who will do your virtual staging as early as the planning stage. It would help if you knew how to do it yourself, but plenty of virtual staging companies are available online.

Once you’ve mapped out what you want and how to achieve them, it’s time to prepare the photoshoot areas appropriately.

Rooms to Stage

Prioritize the spaces you need to shoot because you won’t have the time or energy to do everything. You don’t need to orchestrate the entire house since your target market is more inclined to look at critical areas rather than the whole property or home.

prepare room for virtual staging

According to the National Association of Realtors, these are the areas you need to stage for real estate listings in order of importance:

  1. Living room or receiving area
  2. Master bedroom or the largest bedroom
  3. Kitchen or pantry
  4. Dining area
  5. Outdoor or yard
  6. Bathroom or comfort room

Targeting specific parts of the house will improve your chances of landing a client from the listing alone. However, you also need to prepare even the rooms you’re not planning to style since you may get potential visits.

Photoshoot Preparations

After planning it all out, it’s time for the nitty gritty. You need to prepare the rooms and areas you want to stage for the shoot, whether you’re doing photoshoots yourself or employing the help of professionals. Physically preparing the spaces will lessen the time needed for virtual staging edits or reworks.

Here are some of the ways to visually orchestrate the rooms for virtual staging:

General

Clean the house as much as you possibly can. Even if you can virtually edit items and furniture, you should declutter the area to ensure a smooth virtual staging process. Trash and other unwanted objects would cost extra to remove during the virtual staging process; they may interfere with lighting and cause awkward shadows in post-production.

There are ways how to do virtual staging, effectively clearing things, but you should still remove personal effects and decor.

Indoors

Do a quick inspection of every room in the house to determine the ones you can submit for virtual staging and those you can do minor edits on. Remember that even when you put an image through post-production, your listing photo shouldn’t look too fake, or it may put off potential buyers.

Here are some of the tasks you should do before the pre-virtual staging photography session:

  • Remove personal items and effects, especially photos or portraits.
  • Clean and scrub the floors.
  • Check and repair the walls.
  • Rearrange the furniture to open up the space.
  • Open or remove the curtains to expose the windows to full sunlight.

The indoor preparations often involve removal rather than replacement because the edits usually take care of adding items. You should clear the space by creating a blank canvas for your virtual staging.

Outdoors

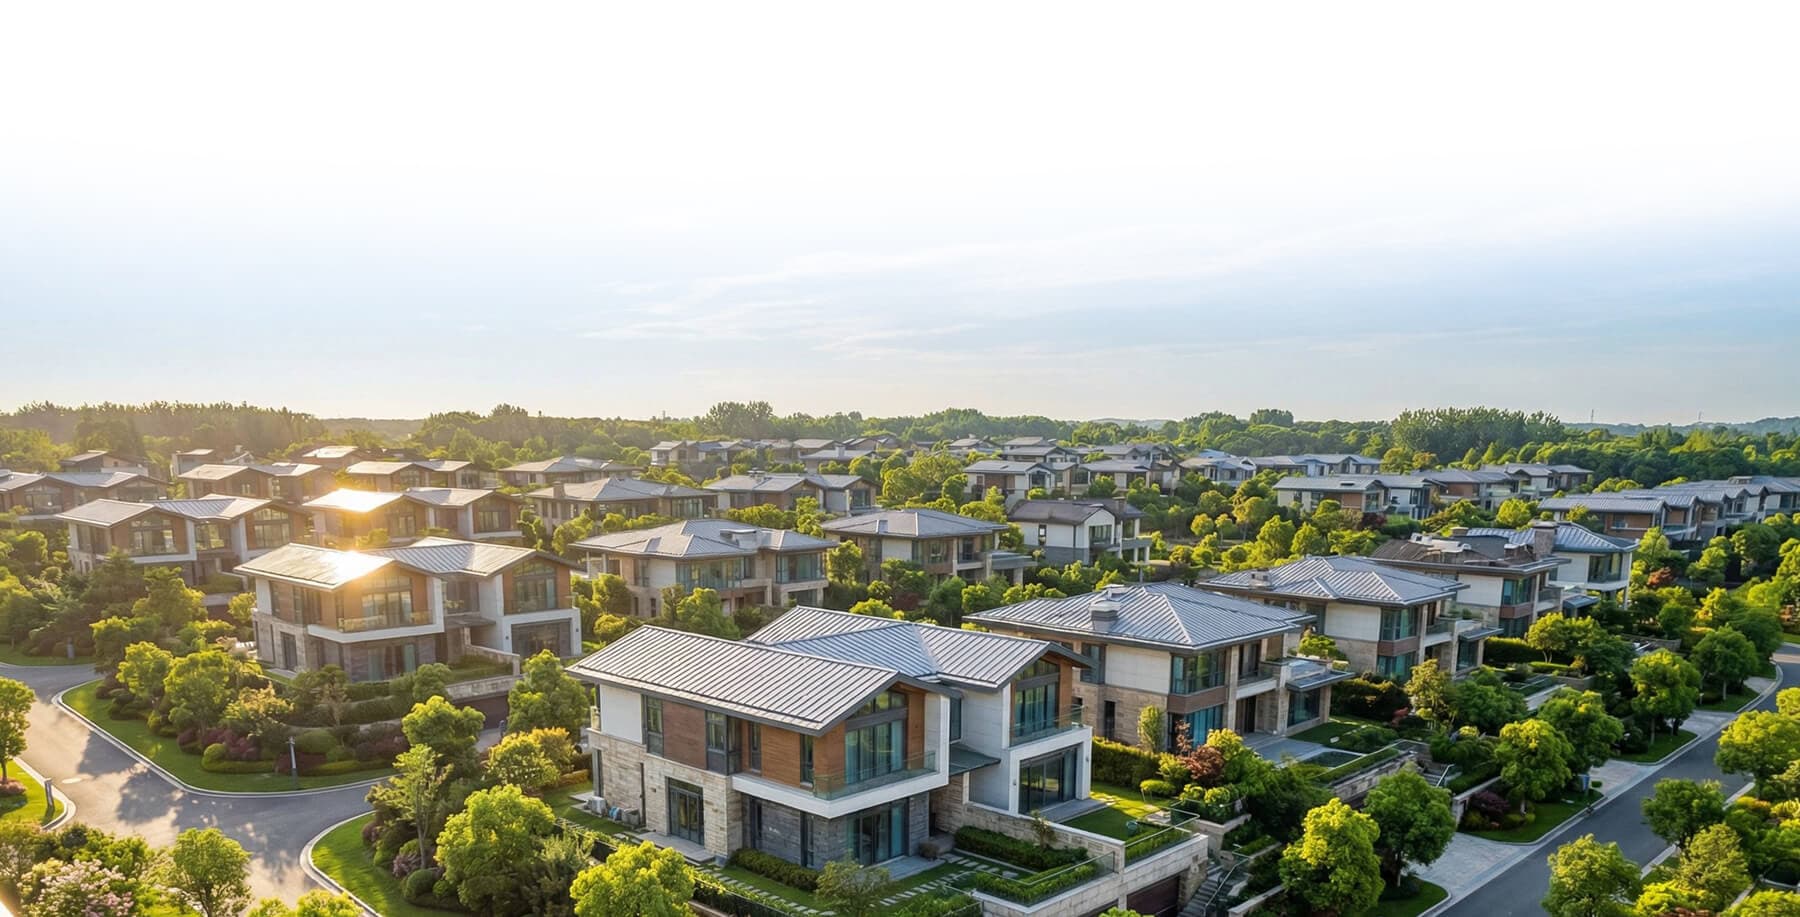
Check the curb appeal since most people click on a listing with an attractive overall appearance. Aside from that, it would help if you also prepared your outdoors for a possible potential buyer visit since first impressions last. An excellent first impression could be the defining factor between an almost-purchase and a closed deal.

Here are some of the preparations you need to do on the property’s surroundings:

  • Trim the bushes and mow the grass.
  • Clean the pavement and walkways.
  • Repair the cracks or faded paints.
  • Inspect and fix the roof.
  • Rake and clear the leaves.
  • Arrange the plants and flower pots.
  • Repaint the front door and porch if needed.

Most people don’t virtually stage outside their property unless through lawn replacement or virtual twilight, but it may end up looking disappointing when the potential buyer finally tries to visit.

Camera Settings

Employ a Digital Single Lens Reflex (DSLR) High Dynamic Range (HDR) camera with a feature of bracketing exposure to prepare for virtual staging. The camera does half the work, so it should be suitable for the planned post-production treatment.

camera settings for virtual staging

Here are some important reminders when shooting photos before virtual staging:

  • Shoot in landscape.
  • For indoors, the room should take up 2/3, and the ceiling should be 1/3 of the picture.
  • Use minimum 18mm and maximum 200mm lenses, and avoid stylized, distorted, or warped ones.
  • Make use of HDR at different exposure levels.
  • Use external lighting instead of the built-in flash unless you want rigid shadow effects for virtual twilight.

If unsure about your camera settings, do test shots on specific areas with your tripod to estimate how each space would look.

Time Your Photoshoot Perfectly

For real estate photos in general, you should target the time closest to noon or the hour that the sun is at its highest or brightest in the sky. The sun’s natural lighting will improve your image’s post-production results. Taking indoor photos with a bright sun will also cast dramatic shadows and make the room look wider.

Influencers on Instagram are obsessed with the golden hour, the sweet spot, an hour before sunset, or the hour after sunrise. The golden hour is excellent if you plan to do twilight shots and create an eye-catching and picturesque main listing photo. Just be careful that you don’t underexpose your photo’s lighting during this time.

Make Sure Photos are in High Quality

Finally, you should use high-quality raw photos, especially when planning to stage them virtually afterward. The high definition would improve your image in the final photograph, and it’s easy to adjust natural pictures in HD than in lower ones.

Having low-quality photos would interfere with how you do virtual staging, mainly because anything externally rendered or added would look fake on your real estate listing. Aside from that, sending over low resolution would result to even lower resolution after edits.

Bottomline

These days, you can tell how virtual staging affects the real estate buying market, with 95% of buyers browsing through online platforms and 40% of buyers setting appointments after seeing homes staged virtually. Professionally-made real estate virtual staging images are gradually becoming part of real estate marketing standards, and Phixer offers high-quality outputs for attractive listing photos.

Complete Solution

Ready to work with us?

Send us your photos and let our expert real estate photo editors handle the editing — fast, accurate, and ready for publishing.

Contact Sales