
What's New?

AI![]() Real Estate Photo Editing
Real Estate Photo Editing
Instant, professional-quality edits powered by AI technology—perfect for tight deadlines.
Read More ↗June 1, 2020
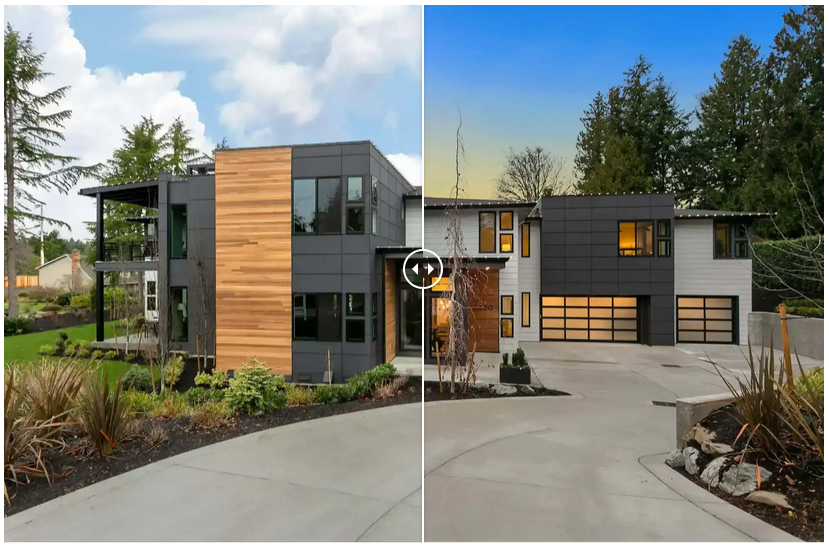
Impressing potential buyers by showcasing beauty and creativity from you photos will make your house sell fast. You must show exciting portfolio once you put your house on sale online. Taking pictures of the exterior and the interior of the property are the first important things one must do. With virtual twilight readily available to add effects on your photos, it lessens the hassle of rescheduling appointments just to catch the sunset view. Moreover, if the weather does not permit to give you that spectacular sunset for your backdrop, virtual twilight photography will answer all of this.
Virtual twilight basically highlights the exterior part of the house that is transformed by special effects. This method not only makes the property more presentable but it also makes the property more appealing to buyers. Virtual twilight can increase the beauty and charm of the property most especially on the exterior. Because of the filters and assortment of colors, it enhances the property’s aesthetics to satisfy every human’s eye.
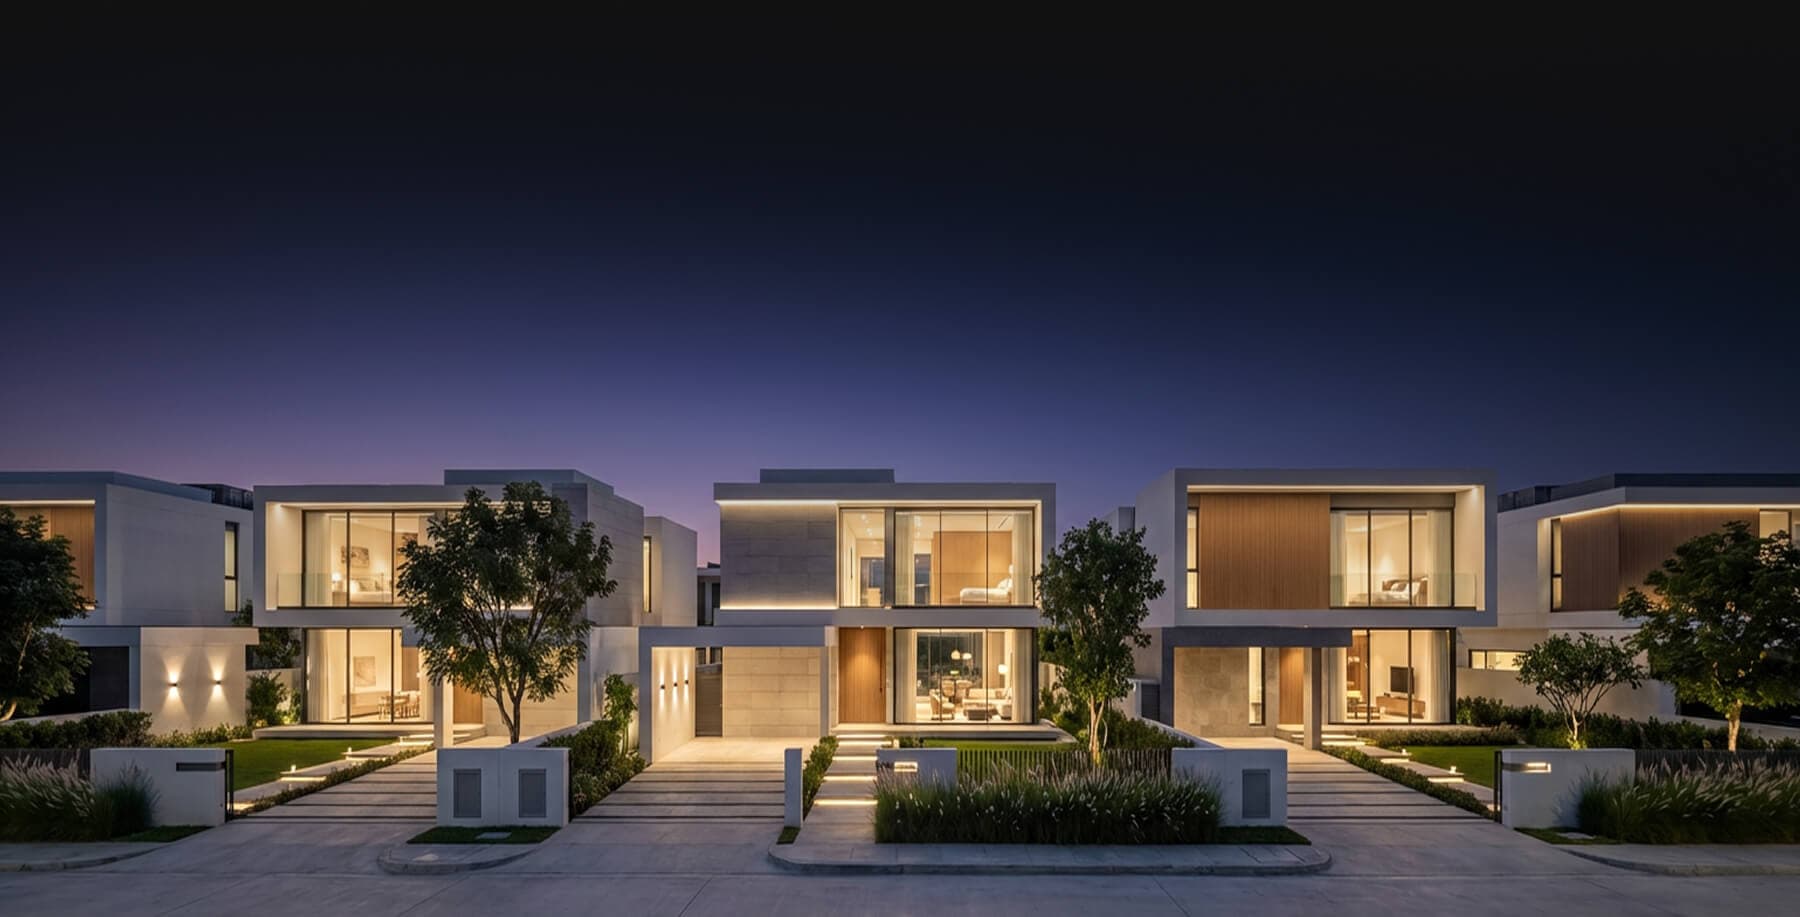
You will master in this tutorial the basics of editing twilights for real estate and highlight both the outside part of the house as well as the modified warm indoor lights and cool saturation of the property at dusk. Other than improving the property’s image at this particular time of day, you could create emotions out of the property and make it more likeable for buyers. Virtual twilight will make your real estate photos stand out because it helps present a home under the evening glow.
1. Pick two images with the best ambient exposures
• Choose two photos with the best ambient exposures
• Correct the luminance of a twilight exposure
• Consider making changes in temperature, exposure, contrast, shadows, etc.
The first thing to do is to select the best two images with the best ambient exposures, one for the sky and one for the foreground. Open these two images in Camera Raw. Although you will still need to correct the lens and increase the luminance of every twilight exposure, twilight shots require editing each of them differently in Camera Raw.

In general, the sky exposure is cooler in temperature than the foreground exposure. You can use the Auto-White Balance as a good starting point.
2. Import HDR fused image, foreground exposure and sky exposure in the Photoshop
• Place fused images on layers and label them
• Duplicate layers before editing works start

You may now import HDR fused image, foreground exposure and sky exposure in the Photoshop as a backup and you may put your fused file on layer zero and label it. Place your foreground image on layer one and label it, and finally put your sky image on layer two. It is important to duplicate these layers before you begin editing.
3. Masking the sky layer
• Mask the blue sky using a paint brush
• Set paint brush to a lower opacity


Once the layers are duplicated, create an all-black layer mask on your sky layer and use a white paint brush to mask in the blue sky. You may consider setting your paint brush to a lower opacity so that the lines on the mask will not become obvious and the layers look seamless.
4. Merge the sky and foreground layers
• Merge sky layer and foreground layer
• Fused layer should be placed underneath the merged layer
• Decrease opacity of the merged layer
Once you’ve finished masking the sky layer into the foreground layer, merge these two layers and duplicate your merged layer. If the lightings in the images still need to be more balanced, place your fused layer underneath the merged and decrease the opacity on the merged layer to a desired amount and then merge these two layers.
5. Open file in five ASA
• Set nodes on the sky, house and windows, and elsewhere
• Increase saturation and decrease temperature in the sky
• Increase warmth and vibrance for the house and windows
Open your final merge in five ASA and set nodes on the sky, on the house and in the larger glowing windows. For the sky, increase saturation and decrease the temperature to make it bluer. For the house and windows, increase warmth and vibrance so that the windows will shine nicely against the backdrop of blue. You also considering setting nodes elsewhere in the house if there are dark shadows that are too intense, or if there are greeneries that needed to be more vibrant and saturated.
Watch this full tutorial below:
Send us your photos and let our expert real estate photo editors handle the editing — fast, accurate, and ready for publishing.