April 29, 2020

April 29, 2020
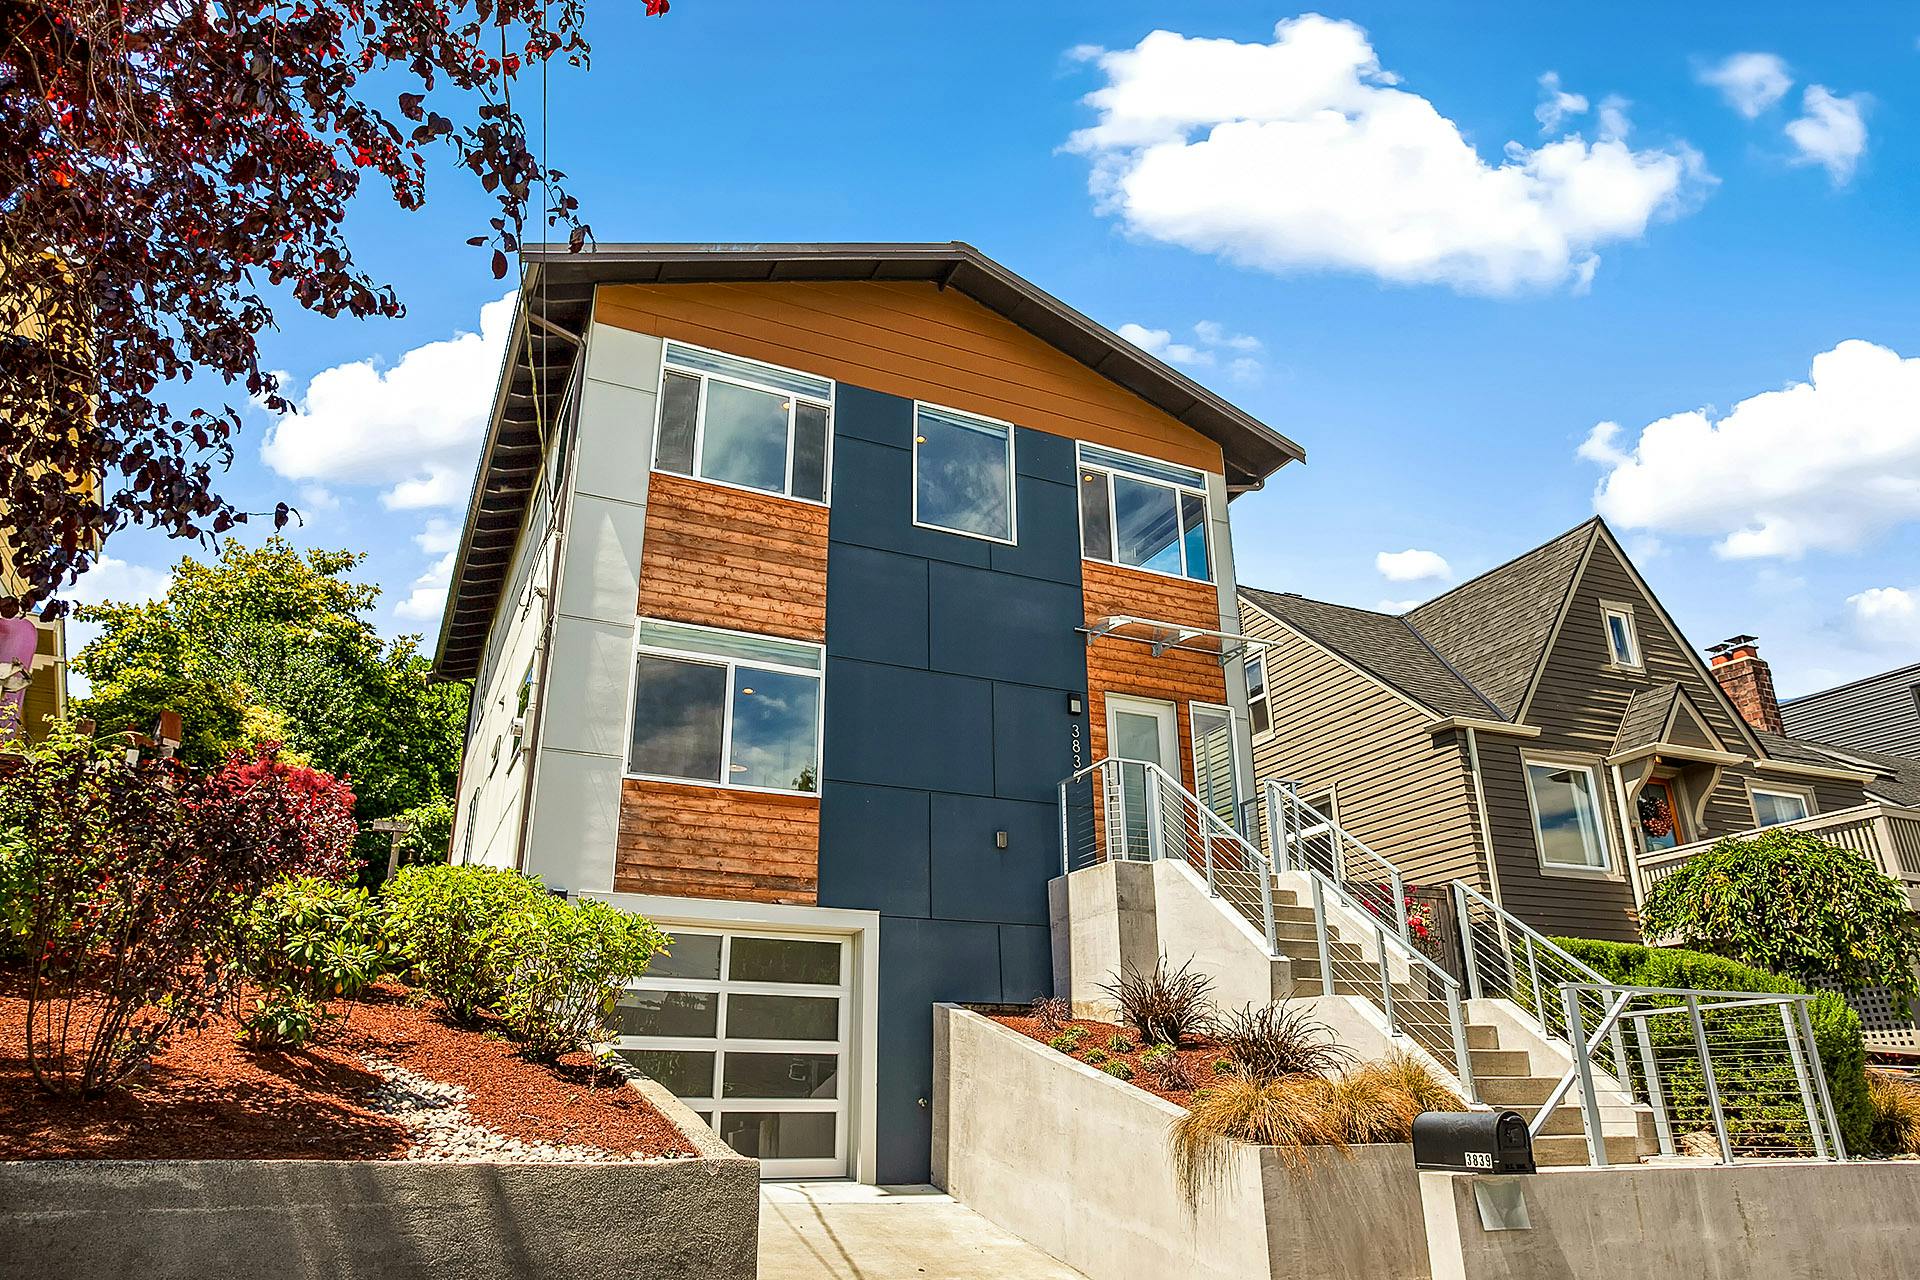
In taking photographs of houses and other real estate properties, there are always challenging things that photographers face. The technique called High Dynamic Range (HDR) makes the work of the photographer easier. When he shoots photos from the inside, all the details of the room are obviously visible. What is remarkable is that the view outside the window does not look overexposed.

The use of light is the primary idea when it comes to photography. Yet many of the photographers nowadays are making use of HDR as a solution and emerging alternative to flash guns and the use of multiple lights. In using HDR Photography, the delivery of a fresh and great looking image is exemplary but has a natural feel to it. By the way, an HDR is a set of photos taken at different exposures.
What to Expect when Making an HDR Real Estate Photo?
When real estate photos are made in HDR, you will expect that textures are enhanced through manual contrast. When the textures are enhanced, the quality of the photo becomes better. You can add different details for a total makeover of the photo. Similarly, HDR can bring down the brightness of the real estate photo by balancing the inside part with the brightness of the outside.
In HDR, tone mapping is done after achieving a final product. Real estate properties that underwent HDR, require fine tuning and perfect adjustment. The final product does not rely much on the skills of the editor but on his familiarity in using Lightroom. Agents are always in the hunt for this kind of editor who can really create more appealing and stunning photos that will increase their chances of a sale.
[lwptoc]The most basic thing to do if you want to make HDR real estate photos using Lightroom is to import the photos that you’re going to use. These photos are taken at different exposures usually in 5 shots: underexposed, a little less underexposed, photo categorized somewhere in between, overexposed, and the one that’s completely blown out. The purpose is to smash all the properties of these different shots into one amazing super photo.
Choose import settings [source guide]
You can import from a computer, hard drive, or camera into your Lightroom Classic catalog.
Importing from a computer or hard drive:
On the left, select folder(s) of photos to import. If you don’t see your photos, make sure Include Subfolders is checked.
At the top, click Add to import without moving photos.
You can uncheck photos you don’t want to import.
On the right, you can choose additional import options.

You need to Right click your Lightroom screen, to come up with Photo Merge then choose HDR. HDR auto-aligns and auto-tones all the merged photos. You will see in the Preview the raw HDR.

If you’re taking multiple exposures and something’s moving through that frame, the Deghost Amount is going to eliminate that problem. In case no movement is seen in the raw HDR, simply hit the Merge button to generate an HDR photo and drop that into the timeline. At this point, you had just edited 5 photos simultaneously to produce one single photo. The shadows are exposed properly and all the other spaces in the picture have exposures that are perfectly balanced. Take note that this photo is still raw in nature as you still need to add Black or White points.
Video tutorial credit to Peter McKinnon
In the current picture, Lightroom will suggest the best Black point and White point would be. All you need to do is hold Shift and double-click on Black. Just do the same with White point. And instantly, you will see the new HDR photo. You now have the option to Export this photo or edit the photo to your liking by selecting the preset that best fits your photo before you Export.
More tips here: https://helpx.adobe.com/lightroom-classic/help/hdr-photo-merge.html
For photo editing services contact us at this page.

Send us your photos and let our expert real estate photo editors handle the editing — fast, accurate, and ready for publishing.