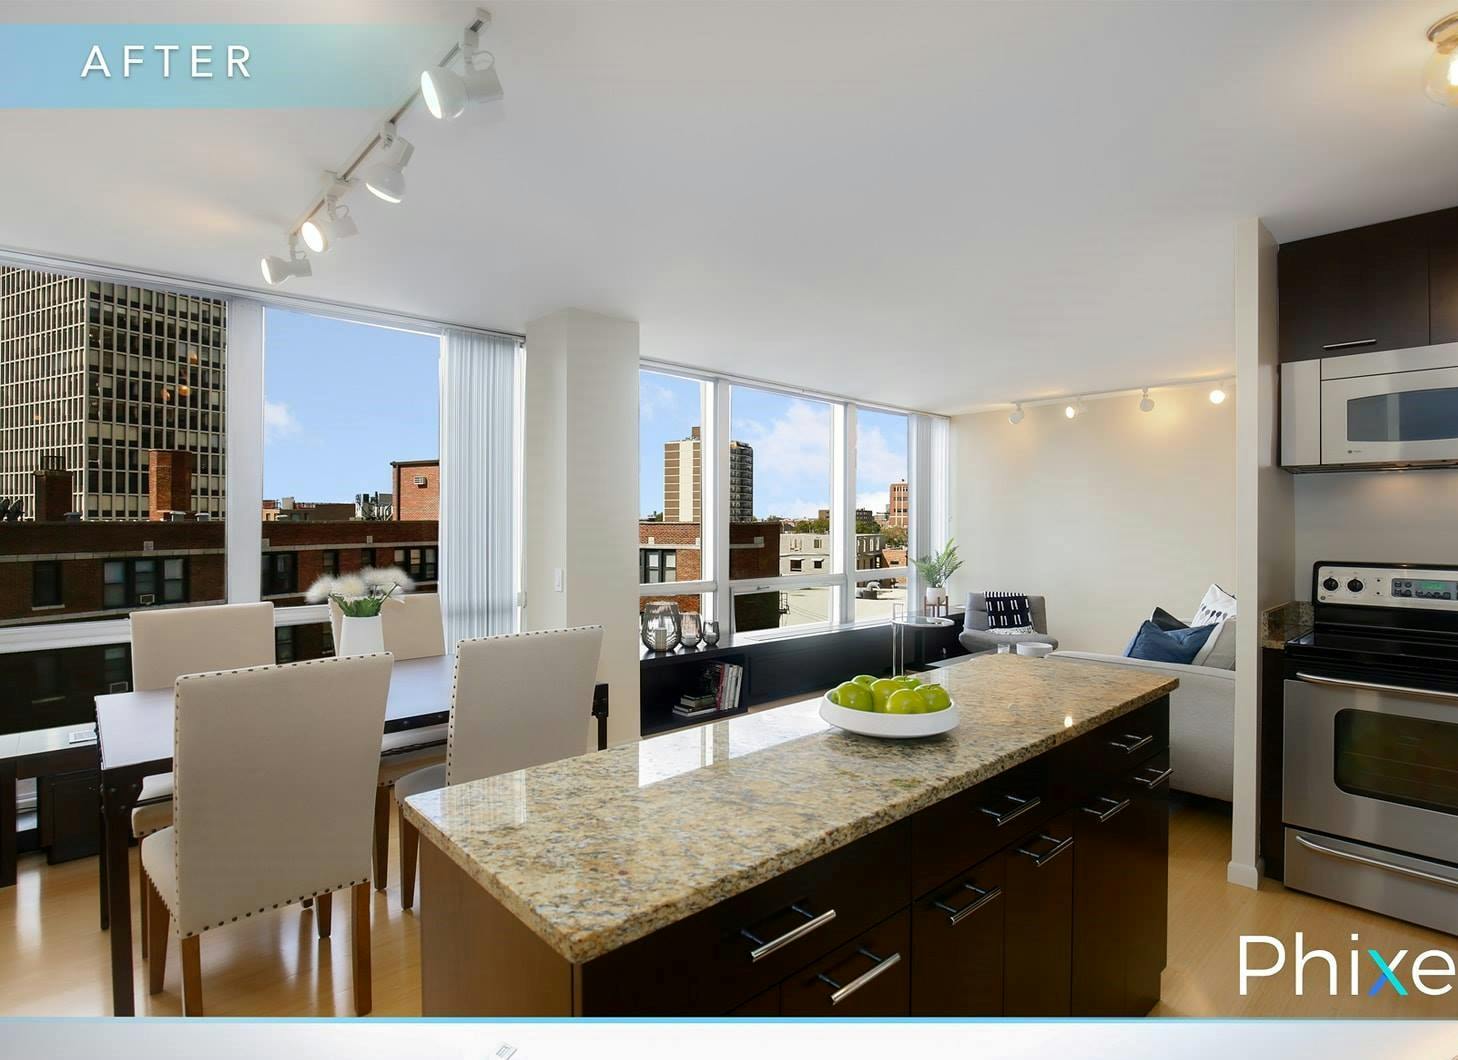
 When taking pictures of rooms in a house, there are times when the picture does not possess exact same look from the actual scene. Even if you try your hardest to fix the lighting or the camera itself, the picture really is not that good. This is the reason Adobe Lightroom is very useful when dealing with this kind of problem. Every picture can be fixed to make the quality top notch. Even if the picture has a tint of color that cannot be fixed by lighting, Adobe Lightroom is always there to help. Below are the tips on how to fix the color and straighten the picture to make it better.
Straighten and Color Correct Real Estate Photos on Adobe Lightroom
Before we get started it is important for you to know how powerful Adobe Lightroom really is in fixing and correcting things of a photo. Not only does it fix colors or light (hence the name Lightroom), it can even fix the angle of the photo automatically. So now you have an idea on what Lightroom is and how powerful it is, let us get started on how to actually use this to correct photos.
Here are the things you need to identify about the photo to determine what the problem is,
1. Is the photo colored? Is there a tint in the photo?
2. Is it dark or too bright?
3. Is the photo crooked?
The first thing you need to do is to identify the problem so that you know what to fix and not just blindly tweaking the knobs randomly.
White balance and Brightness
• Adjust the Temperature setting to match the real color of the scene
• Adjust the Tint to make the white balance perfect.
These are the first things you need to do: correct the white balance and the brightness. Every picture is different so there is no default or standard setting. Just move the White Balance Temperature and move it up and down depending on how too colored or too white the picture is. Now move the tint down if it is too purple and move it up if it is too green. That will make the white balance of the picture perfect. If it is not what you wanted, feel free to adjust the temperature and tint to your liking.

Now you want to make the picture brighter so that what you did earlier will be more effective and it will make the picture overall pleasant to look at. All you need to do is take the Exposure setting and slide it right and keep sliding until you get a brightness that looks good. Next is to adjust the clarity so that you can add a little contrast back into the image. In most cases you will adjust the clarity to 100 because it just makes the picture especially rooms look way more beautiful. And you have a Light source that is way too bright than the rest of the picture, follow the next step, if not feel free to skip it.
Next, is to make lamps, lightbulbs or any kind of light source match with the brightness of the rest of the picture. For this, you will need to adjust the highlights setting down to match the brightness of the light source and the rest of the picture.
Shadows, whites and blacks
• Adjust shadow slider for more bright pictures
• Increase the whites setting
• Decrease the black setting

For this part, you will adjust the shadows slider to the right to your preference and this will lighten up the dark parts of the image. By bringing the highlights down and adjusting the shadows up will inevitably flatten your image. The whites and the blacks setting will take part and the image will get even more contrast.
First, adjust the Whites setting up and the Blacks down. By doing this, the image will get more contrast back and it will make the picture overall good. Remember to adjust the setting according to what you think is the best. There is no “right” or “perfect” setting because every picture is different.
Hue, Saturation, Luminance (HSL) and Lens Correction
• Adjust the saturation to match the real-life picture
• Enable Profile Corrections
This part is mainly for matching the real-life scene and enabling the Profile Corrections to correct the distortions and vignette.
First, go into the HSL tab and adjust the colors to match the colors in the actual scene. Then go into the lens correction and basic tab and enable Profile Corrections and remove Chromatic Aberration. This will automatically make the picture better. Lastly, under the same tab you will see an upright setting and it will be set into OFF because it is the default setting. Click AUTO to turn it on because it will make any crooked picture straight.
All of this is automatically done by Lightroom. This shows how easy and powerful this program is and why it is a must for photographers.
