Phixer
PortfolioAbout Us
Tutorials

Learn how to get the most out of Phixer's editing services.

Blog

Tips, trends, and insights for real estate marketing success.

FAQ

Quick answers to common questions about our services.

Latest Tutorial & Blog

Introduction for Real Estate Photography

Introduction for Real Estate Photography

Hi my name is Alex and I will be taking you through a photographer training tutorial where you learn the principles and techniques of real estate photography. Make sure you have your camera and tripod on hand so you can change settings accordingly and experiment with some of the techniques intermittently as we go through different processes and ideas.<br/><br/><h2>Before we get started on the photography side of the job, we need to do a basic overview of best practices once you arrive at a property.</h2><br/>Firstly, it's important to remember that though there are formulas and rules of real estate photography that you'll be thinking about every shoot, every agent and broker has different preferences and goals, depending on their taste and the distinctive characteristics of the listing. Therefore after you've met the agent and gone through baseline introductions, ask them to give you a tour of the property so they can voice any specific shot ideas,angles are elements of the property they especially want to capture.<br/><br/>This will give you a good sense of their marketing goal and the layout of the house so you can mentally prepare for the forthcoming shoot. Don't hesitate to respectfully raise concerns if agent has a poor shot idea that you know won't work. In these situations you may want to take the shot and show them it's a bad idea rather than trying to describe why. Nonetheless, the ultimate goal is to give the agent what they want, so be compliant and experiment with bizarre ideas if necessary.<br/><br/>Sometimes you may even be surprised. After you've gotten a tour from the agent, start prepping the house for photos. This means turning on all light fixtures and lamps, pulling up blinds and hiding remote controls, Kleenex boxes, sponges and any other items inside that will show poorly in photos and make it difficult on your <a href="https://www.phixer.net/">real estate image retouching company</a>. For staged houses, you probably won't have to move anything out of the way but in properties where the homeowners are still living there, you may have to hide some personal items and declutter a bit. Remember you have a limited amount of time to finish the shoot, so if the house is overly cluttered or unprepared for shooting, ask the agent whether you should reschedule or if they're comfortable shooting the property in its present condition. There's only so much you can do and you're a photographer not a home cleaner/stager.<br/><br/><h2>Do not spend more than 15 minutes prepping the property.</h2><br/>Do what you can within that limit, however moving heavy furniture, decluttering every room, sweeping etc are not your responsibilities. If you have time, avoid including the following items in your shots; bath mats, small carpets or mats on the kitchen floor, modems and bundles of cords, the homeowner's personal photos, toothbrushes, shampoo bottles and personal toiletries in general, trash cans, bedside alarm clocks, home phones, dog beds, litter boxes and anything else that will negatively affect the marketability of the listing. Usually these items can be gently move to the outside of the frame of the photo, then returned once you finish capturing the space. A note on blinds, in general all window blinds should be pulled up there are few exceptions to this rule, so leave the blinds up if;<br/><br/>A. The view outside is really unpleasant, for example there's a dumpster and industrial refinery, a chaotic construction site or anything else that would devalue the listing.<br/><br/>B. If the agent and insists for whatever reason, on leaving them down, you are after all working for them.<br/><br/>And lastly:<br/><br/>C. If the blinds are broken and won't stay level or pull up entirely. Sometimes excessively heavy blinds can be problematic and it's best not to risk pulling them off the wall. Leave the blinds down and twist them open so light can come through the windows. Other notes on prepping the house; make sure you remove security signs from the front yard before taking exterior shots, also hoses should be either coiled or removed from view.<br/><br/>Garage doors should be closed and garbage cans either moved into the garage or out of view. In kitchen's especially, make sure you double check for cabinet under lighting and turn the stove lights on. Dining room and breakfast table chairs should be tucked in even and orderly. Fans, fireplaces, TVs in any other kinetic features of the listing should be turned off. These objects will appear blurry and disorienting once the disparate exposures are fused by your real estate photo retoucher into an HDR composite.

Read More ↗

What's New?

AI Real Estate Photo Editing

AIPhixer AIReal Estate Photo Editing

Instant, professional-quality edits powered by AI technology—perfect for tight deadlines.

Read More ↗
Photo Editing

Professional editing that makes properties shine.

Declutter

Remove unwanted objects for clean, distraction-free images.

Video Editing

Cinematic property tours that captivate and convert buyers.

Virtual Twilight

Convert daytime shots into dramatic dusk photography.

Virtual Staging

Add designer furniture to showcase a property's full potential.

AI Editing New

Lightning-fast edits powered by advanced AI technology.

Lawn Replacement

Transform dull lawns into lush, vibrant green instantly.

AI Website Builder

Build stunning listing websites in minutes, no coding needed.

LoginGet in touch
Phixer

© 2026 Phixer, Inc. All Rights Reserved

Trusted editing partner for real estate professionals since 2009.

Expert editors, proven quality, 24/7 support.

+1 206-934-1858

155 NE 100th St., #309, Seattle WA 98125

support@phixer.net

Community

  • About Us
  • Portfolio
  • Tutorials
  • Blog
  • FAQ

Services

  • Photo Editing
  • Video Editing
  • Virtual Staging
  • Lawn Replacement
  • Declutter
  • Virtual Twilight
  • AI Editing
  • Website Builder

Legal

  • Privacy Policy
  • Terms of Use

How to shoot the flambient method for real estate photography?

September 25, 2020

How to shoot the flambient method for real estate photography?
Real Estate Photography

September 25, 2020

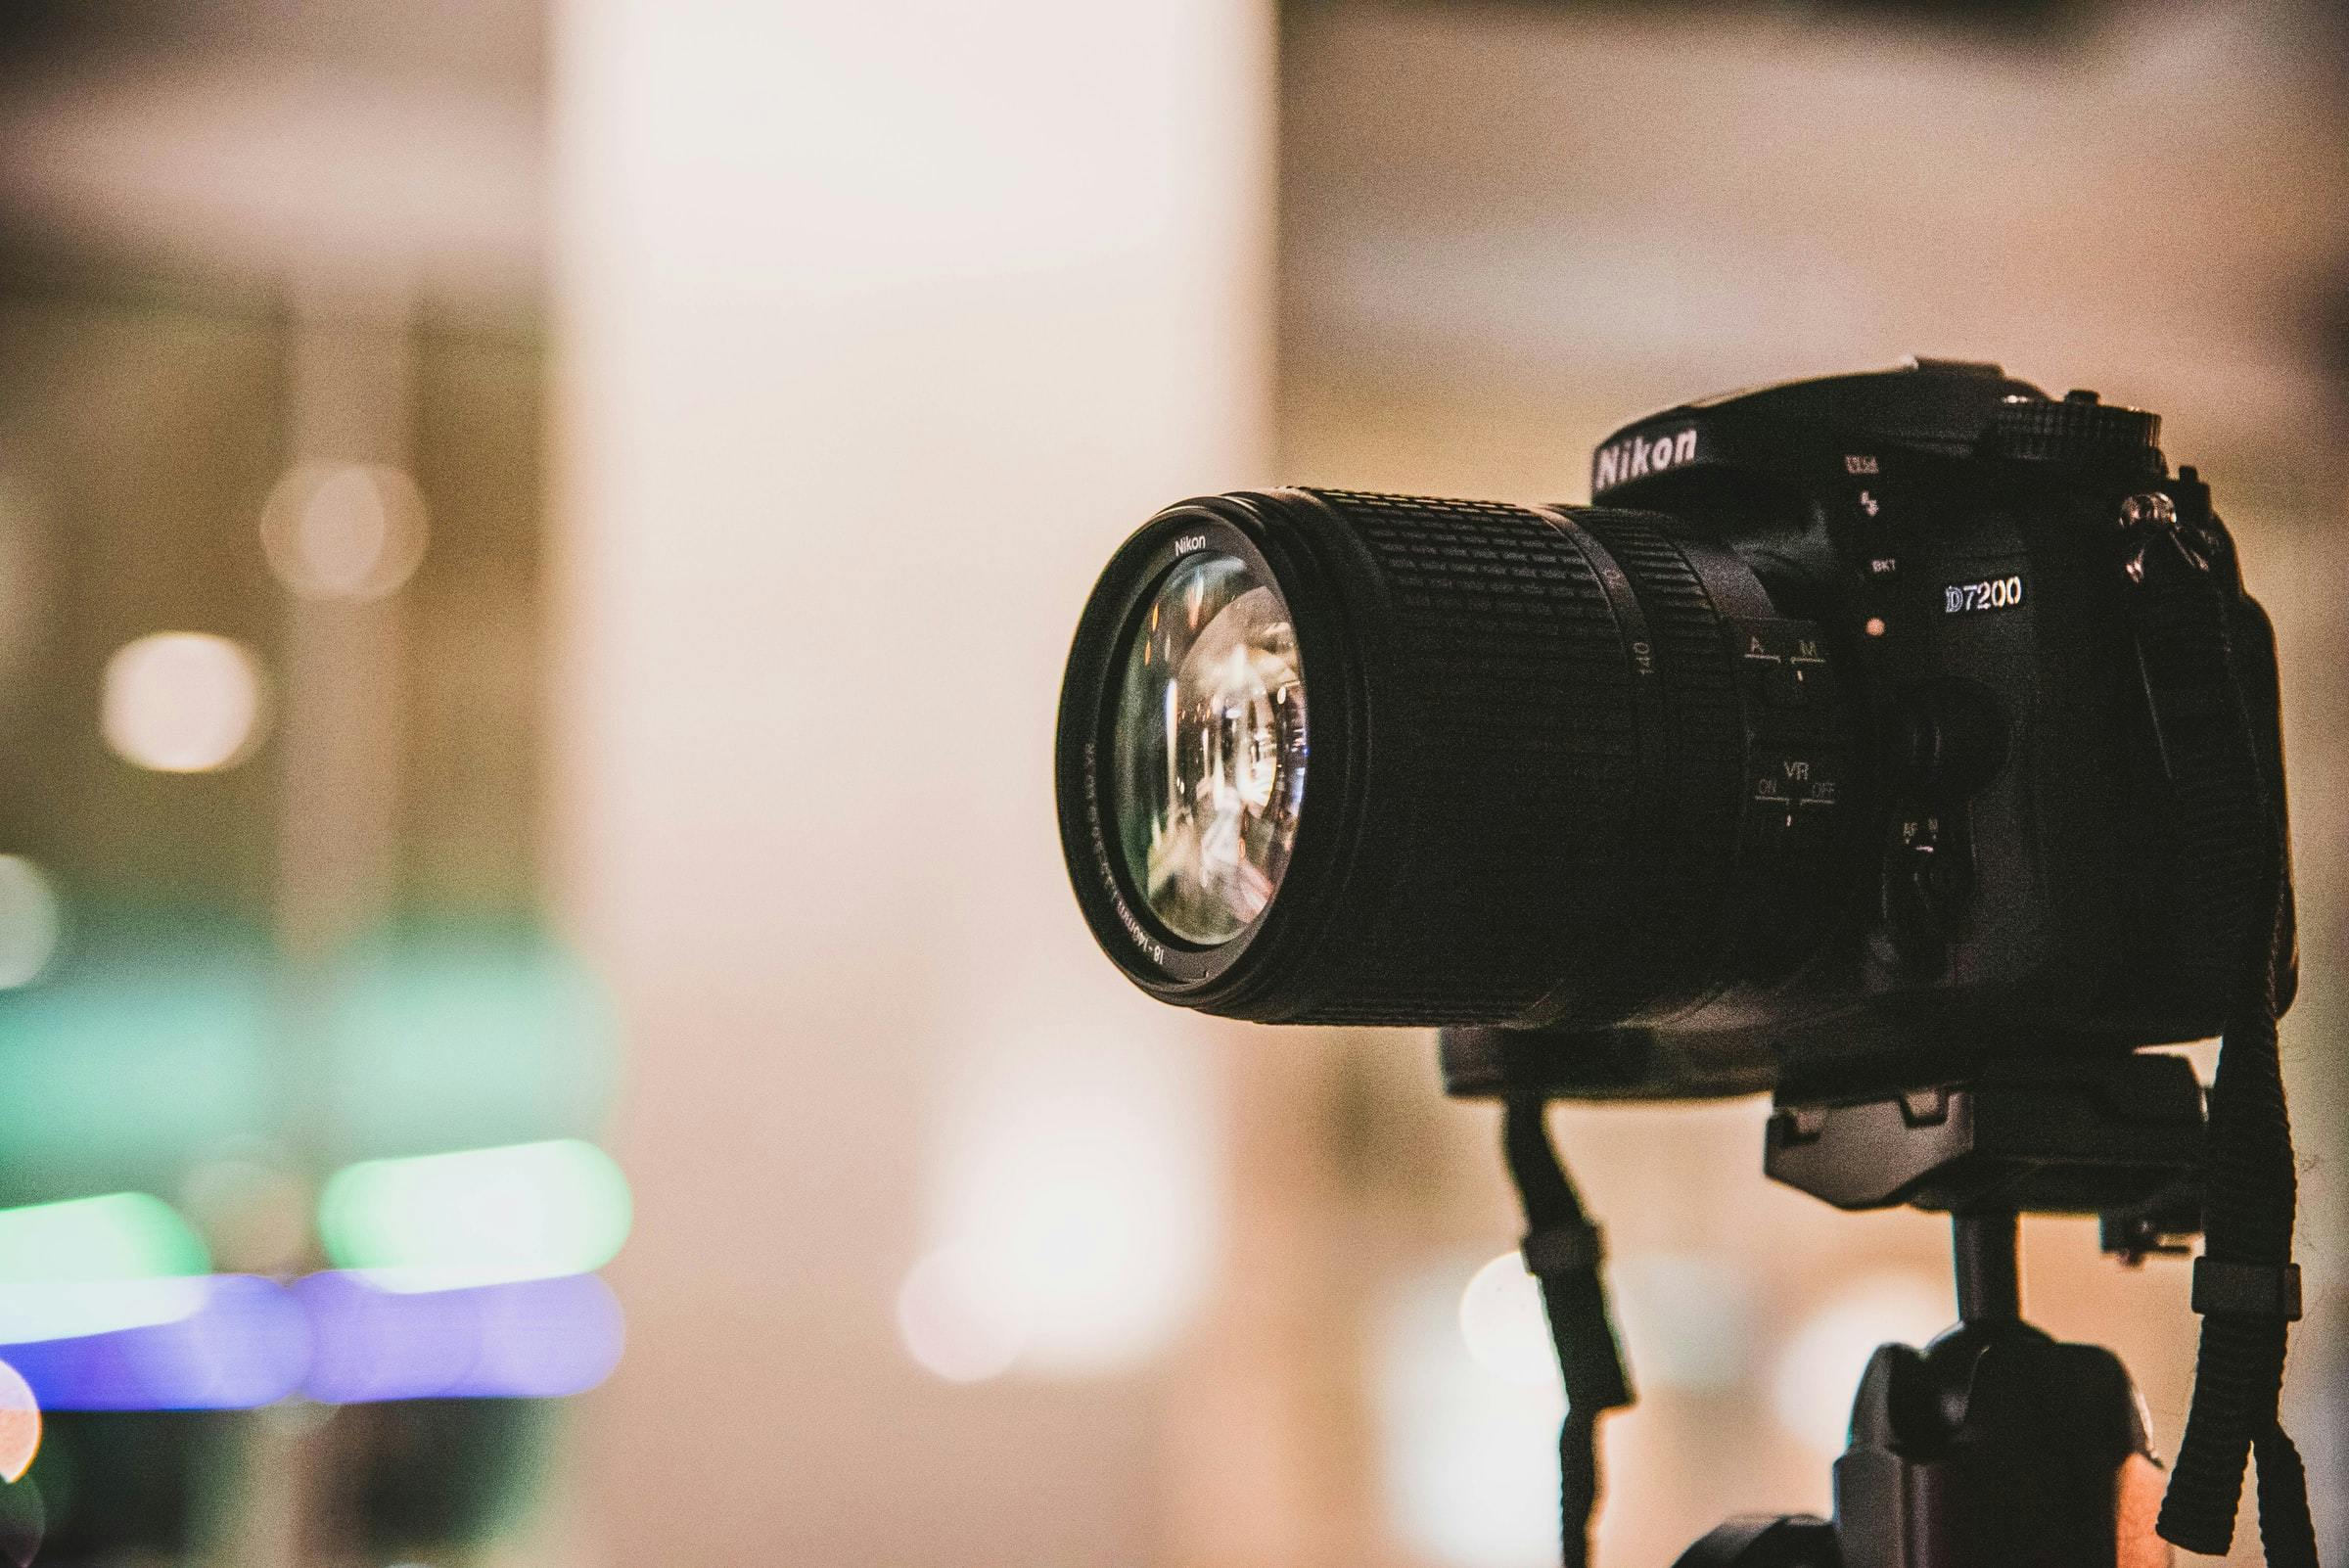
Photographers, regardless of their niche, are aware of the varied photography techniques they should know to do their jobs well.

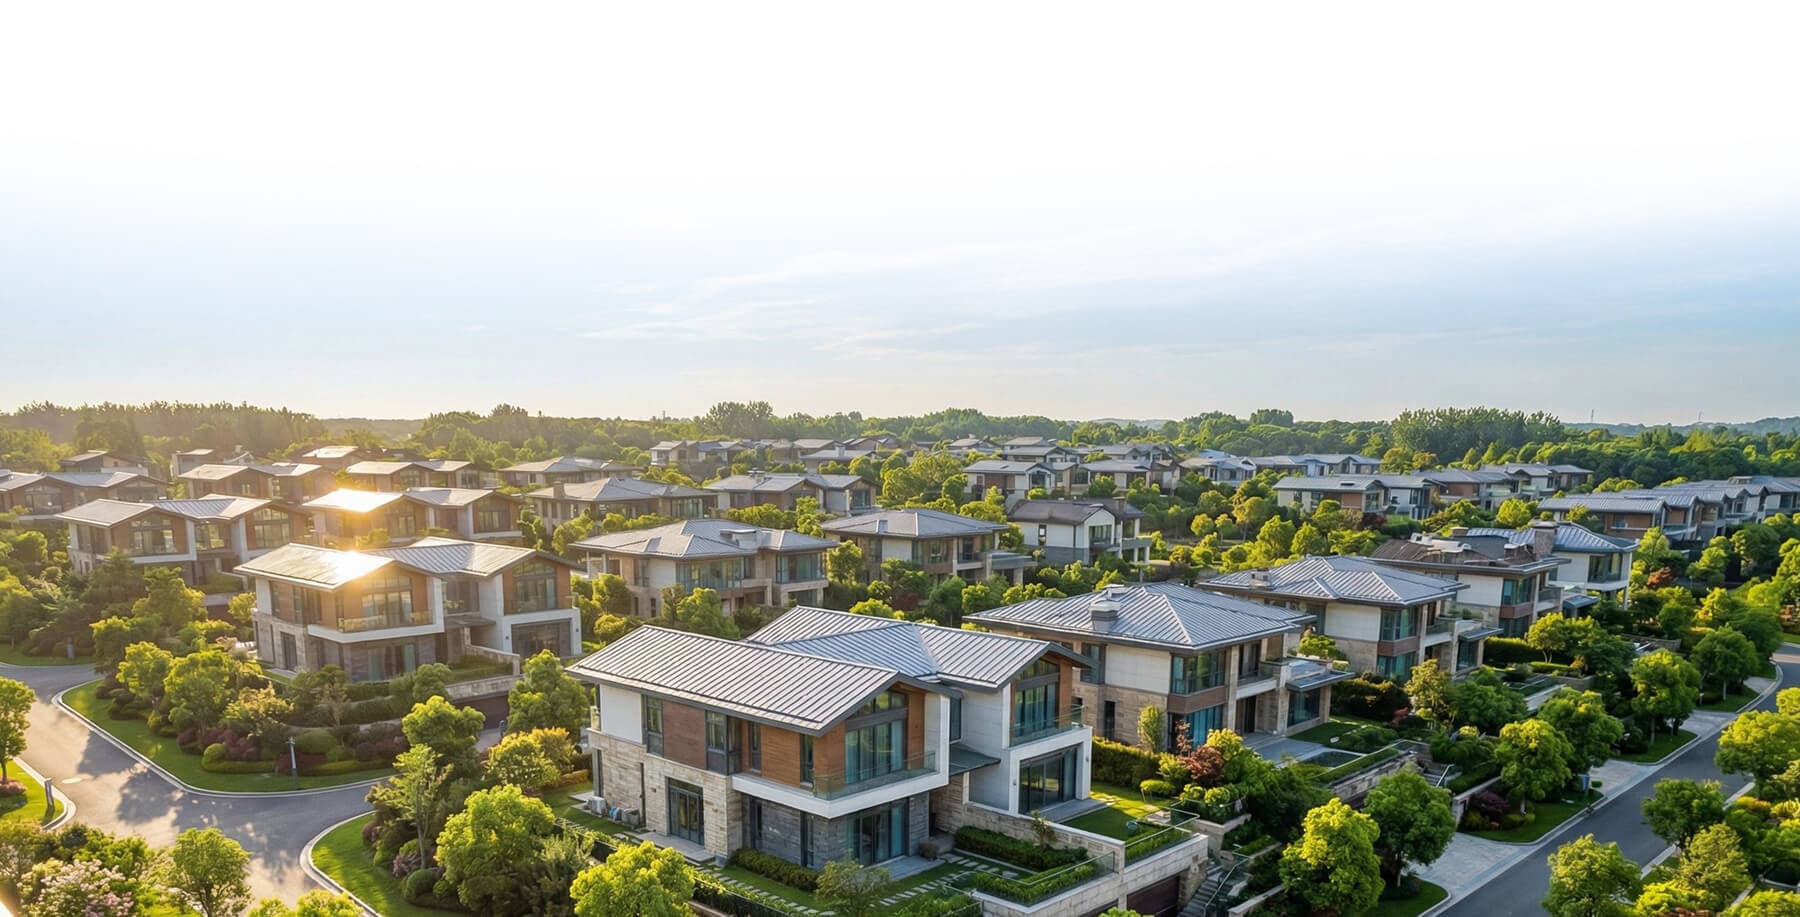
One of these techniques is the use of the “flambient method.” In real estate photography, techniques like high dynamic range (HDR) and flambient photography are quite useful in shooting the perfect real estate images.

In learning the “flambient” technique, it is vital first to understand its principle and how it is applied during real estate photo editing. The “flambient” method involves combining both flash and ambient light in shots. It is one of the fastest-growing techniques for shooting real estate images.

But, why shoot flambient? As you may know, there are always pros and cons to utilizing varied photography techniques. For example, shooting in ambient light yields the most natural-looking images, but often results in walls that have shifted or lost most of their color and shadow areas that are a little too dark.

On the other hand, shooting using pure flash can result in an image that looks fake, with shadows pointing towards the windows instead of away. This is when the flambient method becomes significant. It recognizes both the strengths and limitations of shooting all-flash or all ambient. It is the solution to get the best of both worlds.

If you are interested in doing flambient photography, here is a quick guide on using this technique to capture great shots that highlight the best features of homes and other properties.

Take shots thrice

The rule of thumb is to take at least three photos of the room when shooting using the flambient style.

Perfect the ambient shot

Remember not to use flash when using this technique. Just utilize the natural light coming off the room. Make sure to expose in the middle of the room, so you get a nice overall picture. Also, shoot in RAW, so you maximize the use of dynamic range later on. Here is a classic setup to follow: If you have a room with an extreme dynamic range, you should shoot a bracket of 3 images. These photos should also have 0 as the “if only” exposure, then add -2 and +2 shots to allow room to capture the shadows and highlights.

Master the flash shot

A flash shot is usually meant to get a well-exposed image. In doing this, it is better to set your flash off-camera below a lovely white ceiling pointing straight up. Try holding the camera at 18 inches to 2 feet from the top. Then, leave the flash on the camera to get the best exposure to the room.

Focus on the window shots

When you have a nice window view, you want to capture and include in your real estate listing, and it is recommended to shoot thrice specifically for the windows. Ensure enough exposure for the windows and always point a high powered flash directly at the window frames. Doing this will make the blending process during real estate photo editing significantly easy. Always experiment in shooting images at varied angles to secure a shot with at least flash reflections. You can also choose to eliminate them, but turn off your flash and shoot one without the flash. Just make sure not to adjust the camera exposure at all.


These are four useful tips in incorporating the flambient method in your real estate photography. If utilized well, this strategy can help leverage real estate listings and attract more potential buyers using professional and compelling images. Always make sure to invest in quality images for your properties by choosing a great photographer and editor at the same time.

Complete Solution

Ready to work with us?

Send us your photos and let our expert real estate photo editors handle the editing — fast, accurate, and ready for publishing.

Contact Sales